
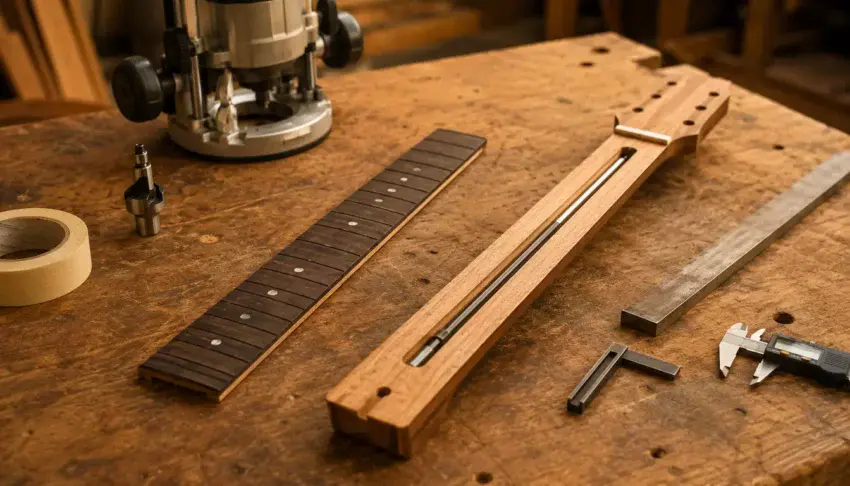
Installing a truss rod is one of the most important steps in building an acoustic guitar neck.
Once the fretboard is glued on, the truss rod is permanently enclosed inside the neck, so taking the time to install it correctly now can save you from major headaches later.
In this guide, I’ll show you how to install a truss rod in an acoustic guitar neck, explain the tools you’ll need, and share a few tips that will help ensure your neck stays straight, stable, and ready for years of playing.
👉 Building the neck comes first. If you haven’t shaped your neck yet,
start with our guide on How to Build an Acoustic Guitar Neck.

🎸 What Does a Truss Rod Do?
A truss rod is one of the most important components inside an acoustic guitar neck.
Hidden beneath the fretboard, it counteracts the tremendous string tension created by the strings and allows you to make small adjustments to maintain proper neck relief.
Without a properly installed truss rod, the neck can bow over time, leading to:
- high string action,
- fret buzz,
- and poor playability.
Installing it correctly now ensures your finished guitar can be adjusted for years to come.
🧰 Preparing for the Installation: Tools and Workspace Setup
Before installing the truss rod, gather your tools and prepare a clean, well-lit workspace.
Since the truss rod will be permanently enclosed once the fretboard is glued on, accuracy matters more than speed.
At a minimum, you’ll need:
- Straightedge
- Digital calipers
- Router with the correct bit
- Masking tape
- Small square
Support the neck blank securely before routing the channel, and always test-fit the truss rod before moving on.
Taking a few extra minutes now can prevent costly mistakes later.
👉 The right tools make every guitar build easier and more accurate. Before you start routing,
take a look at our guide to What Tools Do You Need to Build an Acoustic Guitar?
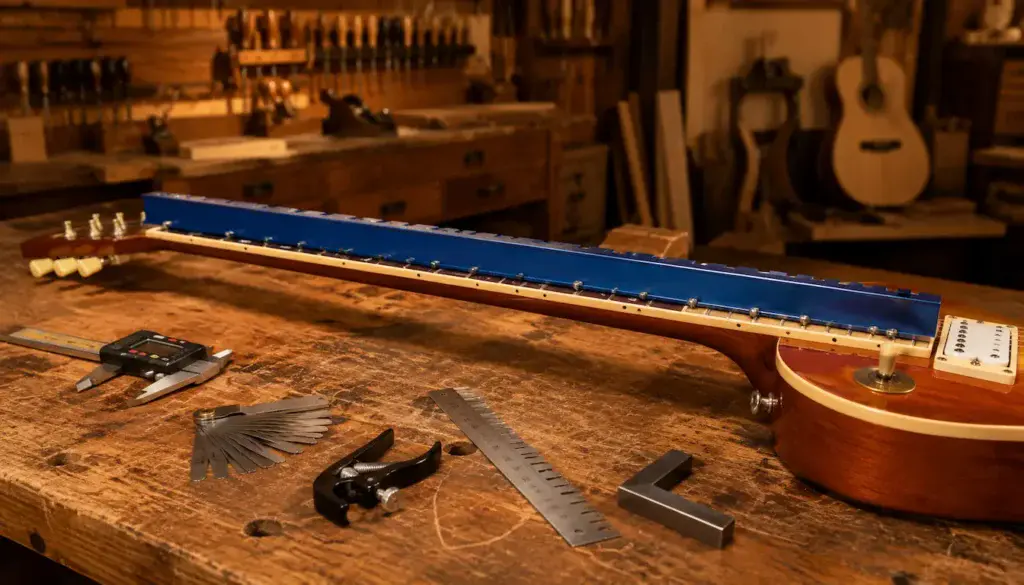
MusicNomad Tri-Beam 3 ‘n 1 Dual Notched Straightedge
Accurate neck relief is the foundation of a great guitar setup, and a quality notched straightedge makes checking it quick and precise.
Instead of measuring over the frets, it references the fingerboard itself for more reliable results.
 Amazon Product Suggestion:
✔ MusicNomad Tri-Beam 3 ‘n 1 Dual Notched Straightedge
Jiavarry Digital Caliper Measuring Tool
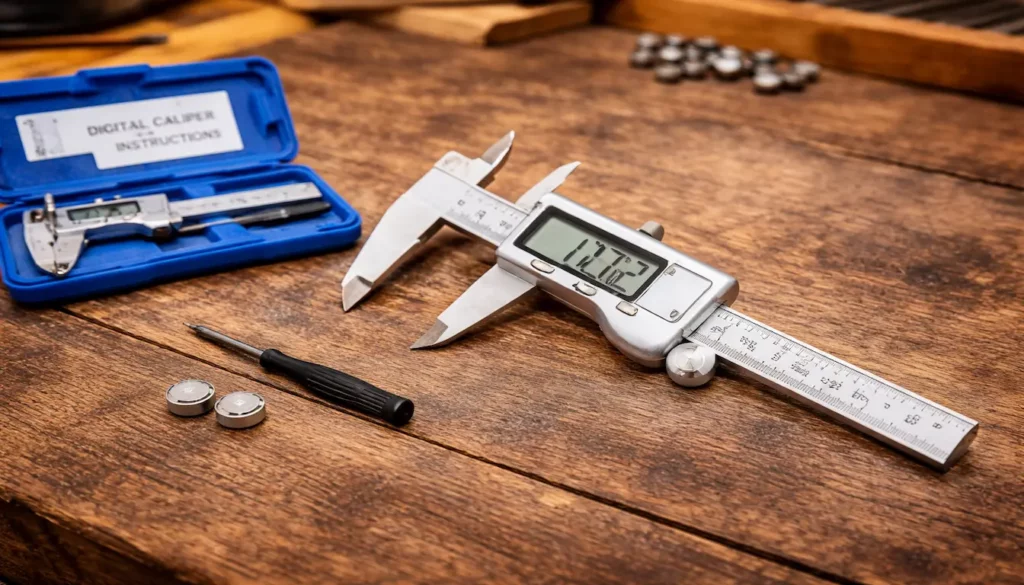
Every great guitar build starts with accurate measurements, and a quality digital caliper is one of the most useful tools you can own.
From checking fret wire dimensions to measuring nut slots and hardware, it delivers the precision that guesswork never can.
Amazon Product Suggestion:
✔ Jiavarry Digital Caliper Measuring Tool
The Jiavarry Digital Caliper Measuring Tool provides
fast, accurate measurements in both inches and millimeters,
making it ideal for guitar building, repairs, and general workshop tasks.
Its easy-to-read digital display and stainless-steel construction
make it a dependable tool you’ll reach for on nearly every project.
Why It’s Great
✔ Accurate to fractions of a millimeter
✔ Reads inches and millimeters
✔ Easy-to-read digital display
✔ Great for every guitar build
BOSCH PR20EVS Colt 1.0 HP Variable-Speed Palm Router
Routing a clean, accurate truss rod channel starts with a dependable trim router.
The Bosch Colt has earned a reputation among luthiers and woodworkers for its precision, smooth operation, and comfortable handling.
Amazon Product Suggestion:

✔ BOSCH PR20EVS Colt 1.0 HP Variable-Speed Palm Router
The Bosch Colt Palm Router is compact, powerful, and easy
to control, making it an excellent choice for guitar building projects.
Whether you’re routing truss rod channels, cavities,
or clean edge profiles, it delivers the accuracy needed
for professional-looking results.
Why It’s Great
✔ Compact and easy to control
✔ Smooth, accurate cuts
✔ Powerful 1 HP motor
✔ Perfect for guitar building
Up Cut Carbide Spiral Router Bits
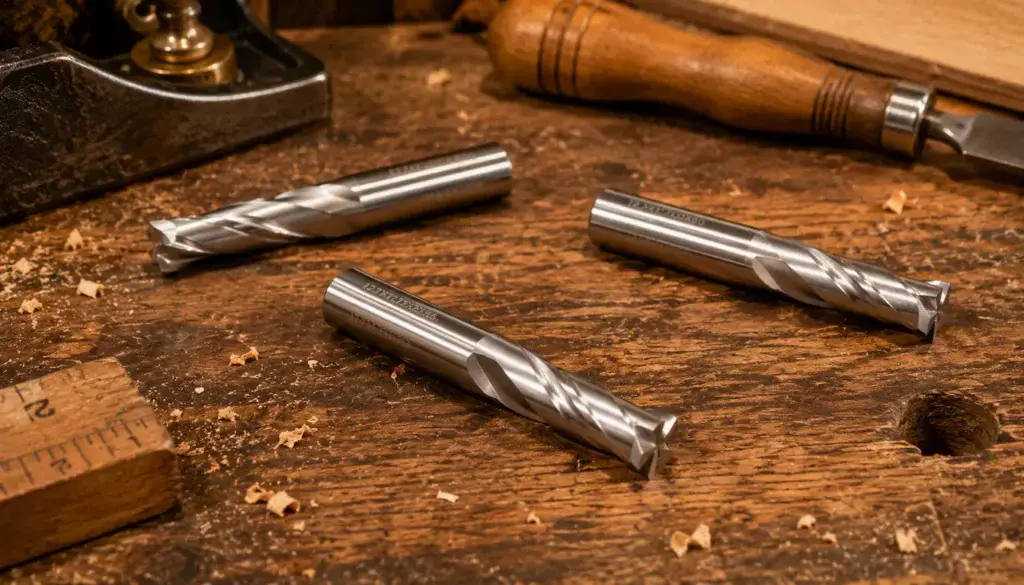
The quality of your router bit has just as much impact on the cut as the router itself.
Sharp carbide spiral bits produce cleaner channels, reduce tear-out, and leave less sanding behind.
Amazon Product Suggestion:
✔ Up Cut Carbide Spiral Router Bits
Up cut carbide spiral router bits are an excellent choice for routing
truss rod channels, pickup cavities, and other precision cuts in guitar building.
Their spiral design efficiently clears wood chips while producing
smooth, accurate cuts in both hardwoods and softwoods.
Why It’s Great
✔ Clean, smooth cuts
✔ Reduces wood tear-out
✔ Long-lasting carbide edges
✔ Perfect for guitar building
iGaging 4″ & 6″ Double Square Set
Accurate layout is the foundation of a great guitar build, and a quality double square helps eliminate small alignment errors before they become costly mistakes.
Whether you’re routing a truss rod channel or checking a neck blank, this iGaging set delivers the precision every builder needs.
Amazon Product Suggestion:
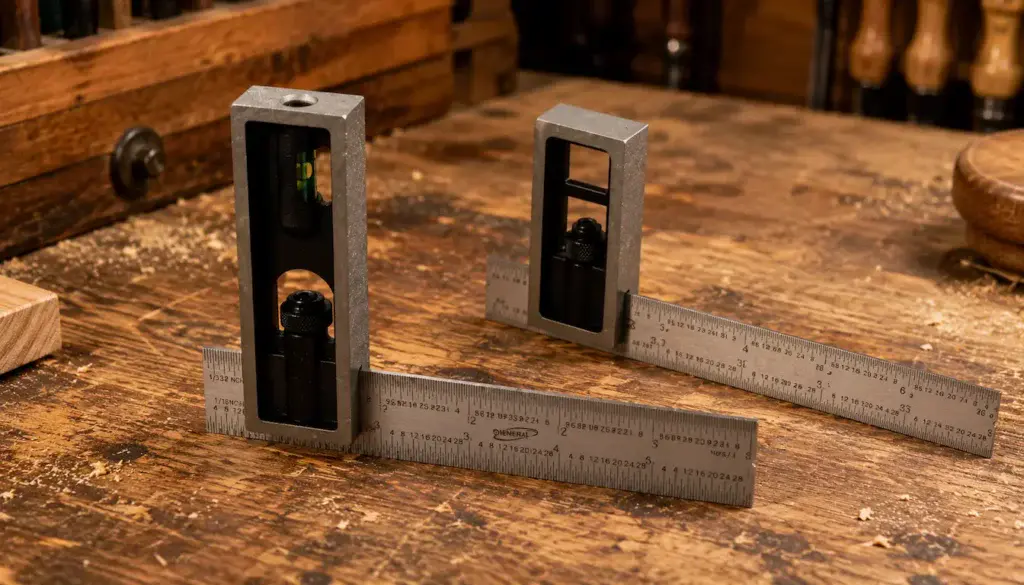
✔ iGaging 4″ & 6″ Double Square Set
The iGaging 4″ & 6″ Double Square Set is a versatile measuring tool
that’s perfect for guitar building and general woodworking.
Use it to verify truss rod channel depth, check neck and
fretboard alignment, set up jigs, and ensure your
work stays square throughout the build.
Why It’s Great
✔ Includes both 4″ and 6″ squares
✔ Precision-ground stainless steel blades
✔ Perfect for layout and alignment
✔ Great for any woodworking shop
🔩 Installing the Truss Rod: Step-by-Step
With the channel routed and test-fitted, you’re ready to install the truss rod.
Before gluing on the fretboard, make sure everything fits and operates exactly as it should.
Follow these steps:
- Place the truss rod into the channel and verify it sits flat from end to end.
- Check the manufacturer’s instructions to confirm the correct orientation.
- Prevent rattles with masking tape or a small amount of silicone if recommended by the manufacturer.
- Turn the adjustment nut slightly in both directions to confirm the truss rod moves freely.
- Correct any binding or fit issues before installing the fretboard.
Once you’re satisfied with the fit and operation, you’re ready to install the fretboard.
👉 With the truss rod installed, the next step is preparing and fitting the fretboard.
Continue with our guide on How to Build an Acoustic Guitar Fretboard.
⚠️ Common Mistakes to Avoid
Even experienced builders can make simple mistakes when installing a truss rod.
Avoid these common mistakes when installing a truss rod:
- Installing the truss rod backwards.
- Routing the channel too deep, too shallow, or too narrow.
- Allowing glue to enter the truss rod channel.
- Skipping the final test before gluing on the fretboard.
Take your time, measure carefully, and test everything before moving on.
 Quality Built to Last

🏁 Final Thoughts…
Installing a truss rod may not be the most exciting part of building an acoustic guitar, but it’s one of the most important.
Taking your time to measure carefully, route an accurate channel, and verify everything before gluing on the fretboard will pay off every time you adjust the neck in the years ahead.
Remember, every successful guitar is built one careful step at a time.
Stay patient, trust the process, and don’t rush the details.
The effort you put into the neck now will reward you with a stable, great-playing instrument you’ll be proud to call your own.
Your Guitar, Your Build, Your Sound
You don’t need a custom shop or a tech on speed dial.
All you need is a little guidance, some patience, and a place to go that shows you what to do next.
Come on man… You got this.
GuitarCrafts is here to help you along the way.
Craft it. Play it. Own it!