
How to adjust pickup height on an electric guitar is one of the simplest ways to improve clarity,
balance, and sustain without replacing parts.
Small height changes can dramatically affect output and feel but louder doesn’t always mean better
— control and balance matter more.
Adjusting pickup height influences how your guitar responds to your playing dynamics.
Set too close, pickups can interfere with sustain and introduce unwanted magnetic pull.
Set too far away, and your tone may lose presence and definition.
Careful, deliberate adjustments are the key to finding the sweet spot.
This guide focuses on the how-to process of adjusting pickup height safely and effectively,
without getting lost in deep technical theory.
Follow the steps below to make controlled changes, listen critically,
and dial in pickup height that works with your guitar, not against it.

🌟 Recommended Tools for Accurate Guitar Setup
These Solo Guitars – recommended setup tools cover the most common measurements
and adjustments beginners run into during guitar setup.
From checking string height and spacing to handling basic hardware adjustments,
each tool helps turn guesswork into clear, repeatable steps for better playability.
Solo Pro String Height Gauge
The Solo Pro String Height Gauge makes it easy for beginners to measure string action
accurately during setup.
Instead of guessing, builders can use clear measurements to dial in comfortable
playability with confidence.
 Solo Guitars Product Suggestion:

Solo Pro String Height Gauge
The Solo Pro String Height Gauge is a
simple, affordable tool for dialing in
accurate string action during setup.
It sits directly on the fretboard,
so you can set consistent string height
without guessing.
Why It’s Great:
✔ Clear markings for fast, accurate checks
✔ Thin, flat design for precise readings
✔ Perfect for bridge and saddle adjustments
✔ Compact, durable, and bench-ready
CruzTOOLS GTGTR1 GrooveTech Guitar Player Tech Kit
The CruzTOOLS GTGTR1 GrooveTech Guitar Player Tech Kit gives first-time builders
a ready-made set of essential tools for basic guitar maintenance and setup.
It’s a convenient way to handle common adjustments without having to
buy each tool separately.
Solo Guitars Product Suggestion:
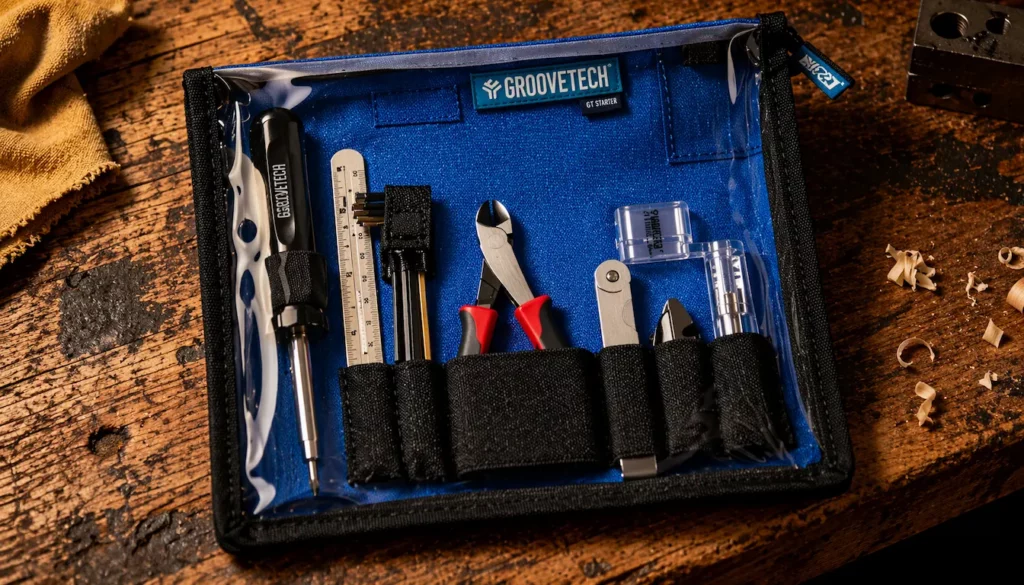
CruzTOOLS GTGTR1 GrooveTech
Guitar Player Tech Kit
A compact, all-in-one kit for
basic guitar maintenance and quick fixes.
Everything you need —
organized, portable, and ready to go.
Why It’s Great:
 Complete setup kit for guitars and basses
Tools for string changes and adjustments
Durable pouch keeps tools organized
Perfect for home, gigs, or travel
Music Nomad MN227 The Octopus 8 ‘n 1 Tech Tool
The Music Nomad MN227 Octopus 8-in-1 Tech Tool gives beginners a simple way to handle
common guitar adjustments with one tool.
It’s especially useful for pickup height, saddle, and hardware tweaks without needing a full toolbox.
Solo Guitars Product Suggestion:
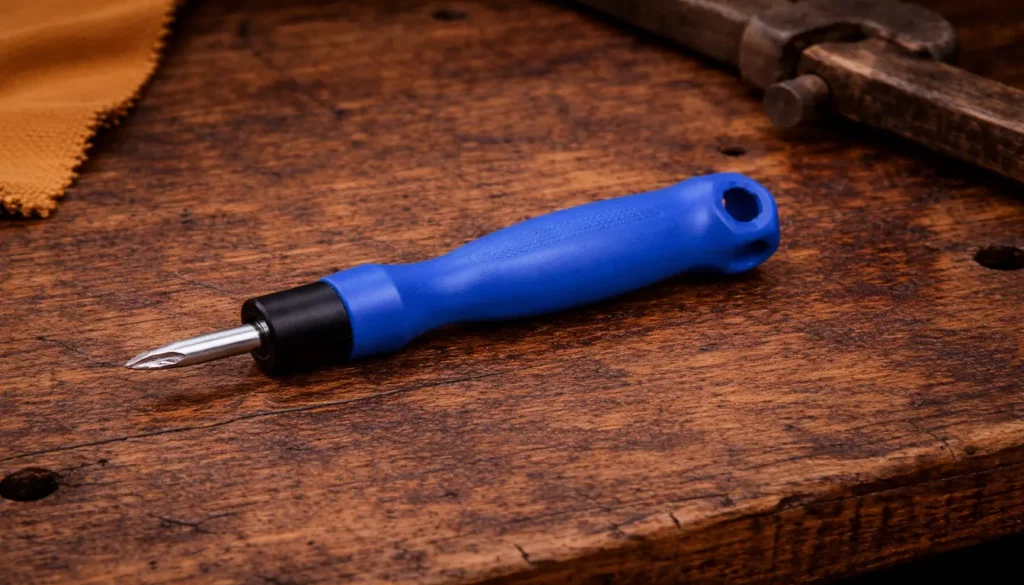
Music Nomad MN227 The Octopus
8 ‘n 1 Tech Tool
A compact 8-in-1 screwdriver
built for guitar and bass setups.
Multiple bits and hex sizes in one tool —
simple, portable, and clutter-free.
Why It’s Great:
✔8-in-1 covers common hardware sizes
✔ For pickups, saddles, tuners, and controls
✔ Non-slip handle for better control
✔ Compact, affordable, beginner-friendly
Solo String Spacing Ruler
This string spacing ruler helps beginners set even, comfortable spacing at the nut and bridge
without guessing.
Using clear measurements instead of eyeballing makes setups more consistent and
improves overall playability.
Solo Guitars Product Suggestion:
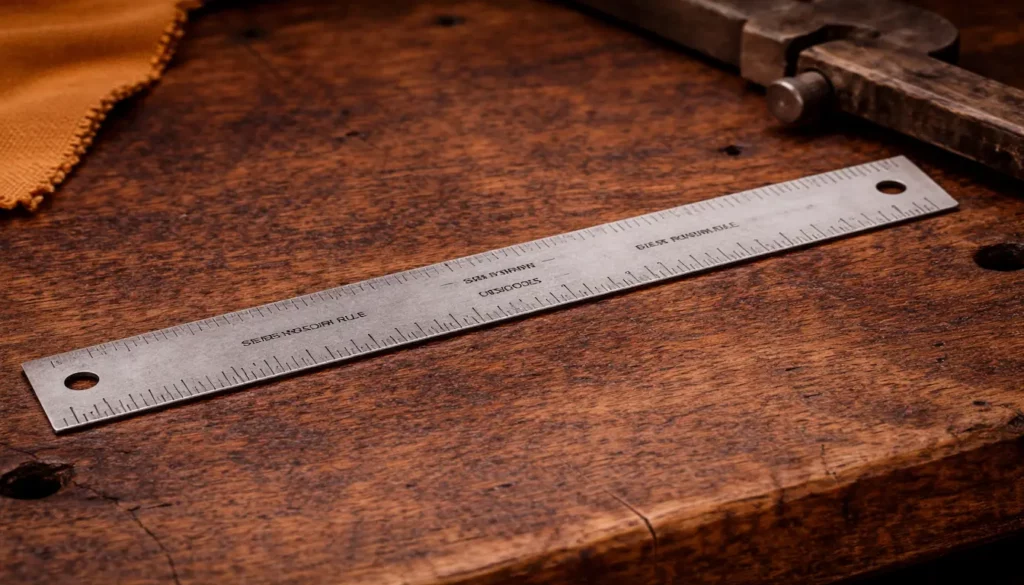
Solo String Spacing Ruler
A precision tool for laying out
evenly spaced strings at the nut and bridge.
Clear markings remove guesswork and
help you dial in consistent
alignment and playability.
Why It’s Great:
✔ Even string spacing at nut and bridge
✔ Clear markings for accurate layout
✔ Great for nut work and setup checks
✔ Thin, durable design for precise measurements
🤘🤘 Rock On — Let’s Get Set Up
Now that you’ve got the right tools on hand, it’s time to prep properly before
making any pickup height adjustments.
A little preparation goes a long way towardaccurate measurements
and consistent results.
🧰 Tools and Preparation for Adjusting Pickup Height
Getting set up properly is just as important as the adjustment itself.
You’ll only need a few basic tools:
- the correct-size screwdriver
- a ruler or feeler gauge
Use the right screwdriver to avoid stripping pickup screws during adjustments.
Work in a stable, well-lit area and keep the guitar tuned to pitch before making changes.
Pickup height adjustments should always be made with the strings under normal tension.
String action and neck relief should also be reasonably dialed in first —
otherwise pickup height changes won’t produce reliable results.
For accurate evaluation, test your pickups using clean amp settings.
Distortion can mask subtle differences in clarity, balance, and sustain.
✌️✌️ Pro Tip:
Before making adjustments, measure and document your starting pickup height.
These measurements are reference points — not targets —
and make it easy to return to your original setup if needed.
📏 Measure Your Current Pickup Height
Before making adjustments, establish a baseline.
Measure the distance from the bottom of the string to the top of the pickup pole piece with
the guitar tuned to pitch.
String tension affects the measurement, so consistency matters.
Take separate measurements for the neck and bridge pickups since each position responds
differently to adjustments.
Use the same string and measuring position each time to keep comparisons accurate.
These measurements are reference points — not ideal targets —
and help you evaluate how setup changes affect tone and response.
Before making adjustments, write your measurements down.
A clear starting point makes it easier to experiment confidently without losing track
of your original setup.
👉👉 Achieving proper neck relief allows the strings to vibrate cleanly and creates
a better foundation for accurate action and pickup adjustments.
👉👉 After setting the neck relief, proper string action setup determines how
comfortable the guitar feels to play.
👉👉 Understanding how pickup height affects tone helps you make smarter
adjustments instead of guessing.
🔧 How to Adjust Pickup Height
Pickup height adjustments should be made in small increments.
Start with quarter turns or less — large changes make it harder to hear what’s actually
affecting the sound.
In most cases, turning the adjustment screws clockwise lowers the pickup while
counterclockwise raises it.
If movement feels unusual, stop and verify the pickup design before continuing.
Adjust one pickup at a time and re-tune the guitar after each change to keep
string tension consistent.
Making multiple adjustments at once makes it harder to identify what’s
affecting the tone.
After every adjustment, evaluate the sound carefully.
Focus on clarity, balance, sustain, and response rather than maximum output —
louder doesn’t automatically mean better.
Gradual adjustments and careful listening usually produce the most balanced
and usable results.
🎚️ Neck vs Bridge
Pickup Adjustments
Neck and bridge pickups serve different tonal roles and should not be adjusted the same way.
The neck pickup usually produces a warmer, fuller sound, while the bridge pickup is brighter
and more focused.
Because of this, bridge pickups are often set slightly closer to the strings, while neck pickups
usually benefit from a bit more distance.
This helps maintain clarity in the neck position while preserving output and attack at the bridge.
The goal is balance — not matching measurements.
If one pickup is noticeably louder or weaker than the other,
switching positions can feel abrupt or uneven.
Use the selector switch to compare pickup response as you make adjustments.
Toggle between positions until the transition feels smooth, balanced, and natural.
Avoid relying on measurements alone.
Trust your ears first and use measurements as reference points rather than fixed targets.
Every guitar responds differently, so final settings should be based on tone, balance,
and playing feel.
👂 Testing Tone as You Adjust
Use clean amp settings when testing pickup height adjustments.
Clean tones make it easier to hear subtle changes that distortion can mask.
As you test, listen for clarity, sustain, note separation, and how evenly notes respond across all strings.
These details reveal whether your adjustments are improving balance and responsiveness.
Play across different areas of the neck, including both higher and lower positions.
Consistent tone and response across the fretboard are strong signs that pickup height is
dialed in correctly.
Test both light and aggressive picking dynamics.
Proper pickup height should support your full playing range without collapsing clarity or
becoming harsh under heavier attack.
Switch between pickup positions as you test. Balance isn’t just about each pickup individually
— it’s also about how smoothly they transition when selected.
When further adjustments stop producing noticeable improvements, stop adjusting.
Pushing beyond that point usually leads to diminishing returns and unnecessary tweaking.
⚠️ Common Pickup Height Mistakes to Avoid
Over-adjusting is one of the most common pickup height mistakes.
Large or frequent changes make it difficult to hear whether the sound is actually improving.
Small, deliberate adjustments usually produce more predictable and reliable results.
Setting pickups too close to the strings can create excessive magnetic pull, which may reduce sustain,
create uneven response, or introduce a warbling effect — especially on open strings.
If notes lose stability or sustain drops noticeably, the pickup is probably too high.
Uneven pickup height or excessive tilt can also create inconsistent string volume.
When one side of a pickup sits much higher than the other, certain strings may dominate
while others sound weak.
Unless intentional fine-tuning is needed, pickup height should generally remain level.
Another common mistake is chasing volume instead of clarity. Increased output can seem
impressive at first, but excessive height often sacrifices balance, dynamics, and note definition.
Focus on tone and response rather than maximum loudness.
Always make one adjustment at a time.
This makes it much easier to identify what each change is actually doing and prevents
unnecessary frustration during setup.
🧠 When Pickup Height Isn’t Enough
Pickup height adjustments have practical limits.
If careful changes fail to improve clarity, balance, or response, the limitation may lie in
the pickup’s design or output rather than its position.
Output mismatch between neck and bridge pickups is a common issue.
When one pickup significantly overpowers the other, height adjustments alone may not fully
resolve the imbalance.
In these situations, pickup compatibility becomes more important than fine-tuning placement.
Magnet type also affects how pickups respond and feel.
Different magnet materials influence attack, compression, sustain, and dynamic behavior.
If height adjustments aren’t delivering the expected results, magnet characteristics may be
shaping the outcome more than positioning.
Pickup age and build quality matter as well.
Lower-quality or heavily worn pickups can lose clarity and consistency over time,
and no amount of adjustment can restore what the materials or design no longer support.
When these limits are reached, replacement becomes a practical next step rather than a failure.
Knowing when adjustment ends and component choice begins helps prevent endless tweaking
and usually leads to better long-term results.
👉 Pickup height adjustments can dramatically change the tone of Telecaster-style guitars.
If you’re working with a Tele build, our Telecaster Style Guitar Guide For DIY Builders
explains how the design affects tone and playability.
👉 If you’re still deciding between pickup styles, see our guide comparing
P90 vs Humbucker pickups to understand how each affects your guitar’s tone.
🏁 Final Thoughts…
Adjusting pickup height is one of the most effective ways to improve tone before replacing any parts.
Small, deliberate changes can noticeably affect clarity, balance, sustain, and playing response when
approached with patience and careful listening.
Pickup height should be treated as part of a complete setup system that includes neck relief,
string action, and playing dynamics.
When those elements work together, adjustments become more predictable and results
more consistent.
If pickup height adjustments still don’t deliver the tone you’re after, replacement may become the
practical next step rather than endless tweaking.
In those situations, Solo Guitars offers reliable replacement pickups and upgrade parts for builders
ready to move forward with confidence.
Taking the time to adjust thoughtfully — and knowing when adjustment has reached its limit —
usually leads to better long-term results and a guitar that responds the way it should.
 Ready to Start?
Here’s your next step —
pick one and go:
 New to guitar kits?
Start with
Step-by-Step Guide To Building
Your First Electric Guitar Kit
and
Essential Tools Every Electric Guitar Kit
Builder Should Have.
Already built a kit?
Jump into
How To Properly Set Up Your
Electric Guitar Kit For Intonation
or
Fixing Common Problems:
Buzzing And Dead Frets.
Chasing better tone?
Head to
Understanding Humbucker
Vs Single Coil Pickups In Kits
or
Playing With Tone Controls:
Tips For Electric Guitar Kits
and start experimenting.
 Your Guitar, Your Build,
Your Sound
You don’t need a custom shop or a tech on speed dial.
All you need is a little guidance, some patience,
and a place to go that shows you what to do next.
Come on man… You got this.
GuitarCrafts
is here to help you along the way.
Craft it. Play it. Own it!