

Adjusting the truss rod is one of the most
important steps in getting your guitar to play right.
It controls the slight curve of the neck,
which directly affects action, comfort,
and whether your strings buzz or ring clean.
Get this right, and your guitar instantly feels
smoother and easier to play.
In this guide,
you’ll learn how to adjust the truss rod safely
and dial in proper neck relief step-by-step.
👉 For a broader look at truss rod adjustments
on finished guitars, check out our full guide:
Adjusting the Truss Rod on an Electric Guitar.

🧰 Tools & Gear You’ll Need
Before adjusting your truss rod,
make sure you have the right tools on hand.
These essentials help you measure
neck relief accurately and make
clean, controlled adjustments.
Using the right tools prevents guesswork
and bad adjustments.
MusicNomad Premium
Truss Rod Wrench
Designed specifically for truss rod adjustments,
this wrench gives you better control in tight spaces.
It helps you make smooth, precise turns
without damaging the nut.
🌟 Amazon Product Suggestion:
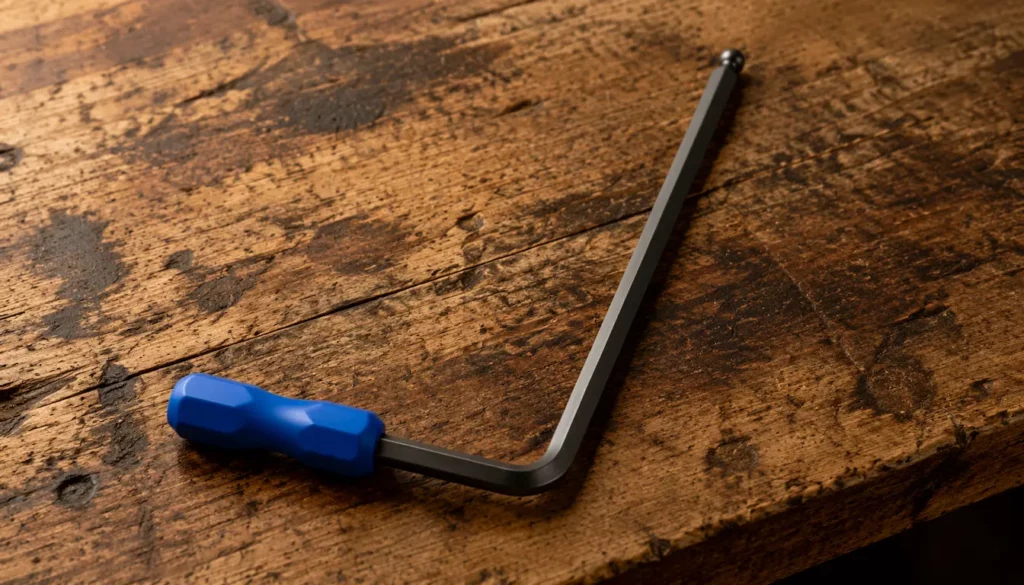
✔️ MusicNomad Premium Truss Rod Wrench
Built for truss rod adjustments,
this wrench gives you better control in tight spaces.
The ball-end design makes it easier to make smooth,
precise turns at awkward angles.
Why It’s Great:
✔️ Ball-end tip for easy adjustments at angles
✔️Comfortable handle for better control
✔️Durable steel construction
✔️Easy to identify and keep in your setup kit
👉 MusicNomad Precision
String Action Gauge Ruler
This gauge makes setup adjustments easy by
giving you precise string height measurements
at a glance.
It helps you dial in consistent action quickly
without guesswork.
🌟 Amazon Product Suggestion:
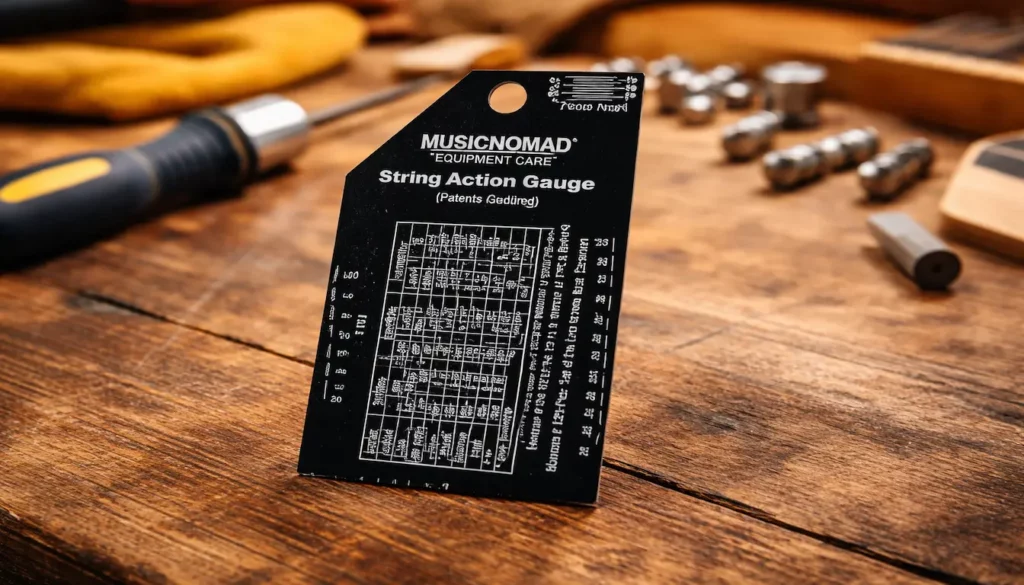
✔️MusicNomad Precision String
Action Gauge Ruler
A simple tool for measuring
string height accurately during setup.
It helps you get consistent action
without guessing.
Why It’s Great:
✔️Easy-to-read etched markings
✔️Works with common units
✔️Compact and durable design
✔️Great for quick action checks
👉 Jivarrry Digital Caliper
(6-Inch)
A digital caliper lets you measure
pickup height with high precision.
It helps you get consistent results and
repeat your exact settings every time.
🌟 Amazon Product Suggestion:
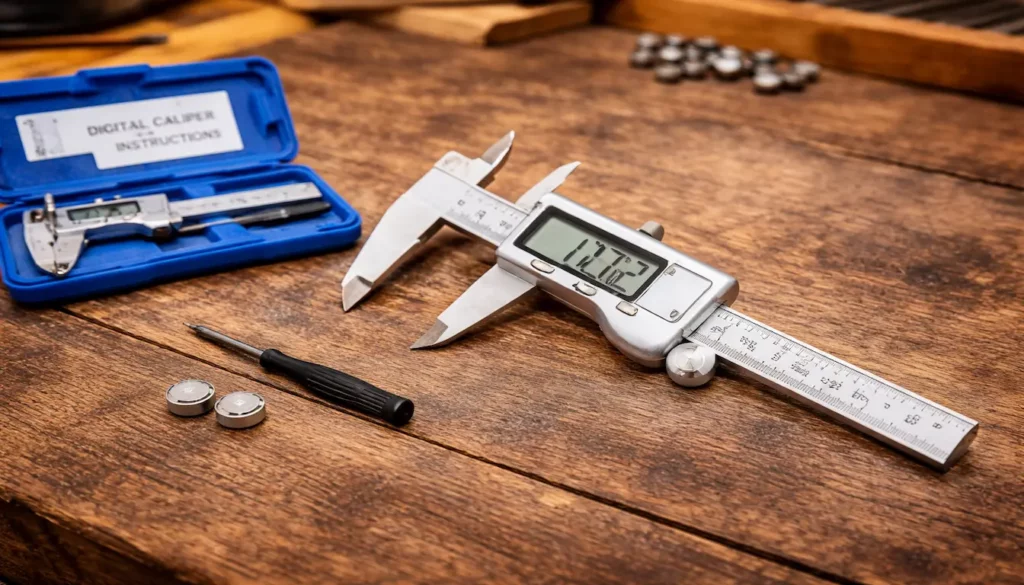
✔️ Jivarry Digital Caliper
(6-Inch)
A simple, reliable tool for measuring
parts that need to fit just right.
It helps you get accurate readings quickly
during your guitar build and setup.
Why it’s great:
✔️Large, easy-to-read digital display
✔️Switches between inch, mm, and fractions
✔️ Measures inside, outside, and depth
✔️ Accurate and easy to use
🛠️ Step-By-Step:
How To Adjust the Truss Rod
for Proper Neck Relief
Before you touch the truss rod,
it helps to know exactly what you’re doing.
These steps walk you through checking relief,
making safe adjustments,
and dialing in the right neck curve.
Go slow, measure often,
and let the neck settle between tweaks.
1. Tune the guitar to pitch
Before touching the truss rod,
tune your guitar to standard pitch.
Neck relief changes under string tension,
so measurements need to be taken under
real playing conditions.
2. Check the current neck relief
Use a straightedge or hold the low E string
at the 1st and last fret.
Measure the gap at the 8th fret with a
feeler gauge or action gauge.
3. Locate the truss rod adjustment point
Depending on your kit,
the adjustment will be:
- At the headstock (under a cover), or
- At the heel (near the body)
Make sure you’re using the correct tool
for your truss rod.
4. Adjust the truss rod
in small increments
Turn the truss rod 1/8 to 1/4 turn at a time:
- Clockwise →
reduces relief (straightens the neck) - Counterclockwise →
increases relief (adds bow)
👉 Pro Tip: Make small adjustments,
then retune and recheck.
5. Re-tune and re-measure
After each adjustment,
tune back to pitch.
Check the gap at the 8th fret and
compare your measurement.
👉 Pro Tip: Give the neck a minute to
settle before rechecking.
6. Repeat Until Relief Is Dialed In
Keep adjusting until the gap
feels right for your setup.
For most kits,
that’s around .010″ of relief.
👉 Pro Tip: Aim for smooth playability,
not perfection.
7. Check for Buzzing
or Dead Spots
Play up and down the neck
and listen carefully.
- Buzzing in lower frets →
neck is too straight (loosen slightly) - Buzzing higher up →
too much bow (tighten slightly)
👉 Pro Tip: Make small adjustments
and recheck after each change.
8. Reinstall the Truss Rod Cover
(If Needed)
If your kit has a headstock cover,
reinstall it once everything feels right.
🎸 Final Thoughts…
Dialing in the truss rod is one of the
most important adjustments you’ll make.
A small turn can be the difference between
a stiff, buzzy neck and a smooth,
comfortable setup.
Once your relief is set, everything else —
action, intonation, and pickup height —
becomes easier to dial in.
Take your time, measure carefully,
and make small adjustments.
Get this right,
and your guitar will feel better
every time you pick it up to play.
What Do You Want To Do Next?
Here’s where to go next:
 If you’re new to guitar kits:
Start with
Step-by-Step Guide To Building
Your First Electric Guitar Kit
and
Essential Tools Every Electric Guitar
Kit Builder Should Have.
If you already own a kit guitar:
Jump into
How To Properly Set Up Your
Electric Guitar Kit For Intonation
or
Fixing Common Problems:
Buzzing And Dead Frets.
If you want to improve your tone:
Head to
Understanding Humbucker
Vs Single Coil Pickups In Kits
or
Playing With Tone Controls:
Tips For Electric Guitar Kits
and start dialing in your tone.
Your Guitar, Your Build, Your Sound
You don’t need a custom shop or a tech on speed dial.
All you need is a little guidance, some patience,
and a place to go that shows you what to do next.
Come on man… You got this.
 Craft it. Play it. Own it!
This is why I enjoy reading blogs’ especially on topics I know nothing about. My daughter got a guitar for her birthday years ago and I didn’t even know what a pick was. Now I know what that and a truss rod is. 🙂 Thank you so much for your guidance. I’ll bookmark this for future needs! It’s really resourceful!
I love hearing that! It’s always fun when something new clicks, especially with guitar stuff. It’s like learning a new language, but way more fun. A pick and a truss rod might seem small, but they make a huge difference in how a guitar feels and plays. Who knows, maybe you’ll be adjusting that truss rod yourself someday. Glad you found it helpful, and I’m happy it earned a spot in your bookmarks!
Thank you so much,
~Wayne
You’ve done it again—another outstanding guide on something that often confuses first-time builders: adjusting the truss rod for perfect neck relief. Your clear breakdown of when to loosen versus tighten, checking relief with a straightedge or feeler gauge, and planning for small, gradual turns takes the mystery—and the stress—right out of the process.
This site continues to be such an invaluable resource. Every time I visit, I’m met with guides that are both authoritative and approachable—perfect for building confidence and craftsmanship. I’ll definitely be heading back whenever I need trustworthy, hands-on advice for my next build. Thank you for the thoughtful insight!
Thank you so much for the kind words! I know truss rod adjustments can feel intimidating the first time you try them, so I’m glad the step-by-step approach helped take the pressure off. Once you get the hang of those small, careful turns and learn to read the neck’s response, it really does become second nature.
It means a lot to hear that you find the guides both trustworthy and approachable—that’s exactly the balance I aim for. I want every builder, no matter their experience level, to feel confident tackling these kinds of adjustments.
Appreciate you stopping by, and I look forward to hearing about your next build when the time comes!
Thanks again,
~Wayne