

Adjusting the truss rod on an electric guitar is a
key part of keeping the neck stable, comfortable,
and easy to play.
The truss rod counteracts string tension, helping
the neck hold the correct shape so your guitar
feels right in your hands.
Understanding how neck relief works —
and how the truss rod controls it —
makes it easier to spot issues like fret buzz,
high action, and uneven playability
before they become bigger problems.

Recommended Tools
for Adjusting a
Guitar Truss Rod
Having the right tools makes truss rod adjustments
safer, more accurate, and far less stressful.
These are simple, reliable setup tools that help you
measure neck relief correctly and make
controlled adjustments without guessing.
MusicNomad Premium
Truss Rod Wrench
This wrench is designed for guitars that use a 5mm
truss rod nut and offers excellent control during
adjustments.
The ball-end tip makes it easier to reach tight angles
without stripping the nut or fighting the neck.
 Amazon Product Suggestion:
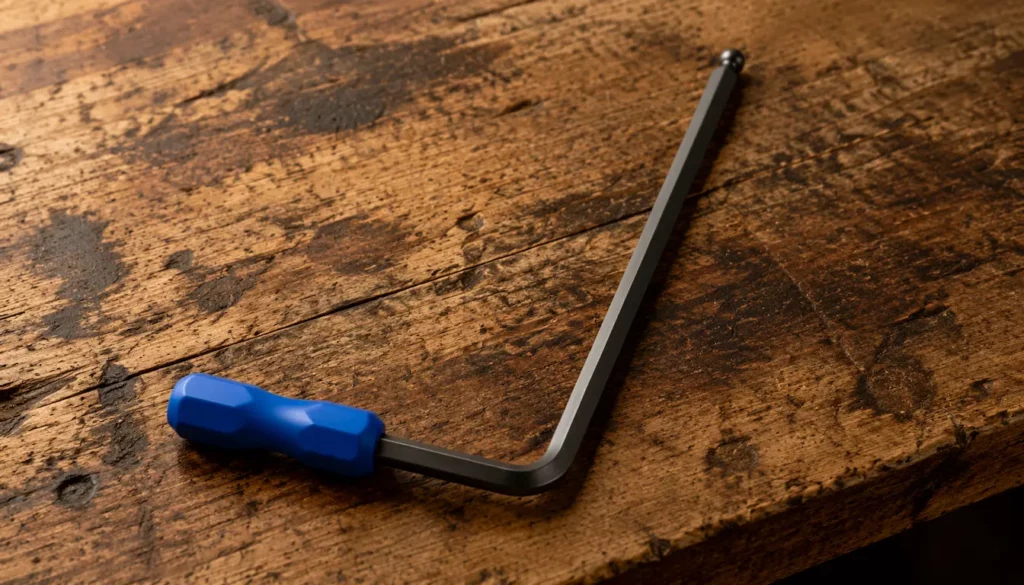
 MusicNomad Premium Truss Rod Wrench
5mm (MN236)
If your guitar uses a 5mm truss rod nut,
this wrench is a solid addition to your setup kit.
The ball-end design allows easy adjustments
at tight angles, while the ergonomic handle
provides smooth, controlled neck-relief tweaks
without hand fatigue.
Why It’s Great:
Designed specifically for Martin 5mm truss rods nuts
Ball-end tip lets you adjust from tight angles
Durable steel construction for long-term use
Comfortable ergonomic handle for better control
MusicNomad Precision
String Action Gauge Ruler
Accurate measurements are key when setting neck relief
and action, and this gauge removes the guesswork.
Clear, etched markings make it easy to check
string height and relief consistently across different guitars.
Amazon Product Suggestion:
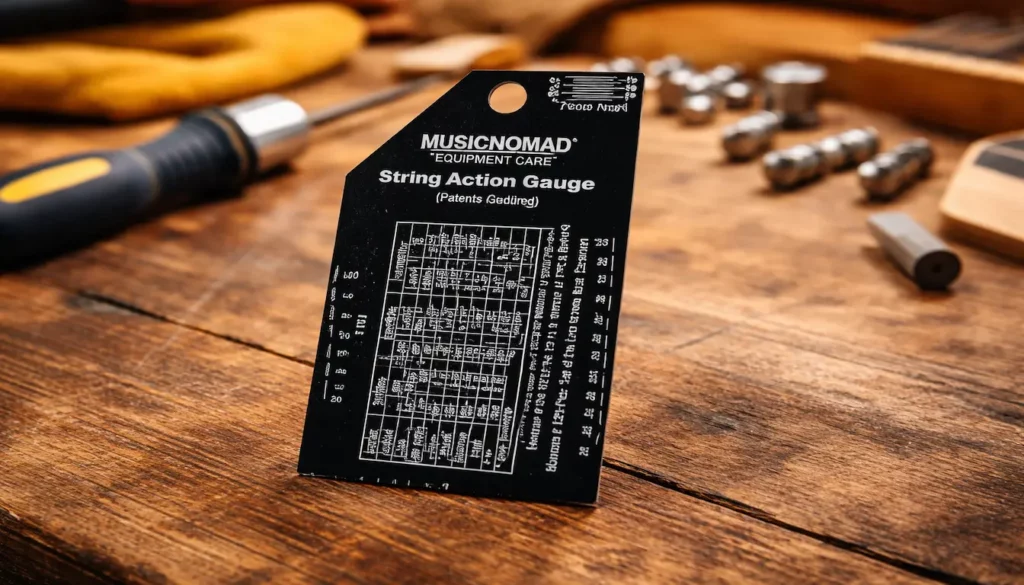
MusicNomad Precision String Action Gauge Ruler
for String Height- Metric, SAE, 64ths
(MN602)
The MusicNomad MN602 String Action Gauge
is a precision stainless-steel ruler designed
to help you dial in perfect string height
on electric, acoustic, and bass guitars.
With easy-to-read etched markings in
metric, SAE, and 64ths, it takes the guesswork
out of action setup and ensures repeatable,
pro-level results every time.
Why It’s Great:
Ultra-precise etched measurements with no fading
Works for electric, acoustic, and bass guitars
High-contrast black-on-white markings for easy reading
Durable stainless steel design for long-term us
Jivarry Digital Caliper
(6-Inch)
For players and builders who want precise measurements,
a digital caliper adds another level of accuracy.
It’s ideal for checking string height, hardware dimensions,
and fine setup details during truss rod and action work.
Amazon Product Suggestion:
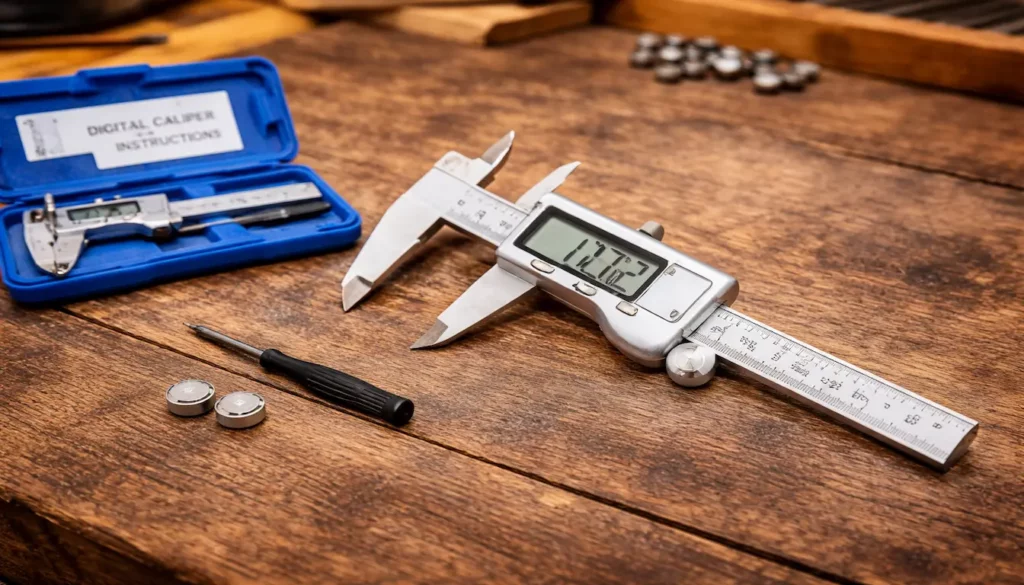
Jivarry Digital Caliper
(Stainless Steel, Large LCD, 6-Inch)
The Jivarry Digital Caliper is an
affordable, accurate measuring tool
every woodworker should have.
Its smooth stainless-steel slide and large
LCD make precise measurements quick
and frustration-free, with instant switching
between inches, millimeters, and fractions.
Ideal for checking thickness, dimensions,
hardware sizing, and fine joinery adjustments.
Why it’s great:
Large, easy-to-read digital display
Instantly switches between inch, mm, and fractions
Stainless steel body for smooth, accurate measurements
Measures inside, outside, depth & step values
Preparing to Adjust Your
Guitar’s Truss Rod Safely
With the right tools ready, the next step is
using them correctly before making any adjustments.
Proper preparation helps you avoid guesswork and
reduces the risk of over-adjusting the neck.
To check current neck relief, place a capo on the
first fret, hold the string down at the final fret,
and measure the gap around the 7th or 8th fret.
This measurement shows how much the neck is
bowing and helps determine whether the
truss rod needs tightening or loosening.
Truss rod adjustments should always be made
slowly and in small increments.
Turn the rod slightly, then allow time for the
neck to settle before making further changes.
Work in a stable environment at room temperature,
as wood reacts to changes in humidity and heat,
and rushing adjustments can lead to unnecessary problems.
Executing the Perfect
Truss Rod Adjustment
-
Understand the direction of adjustment
Tightening the truss rod reduces neck relief
when there is too much forward bow,
while loosening it adds relief if the neck is
too straight or back-bowed. -
Make small, controlled adjustments
Turn the truss rod no more than about a
quarter turn at a time, then stop and
allow the neck to respond.
Rushing adjustments or forcing the rod
increases the risk of damage. -
Test playability after each change
Play chords, scales, and bends across the neck,
paying close attention to fret buzz, stiffness,
or uneven response.
If the neck feels too tight,
ease the adjustment slightly. -
Document what you change
Once the setup feels right for your playing style,
record the adjustment.
This makes future setups easier and helps track
how your guitar responds to seasonal or
string-gauge changes.
👉👉 Once your truss rod is properly adjusted,
the final step is understanding how this small change
fits into your overall guitar setup and
long-term playability.
🎸 Final Thoughts…
Adjusting the truss rod on an electric guitar is
one of the most effective ways to improve
playability and comfort.
When done slowly and with the right measurements,
it’s a safe adjustment that helps your guitar feel
consistent and responsive.
Small changes make a big difference,
especially when combined with proper
action and setup work.
Take your time, trust your measurements,
and don’t be afraid to revisit the adjustment
as seasons or string gauges change.
A well-set truss rod keeps your guitar
playing its best for the long haul.
👉👉 If you’re working with a build in progress,
this process is covered in more detail in our guide on
how to adjust the truss rod for neck relief in guitar kits.
 Ready to Start?
Here’s your next step —
pick one and go:
 New to guitar kits?
Start with
Step-by-Step Guide To Building
Your First Electric Guitar Kit
and
Essential Tools Every Electric Guitar Kit
Builder Should Have.
Already built a kit?
Jump into
How To Properly Set Up Your
Electric Guitar Kit For Intonation
or
Fixing Common Problems:
Buzzing And Dead Frets.
Chasing better tone?
Head to
Understanding Humbucker
Vs Single Coil Pickups In Kits
or
Playing With Tone Controls:
Tips For Electric Guitar Kits
and start experimenting.
 Your Guitar, Your Build,
Your Sound
You don’t need a custom shop or a tech on speed dial.
All you need is a little guidance, some patience,
and a place to go that shows you what to do next.
Come on man… You got this.
GuitarCrafts
is here to help you along the way.
Craft it. Play it. Own it!