
Building your first guitar kit is exciting—
until you realize you’re missing the
tools you actually need.
The right tools don’t just make the job easier—
they’re the difference between frustration and a
guitar that actually plays right.
Whether you’re shaping the neck,
adjusting hardware,
or dialing in your setup —
the right tools make everything
easier and more accurate.
The right tools help you avoid mistakes —
and get better results from the start.
This guide covers the essential tools every
guitar kit builder should have on the bench
before starting.
👉 This guide is part of my Electric Guitar Build Guides,
where I walk through the full build process step-by-step.

🔧 Gear Up: Essential Tools for Your First Build
Before you start sanding, soldering, and
assembling your kit, you need the
right tools on the bench.
These are the tools that make the build easier,
more accurate, and a lot less frustrating.
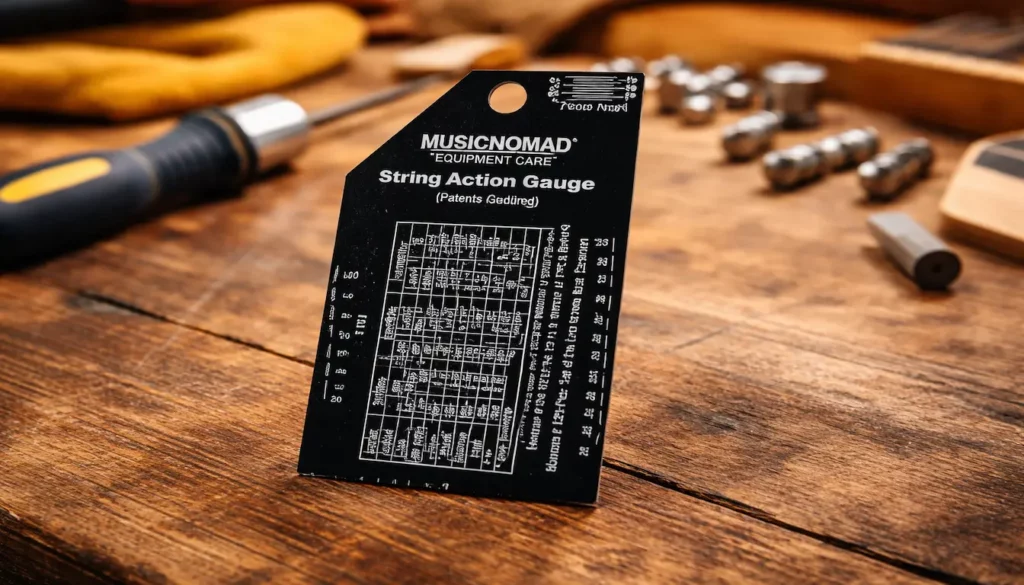
🎯 MusicNomad Precision String Action Gauge Ruler
If you want low action without fret buzz,
this tool helps you set your string height
accurately and consistently.
🌟 Amazon Product Suggestion:
✔️MusicNomad String Action Gauge Ruler
The MusicNomad MN602 String Action Gauge
is a simple, easy-to-read tool that takes
the guesswork out of setting your action.
It helps you get consistent results every time
you set up your guitar.
Why It’s Great:
✔️Easy-to-read etched measurements
✔️Works on electric, acoustic, and bass
✔️Built-in setup charts for quick reference
✔️Durable stainless steel design
🧰 25Pcs Guitar Repairing Tools Kit Setup Kit
A simple all-in-one kit that gives you the
basic tools most beginners don’t realize they need.
It makes setup, adjustments, and small fixes
much easier right from the start.
Great if you want everything in one place
instead of buying tools piece by piece.
🌟 Amazon Product Suggestion:
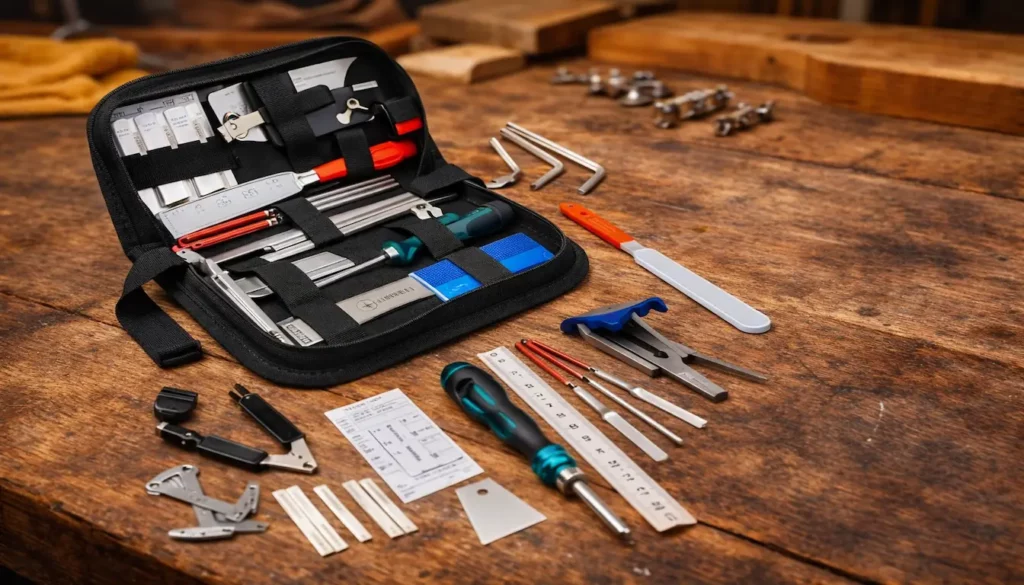
✔️25Pcs Guitar Repairing Tools Kit
(Setup Kit with Carry Bag)
This 25-piece guitar repair and setup kit is a
convenient starter kit that covers most
basic setup and adjustment tasks.
It’s an easy way to get up and running
without buying tools one at a time.
Why It’s Great:
✔️ All-in-one kit for basic setup
✔️ Works for electric and acoustic guitars
✔️Compact case keeps everything organized
✔️ Great starter option for beginners
📐 Jivarrry Digital Caliper
Accurate measurements matter —
this tool makes checking thickness, spacing,
and fit quick and easy.
Small measurement mistakes are one of the
biggest beginner problems.
🌟 Amazon Product Suggestion:
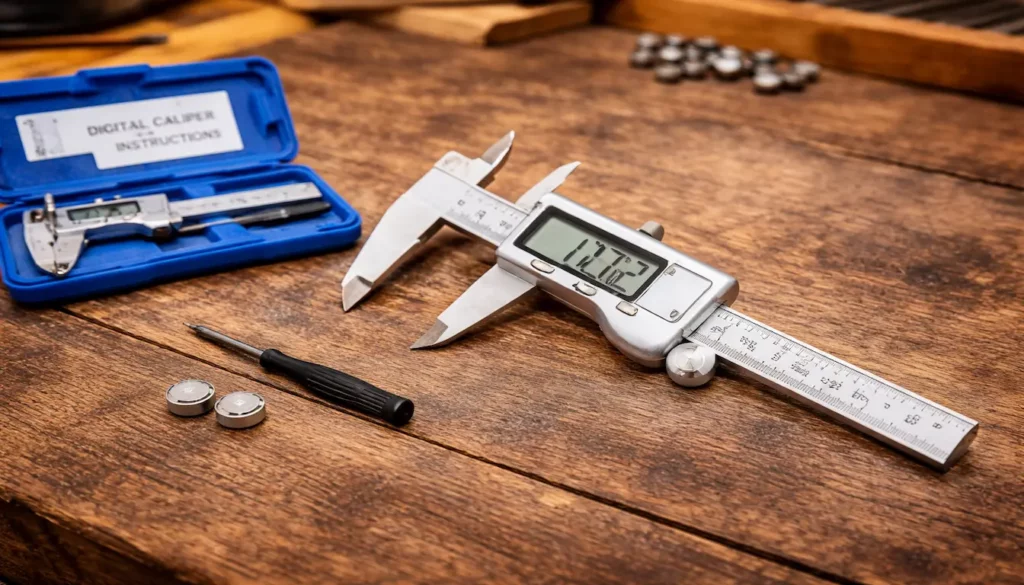
✔️ Jivarry Digital Caliper
(Stainless Steel, Large LCD, 6-Inch)
The Jivarry Digital Caliper is asimple, reliable tool
for measuring parts that need to fit just right.
It helps you get accurate results quickly when
working on your guitar build.
Why it’s great:
✔️Large, easy-to-read digital display
✔️Switches between inch, mm, and fractions
✔️ Measures inside, outside, and depth
✔️ Accurate and easy to use
⚡KAIWEETS 6000-Count Digital Multimeter
When you need to test wiring or
track down electrical issues,
this tool makes it quick and easy.
Perfect for troubleshooting
pickups, switches, and wiring problems.
🌟 Amazon Product Suggestion:
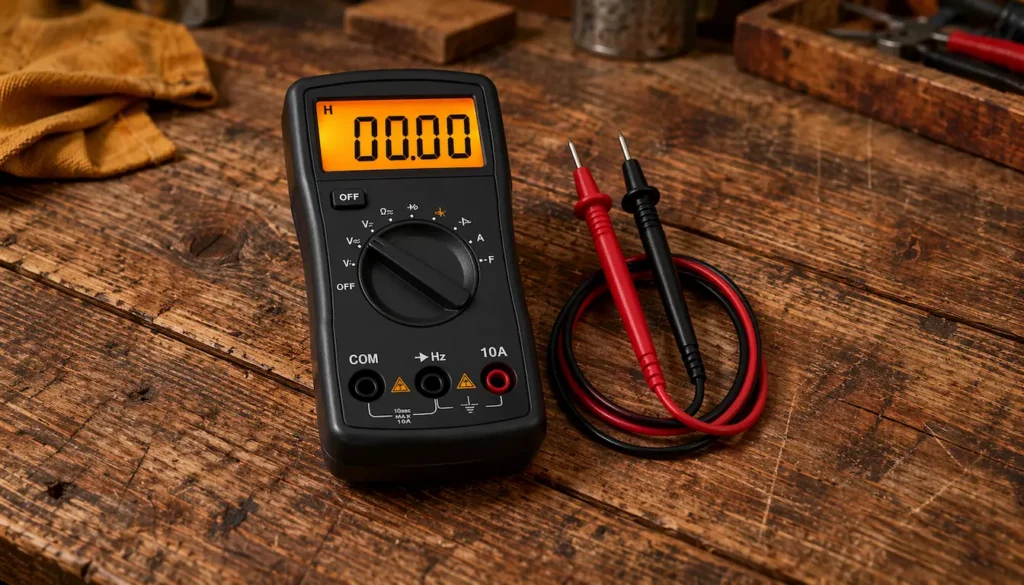
✔️ KAIWEETS 6000-Count Digital Multimeter
This KAIWEETS multimeter is a reliable,
beginner-friendly tool for checking connections and
making sure your wiring is working properly.
It’s an easy way to troubleshoot problems
instead of guessing.
Why It’s Great:
✔ Continuity check for fast connection testing
✔ Measures resistance for wiring diagnostics
✔Auto-ranging for easy use
✔ Bright display for low-light work
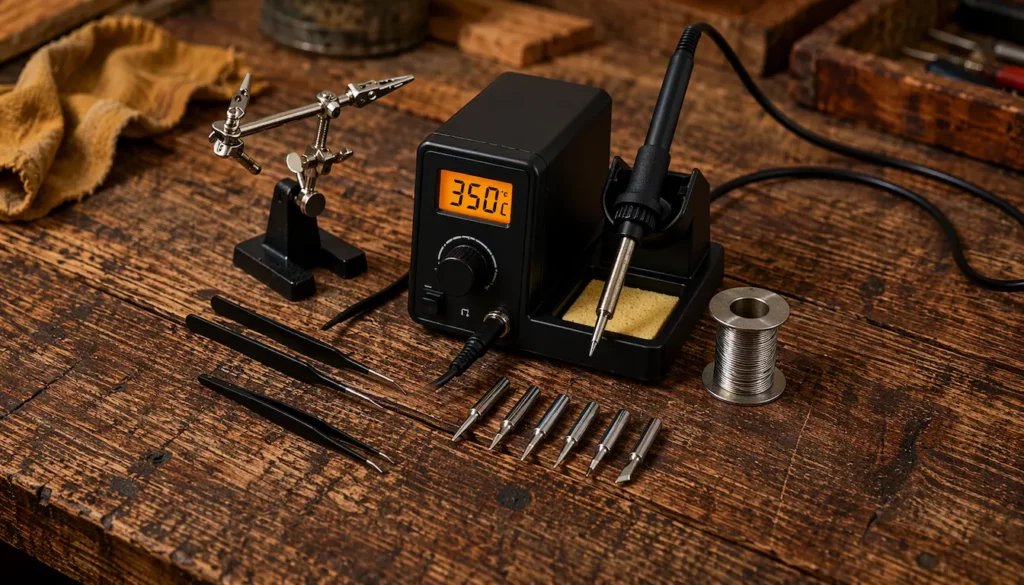
🔥YIHUA 926 III Soldering Station
A good soldering station makes wiring
cleaner, safer, and more reliable.
This is a solid option for getting
consistent results.
A must-have if you plan to wire
pickups or upgrade electronics.
🌟 Amazon Product Suggestion:
✔️ YIHUA 926 III Digital Soldering Station
(60W)
This upgraded YIHUA station is a
reliable soldering station that gives you
better control when working on guitar wiring.
It helps you make cleaner connections without the
frustration of cheap soldering tools.
Why It’s Great:
✔Adjustable temperature for better control
✔ Heats up quickly and stays consistent
✔ Includes useful accessories for wiring work
✔ Great for pickups, switches, and repairs
🪚 Step-by-Step: How You’ll Use These Tools
Here’s how and when you’ll actually use
these tools during your build—
from sanding and shaping to wiring, setup,
and final adjustments.
This turns your tool list into a real build guide —
not just a shopping list.
1️⃣ Unbox & Inspect Your Kit
Before you touch anything,
inspect every part carefully.
- Use your digital caliper to check
neck pocket fit and hardware spacing early. - Make sure the neck fits properly
and the bridge holes line up cleanly.
2️⃣ Dial In Your Neck Fit
A great build starts with a clean neck joint.
- Clamps help you test alignment
and keep everything steady. - Minor adjustments now prevent
bigger problems later.
3️⃣ Prep & Shape Before Finish
Everything needs to be smooth and
accurate before finishing.
- Use files and sanding tools to
clean edges and cavities. - Your finish will only look as good
as your prep work.
4️⃣ Install Hardware With Precision
Small alignment mistakes cause big problems later.
- Use your caliper to confirm
spacing and alignment. - The tool kit helps you adjust hardware
without stripping screws.
5️⃣ Wire the Electronics Like a Pro
This is where clean work really matters.
- A soldering station gives you clean,
controlled connections. - A multimeter helps verify wiring
and catch problems early.
6️⃣ Set the Neck & Lock In Playability
Once assembled, setup begins.
- Use your action gauge to dial in string height.
- Fine-tune relief and feel before moving on.
7️⃣ Final Action, Intonation & Testing
Now you bring everything together.
- Adjust action and intonation
for proper playability. - Use your multimeter again if anything sounds off.
8️⃣ Plug In and Enjoy the Build You Just Mastered 🎸🔥
This is where it all pays off.
- Everything should feel solid, stable, and dialed in.
- You’re playing something you built yourself —
not guessing.
👉 Want the full walkthrough?
Follow our Electric Guitar Neck & Setup Guide
to dial in relief, action, and intonation the right way.
🎸 Final Thoughts…
Building an electric guitar kit is a lot smoother
when you’ve got the right tools on your bench.
From dialing in your action to
soldering clean connections and
measuring everything accurately,
the right gear gives you the control to
build something you’re proud to plug in.
Take your time, trust the process,
and let the tools do the heavy lifting.
The payoff is a custom instrument that
feels made for your hands and your sound.
 Ready to Start?
Here’s your next step —
pick one and go:
 New to guitar kits?
Start with
Step-by-Step Guide To Building
Your First Electric Guitar Kit.
Already built a kit?
Jump into
How To Properly Set Up Your
Electric Guitar Kit For Intonation
or
Fixing Common Problems:
Buzzing And Dead Frets.
Chasing better tone?
Head to
Understanding Humbucker
Vs Single Coil Pickups In Kits
or
Playing With Tone Controls:
Tips For Electric Guitar Kits
and start experimenting.
 Your Guitar, Your Build,
Your Sound
You don’t need a custom shop or a tech on speed dial.
All you need is a little guidance, some patience,
and a place to go that shows you what to do next.
Come on man… You got this.
GuitarCrafts
is here to help you along the way.
Craft it. Play it. Own it!
The soldering temperature guidelines for pickups are clutch—too many beginners fry their electronics by cranking the heat too high. Your multimeter recommendation is spot-on; it’s the unsung hero of troubleshooting wiring issues.
The fret-leveling file suggestion shows real builder expertise. Have you found certain brands hold their edge longer with repeated use on harder fretwire?
This list cuts through the noise. That caution about “all-in-one” kits missing critical tools like nut files should save new builders major headaches.
Thanks for the kind words, glad the guide hit home for you! You’re absolutely right: dialing in the right soldering temp can make or break a wiring job, especially with delicate pickup leads. And yep, once you get comfortable with a multimeter, it becomes an indispensable part of the bench kit.
Great question about fret files. In my experience, StewMac and Hosco files tend to hold up better over time, especially on stainless or EVO fretwire. Cheaper files can wear fast or lose their cut completely on harder materials.
Appreciate you pointing out the bit about “all-in-one” kits too, those missing tools have derailed more than a few first builds. Really glad the list helped cut through the clutter!
This overview is fantastic—it brings real clarity to the gear that actually matters when building an electric guitar from a kit. What I appreciate most is how it balances necessity with practicality: you cover tool categories like clamping, drilling, soldering, shaping, measuring, and finishing, but all with everyday accessibility in mind. Seeing items like a workbench with a soft-jawed vice, a clutch-controlled cordless drill, coping saws or jigsaws for headstock curves, precise steel rulers, and even simple essentials like rags make the craft feel approachable yet carefully considered. Your inclusion of safety gear—especially a proper ventilator for finishes—shows how much you respect both the process and the builder’s well-being. It’s that blend of care, detail, and realism that makes the guide feel both inspiring and trustworthy.
If you were to highlight just one tool that newcomers often underestimate—something seemingly small that ends up being a genuine time- or stress-saver—which would you say deserves more attention?
Thank you so much! I’m glad the guide resonated with you. One of my main goals is making sure builders feel equipped without being overwhelmed.
If I had to pick one often-overlooked tool, I’d say a good set of clamps with soft jaws can be a real lifesaver. They might seem minor compared to drills or soldering irons, but having reliable clamps makes gluing, shaping, and even small assembly steps so much easier and more precise. They save time, reduce stress, and prevent accidental dings or misalignments that can be frustrating for newcomers.
It’s those little details that quietly make the whole building process smoother and more enjoyable!
Thanks again,
~Wayne
Really solid guide! I like how you broke things down into build tools, setup tools, and even cost analysis—it gives beginners a full picture of what they’re getting into before starting. The reminder that precision tools make the difference between a “just okay” build and a guitar that actually feels professional is spot on.
One thought: for someone who’s unsure whether to invest in higher-end tools right away, would you recommend starting with a budget toolkit and upgrading over time, or is it worth biting the bullet and buying quality tools from the start?
Thanks for the great feedback! I’m glad the breakdown was helpful! That’s an excellent question about tools. Honestly, it depends a bit on how deep someone wants to go into building. For a first-time builder, a decent budget toolkit can get the job done and helps you learn the basics without a big upfront investment. Over time, though, you’ll definitely notice that higher-quality tools save frustration and give more consistent results. My usual advice is to start with a solid but affordable set, then upgrade the tools you use most often; like files, calipers, or soldering gear—as you build more.
That way you’re not overspending right away, but you still end up with a reliable toolkit that grows with your skills.
Thank you!
~Wayne