

Intonation is one of the final setup steps that
determines whether your guitar plays in tune
across the entire neck.
When it’s set correctly,
chords sound right, notes ring true,
and everything stays in tune from the
first fret to the last.
In this guide,
you’ll learn how to adjust your intonation
step-by-step — so your guitar plays
clean, accurate, and consistent.
Let’s get it tuned right the first time.
👉 This adjustment is part of my
Electric Guitar Neck & Setup Guide,
where I break down the core setup steps that
affect how your guitar feels and plays.

Tools You’ll Need for
Accurate Intonation
Before you start,
here are the essential tools for setting
intonation quickly and accurately.
These are the same tools I use
on every build.
🎯 MusicNomad Precision
String Action Gauge Ruler
A simple tool for measuring string height accurately.
Helps you dial in your action and avoid guesswork.
🌟 Amazon Product Suggestion:
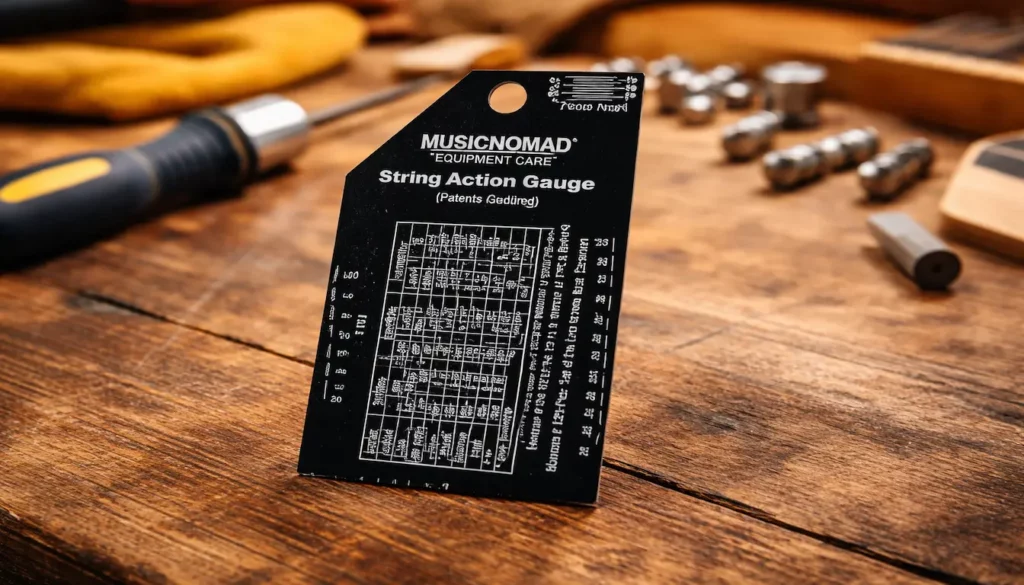
✔️MusicNomad Precision String
Action Gauge Ruler
The MusicNomad Action Gauge is a
precision stainless-steel ruler
designed to help you set your action correctly
so your guitar plays clean without buzz.
Why It’s Great:
✔️Precise etched measurements
✔️Works for electric, acoustic, and bass
✔️Easy-to-read markings
✔️Durable stainless steel design
🧰 25Pcs Guitar Repairing
Tool Setup Kit
This all-in-one kit packs the
essential files, wrenches,
and setup tools you’ll reach for
over and over during your build.
🌟 Amazon Product Suggestion:
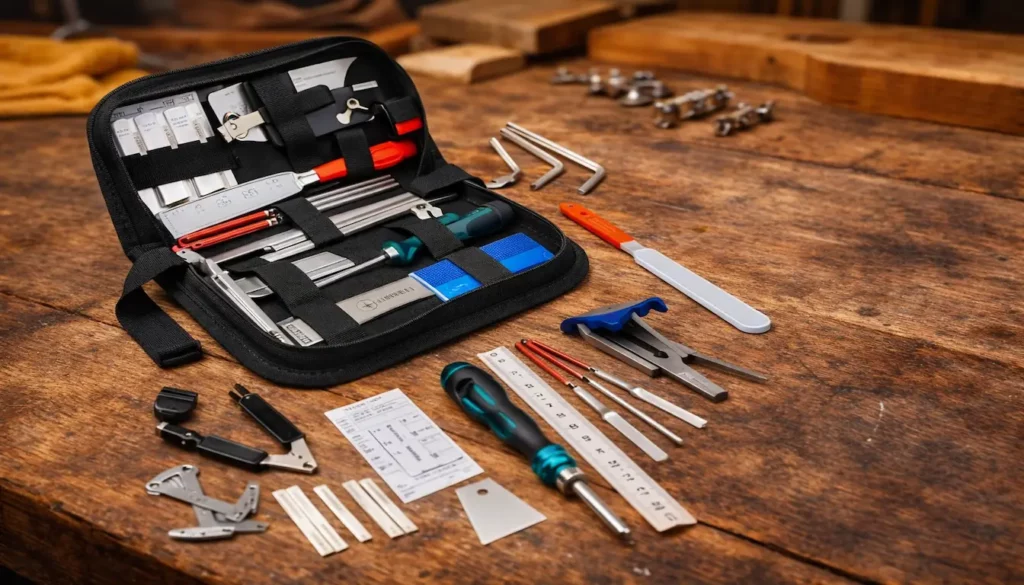
✔️25Pcs Guitar Repairing
Tool Setup Kit
This 25-piece guitar repair and setup kit
gives you the core tools needed for setup,
adjustments, and basic maintenance.
Why It’s Great:
✔️ All-in-one setup kit
✔️ Great for common adjustments
✔️ Compact case keeps tools organized
✔️ Affordable starter option
📐 Jivarrry Digital Caliper
Accurate measurements matter,
and this digital caliper makes checking thickness,
spacing, and hardware fit effortless.
🌟 Amazon Product Suggestion:
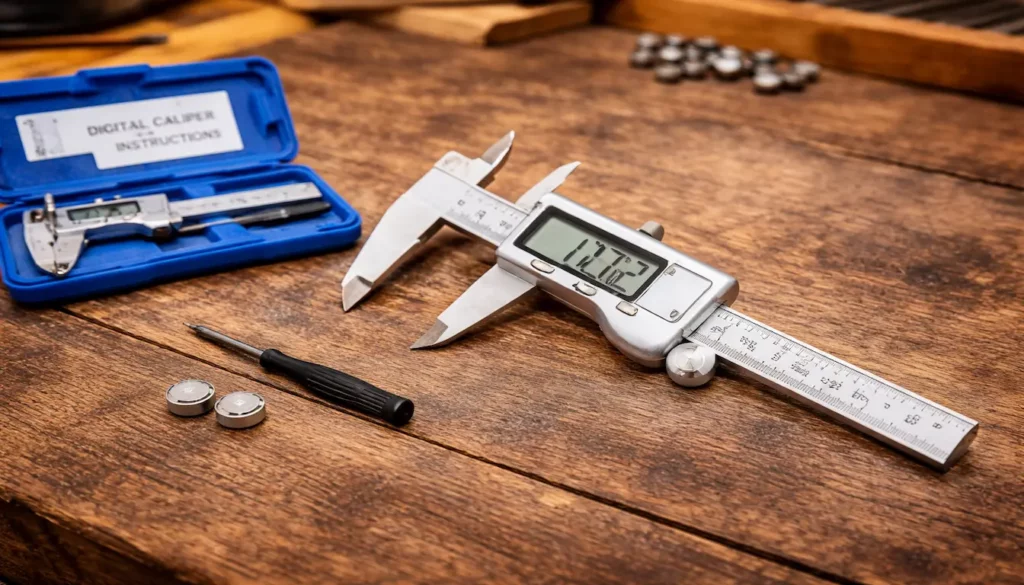
✔️ Jivarry Digital Caliper
(6-Inch)
The Jivarry Digital Caliper is an
affordable, accurate measuring tool that
helps you measure precisely so
parts fit correctly the first time.
Why it’s great:
✔️Clear digital display
✔️Switches between units easily
✔️ Measures inside, outside, and depth
✔️ Reliable for precise setup work
🎯 Step-By-Step: How To
Properly Intonate Your
Electric Guitar Kit
1. Tune the Guitar to Pitch
Start with a fully tuned guitar
using a reliable tuner.
Accurate tuning is critical before
making any adjustments.
👉 Re-tune after every change.
2. Check the 12th Fret
Harmonic
Play the harmonic at the 12th fret,
then fret the same note.
Compare the two pitches.
- If the fretted note is sharp →
string length is too short - If flat →
string length is too long
3. Adjust the Saddle Position
Move the saddle to
correct the pitch difference.
- Sharp → move saddle back
- Flat → move saddle forward
Make small adjustments each time.
4. Retune and Recheck
After each adjustment,
re-tune and test again.
Repeat until both notes match.
5. Repeat for All Six Strings
Work one string at a time.
Each string will need its
own adjustment.
6. Check Intonation
Across the Neck
Play notes and chords up the fretboard.
Listen for anything that sounds off.
👉 If something feels wrong,
recheck that string.
7. Final Tuning
and Play Test
Once everything lines up,
tune the guitar again.
Play through chords, riffs, and bends.
👉 The guitar should sound in tune
across the entire neck.
🎸 Final Thoughts…
Intonating your guitar is what brings
everything together.
When it’s set correctly, chords sound right,
notes ring true, and the entire neck feels
consistent and in tune.
You’ll hear it immediately — and you’ll feel it
every time you play.
Take your time, trust your ears, and make
small adjustments as you go.
A well-intonated guitar doesn’t just sound better
— it plays better, responds better,
and makes everything easier.
Get this step right,
and your build will truly come alive.
 Ready to Start?
Here’s your next step —
pick one and go:
 New to guitar kits?
Start with
Step-by-Step Guide To Building
Your First Electric Guitar Kit
and
Essential Tools Every Electric Guitar Kit
Builder Should Have.
Already built a kit?
Jump into
Fixing Common Problems:
Buzzing And Dead Frets.
Chasing better tone?
Head to
Understanding Humbucker
Vs Single Coil Pickups In Kits
or
Playing With Tone Controls:
Tips For Electric Guitar Kits
and start experimenting.
 Your Guitar, Your Build,
Your Sound
You don’t need a custom shop or a tech on speed dial.
All you need is a little guidance, some patience,
and a place to go that shows you what to do next.
Come on man… You got this.
Hi Wayne!
Just finished reading your guide to tuning an electric guitar kit and really appreciated it.
As someone who has struggled with a slightly weird DIY build in the past, your detailed step-by-step breakdown was just what I needed.
You made a potentially daunting process seem completely approachable. The “12th harmonic fret vs. fretted note” tip? Brilliant—so practical! I also loved the Strat-specific tip; my last kit had a tremolo and I wish I had known about these quirks sooner. Your emphasis on fresh strings and your patience really struck a chord with me—I’ve definitely rushed this step before and paid the price in tuning headaches.
One thing that really struck me: you called the tone the “heartbeat” of the sound. So true! After my first build, I realized that even beautiful pickups can’t save a bad tone. It’s the invisible glue that holds everything together.
Any additional wisdom on vintage-style bridges with limited saddle travel? How often do you retune in very humid climates?
Thanks for such a clear and encouraging guide. You turned a technical chore into something rewarding. The neck of my next kit will sing because of it!
Best regards,
Mitia
Wow, thank you for such a thoughtful comment! It means a lot to hear that the guide helped you, especially since DIY kits can definitely throw some curveballs. That 12th fret harmonic trick is one of those little game-changers, right? And yeah, Strat-style tremolos can be deceptively finicky, I’ve learned that lesson the hard way too.
Great questions, by the way. With vintage-style bridges, I’ve found that dialing in intonation sometimes means finding a “happy medium” rather than perfect tuning across all strings, especially if saddle travel is limited. Sometimes flipping the saddle or using compensated saddles can help. As for humid climates, I usually do a quick check and retune every time I pick up the guitar. Humidity can wreak havoc, especially on neck relief and tuning stability.
Glad to hear your next kit’s neck will sing! That’s what it’s all about. Appreciate you taking the time to write in.
Keep building!
This is such a clear and encouraging guide—setting up proper intonation truly transforms a basic build into a guitar that plays in tune across the entire fretboard. I really appreciate how you break down the process starting with fresh strings, accurate tuning, and checking the action before adjusting saddles. The step-by-step comparison between the 12th-fret harmonic and the fretted note is both simple and profoundly effective. Calling intonation the “heartbeat of your sound” is such a powerful image—it underscores how crucial this step is, even more than flashy hardware or fancy pickups.
Your special notes for Strat-style bridges are especially helpful—floating bridges do introduce unique challenges, and your method for leveling the bridge and carefully adjusting saddles is exactly the practical advice builders need. For anyone building a DIY kit, your emphasis on patience, precision, and methodical tuning can’t be overstated—it turns an intimidating final step into a rewarding one.
If there’s one thing builders often underestimate, I’d guess it’s the value of starting with brand-new strings—old ones can mask intonation issues and lead to frustration down the line. What’s one small detail in the intonation process that tends to surprise beginners the most when they first try it?
Thank you so much! I’m glad the guide made intonation approachable! Getting it right really does transform a guitar from “just playable” to something that sings across the whole fretboard.
You’re spot on about new strings, they make a huge difference in accuracy and make the whole process less frustrating. One small detail that tends to surprise beginners is just how sensitive the saddles can be. Even tiny adjustments, fractions of a millimeter, can noticeably change the intonation, and it can be eye-opening to see how precise the process needs to be. Another common surprise is how much neck relief and action affect intonation; sometimes the problem isn’t the saddles at all, but small tweaks to the neck or string height can make everything fall into place.
It’s always rewarding to see builders gain confidence with these steps. It’s those little “aha” moments that really make the effort worthwhile!
Thanks again,
~Wayne
Great post, Wayne! Intonation is one of those often-overlooked steps that can make or break a DIY guitar build. You’ve broken it down in a way that’s both practical and encouraging, which is perfect for beginners who may feel intimidated by the process. I especially appreciate how you emphasized using fresh strings and tuning accuracy before adjusting saddles—many players skip that and wonder why their guitar never sounds quite right. The section on Strat-style guitars was a solid addition too, since floating tremolo setups can be a real headache if you don’t know what you’re doing. Overall, this guide does a fantastic job of showing that intonation isn’t just about tone—it’s about playability and making the guitar truly gig-ready. With patience, the right tools, and your step-by-step approach, any builder can bring their kit to life.
Thanks so much for the thoughtful comment! I’m glad the guide came across as practical and encouraging. Intonation really is one of those steps that can make a huge difference, and it’s easy to overlook. You’re spot-on about fresh strings and accurate tuning; skipping that step is a common pitfall. I’m also happy the Strat-style section hit the mark. Floating tremolos can definitely be tricky for DIY builders. Your feedback really reinforces why I love breaking these steps down for builders of all levels.
Thanks again for taking the time to read and share your thoughts!
~Wayne