
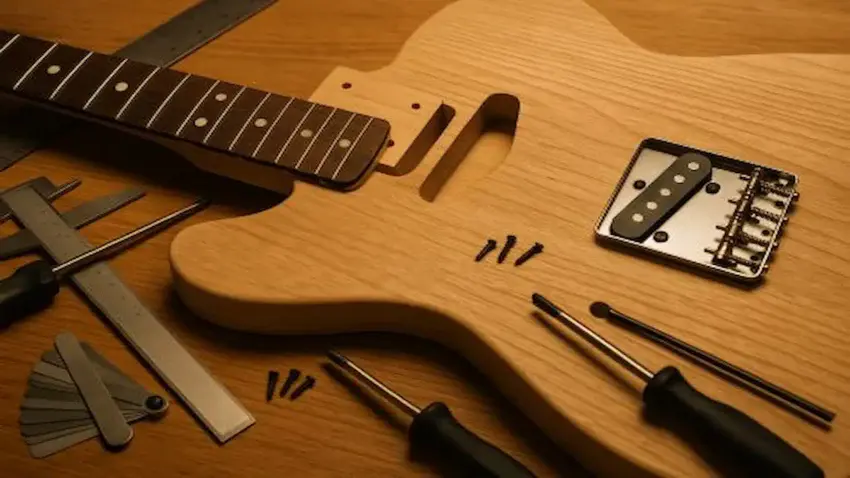
Setting up the bridge and neck is where your
guitar finally starts to feel like a real instrument.
This is where everything comes together —
your action, intonation, neck angle,
and overall playability.
Get this right, and your guitar will feel
smooth, stable, and ready to play.
Rush it, and you’ll be fighting fret buzz,
tuning issues, and a neck that never quite sits right.
This guide walks you through how to align the neck,
position the bridge and dial everything in before
moving on to wiring and final setup.
Let’s make this guitar play like you
built it with purpose.
👉 Quick Setup Fix (Start Here First)
If your guitar doesn’t feel right after assembly,
start here:
- Buzzing or high action?
Check neck angle and bridge height - Strings not lining up?
Recheck neck alignment in the pocket - Tuning feels unstable?
Make sure the bridge is seated and adjusted properly
Getting these basics right will save you hours of frustration later.
👉 This is part of my
Electric Guitar Neck & Setup Guide,
where I break down the core setup steps that
affect how your guitar feels and plays.

🛠️ Tools for Bridge and Neck Setup
Setting up your bridge and neck is a lot easier
with the right tools on your bench.
These are the essentials that help you measure
accurately and make clean adjustments.
🎯 MusicNomad Precision String Action Gauge Ruler
If you want low action without fret buzz,
this tool helps you set your string height accurately.
One of the easiest ways to get your setup feeling right.
🌟 Amazon Product Suggestion:
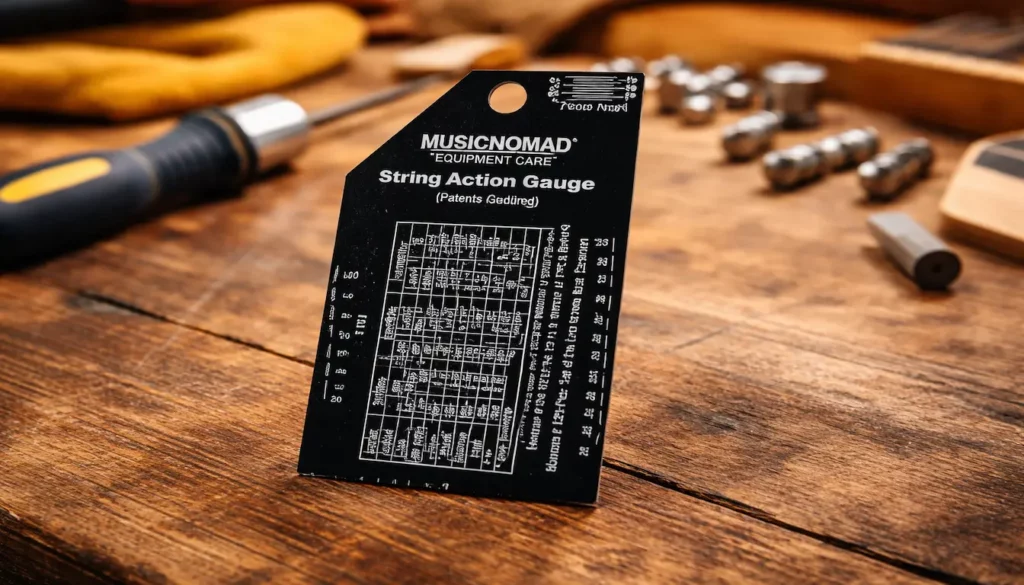
✔️MusicNomad Precision String Action Gauge Ruler
The MusicNomad MN602 String Action Gauge
A simple, easy-to-read tool that takes the
guesswork out of setup.
It helps you get consistent results
every time you adjust your guitar.
With etched markings in metric, SAE, and 64ths,
it gives you quick, accurate readings when
dialing in your action.
Why It’s Great:
✔️ Easy-to-read etched measurements
✔️ Works on electric, acoustic, and bass
✔️ High-contrast markings for visibility
✔️ Durable stainless steel design
🧰 25Pcs Guitar Repairing Tools Kit Setup Kit
An all-in-one kit with the basic tools
you’ll use throughout your build.
It’s a simple way to get started
without buying everything separately.
Great for beginners who want a
complete setup in one kit.
🌟 Amazon Product Suggestion:
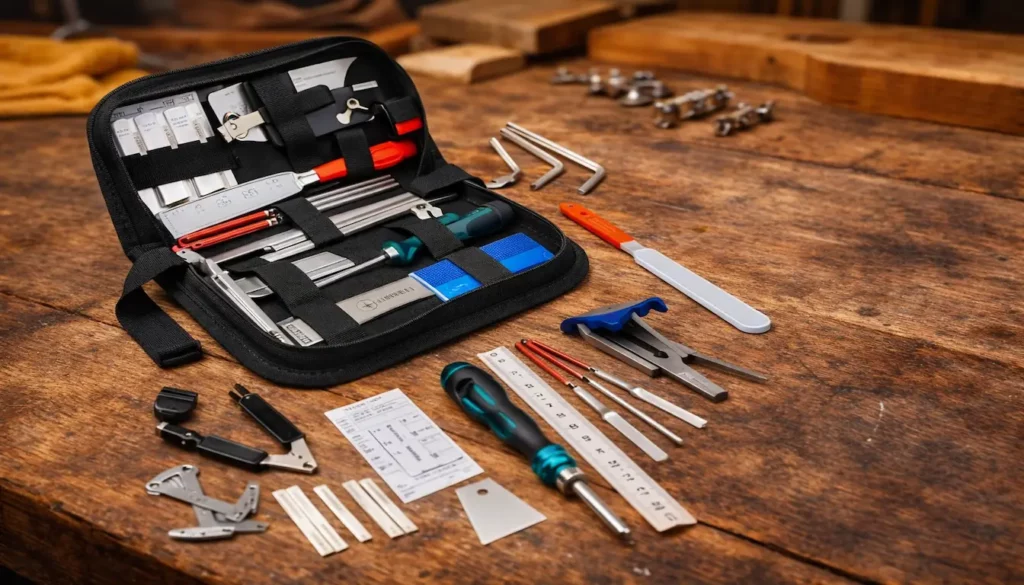
✔️25Pcs Guitar Repairing Tools Setup Kit
(with Carry Bag)
This 25-Piece Guitar Repair Tools Setup Kit is a
convenient starter kit that covers the most
common setup and adjustment tasks.
It helps you get up and running without
buying tools one at a time.
Why It’s Great:
✔️ All-in-one kit for basic setup
✔️ Works for electric and acoustic guitars
✔️ Covers common adjustments
✔️ Compact case keeps everything organized
📐 Jivarrry Digital Caliper
This digital caliper makes checking thickness,
spacing, and fit quick and easy.
Helps you avoid small mistakes that
turn into big problems later.
🌟 Amazon Product Suggestion:
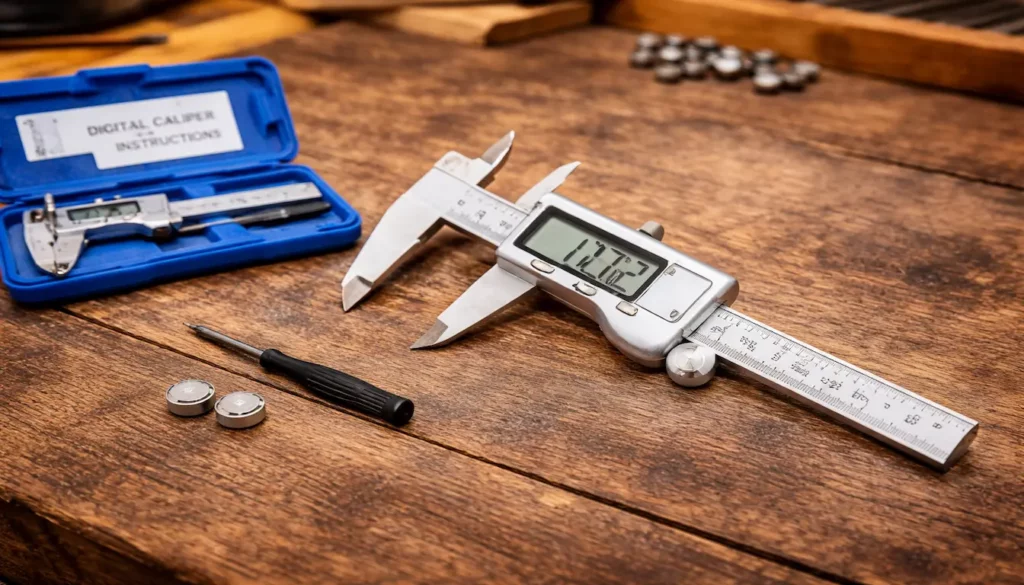
✔️ Jivarry Digital Caliper
(Stainless Steel, Large LCD, 6-Inch)
The Jivarry Digital Caliper is asimple, reliable tool
for measuring parts that need to fit just right.
It helps you get quick, accurate readings
during your build and setup.
Why it’s great:
✔️Large, easy-to-read digital display
✔️Switches between inch, mm, and fractions
✔️ Measures inside, outside, and depth
✔️ Accurate and easy to use
⚡KAIWEETS 6000-Count Digital Multimeter
Use this multimeter to test wiring,
check continuity, and diagnose electrical issues.
Great for troubleshooting
pickups, switches, and connections.
🌟 Amazon Product Suggestion:
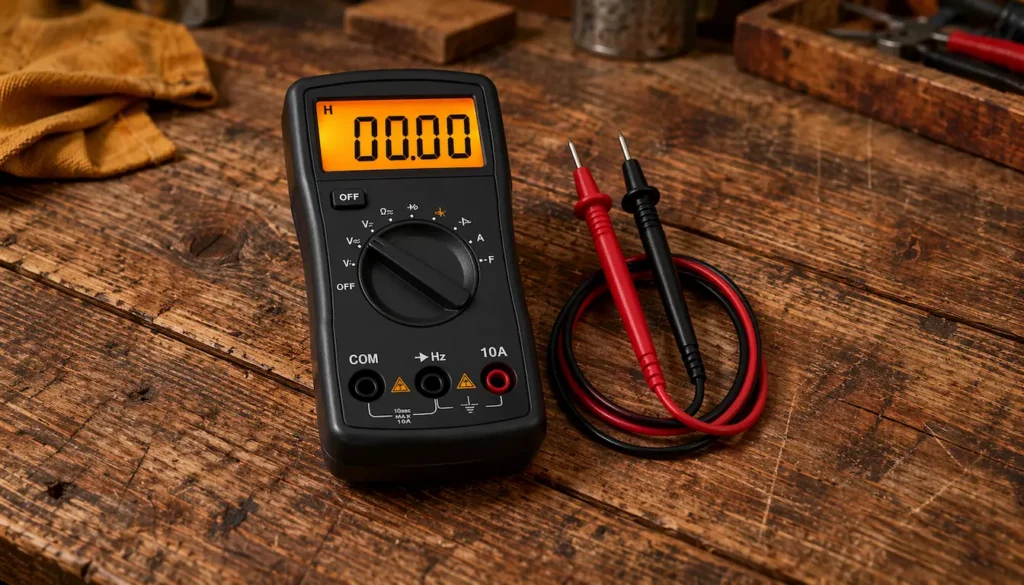
✔️ KAIWEETS 6000-Count Digital Multimeter
This KAIWEETS multimeter is a simple, reliable tool
for checking connections and making sure your
wiring is working properly.
It helps you troubleshoot problems quickly
instead of guessing.
Why It’s Great:
✔ Continuity check for fast connection testing
✔ Measures resistance for wiring diagnostics
✔ Auto-ranging for easy use
✔ Bright display for low-light work
🔥YIHUA 926 III Soldering Station
A good soldering station makes wiring
cleaner, safer, and more reliable.
A must-have for pickups, switches,
and wiring upgrades.
🌟 Amazon Product Suggestion:
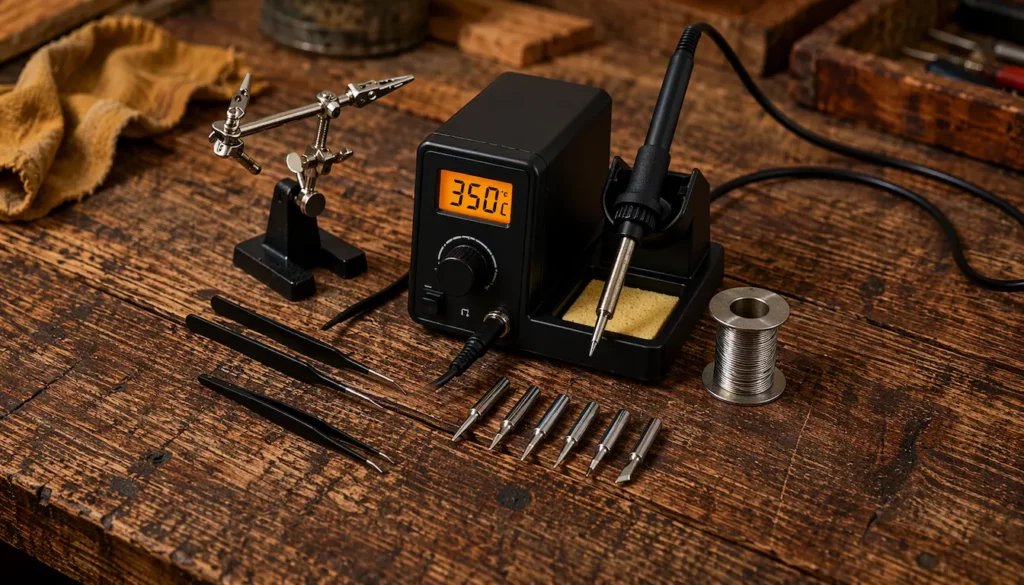
✔️ YIHUA 926 III Digital Soldering Station
Precision Temp Control + Full Accessory Kit
(60W)
This upgraded YIHUA Soldering Station is a
reliable soldering station that
gives you better control when
working on guitar wiring.
It helps you make clean, consistent connections
without the frustration of cheap tools.
Why It’s Great:
✔ Adjustable temperature for better control
✔ Heats quickly and stays consistent
✔ Includes useful accessories for wiring work
✔ Great for pickups, switches, and repairs
🧰 Step-By-Step: Setting Up the Bridge and Neck on Your Guitar Kit
1. Test-Fit the Neck in the Pocket
Slide the neck into the pocket and check the fit.
A snug fit is ideal —
too loose and you’ll fight alignment later.
👉 Pro Tip: If it doesn’t sit flat,
sand lightly in the pocket — not the neck.
2. Install the Neck Screws or Bolts
Clamp the neck lightly in place
and install the screws.
Tighten evenly so the neck doesn’t shift.
👉 Pro Tip: Start all screws first,
then tighten gradually.
3. Line Up the Bridge to the Centerline
Use a straightedge to align the bridge with the neck.
Make sure the strings will run straight
before drilling.
4. Mount the Bridge or Bridge Plate
Once aligned, secure the bridge to the body.
Drill pilot holes first to avoid
cracking or chipping.
👉 Pro Tip: Don’t force screws —
let them thread naturally.
5. Check Scale Length Before Locking It In
Measure from the nut to the bridge
to confirm scale length.
Double-check before drilling anything permanent.
6. Install the Bridge Ground Wire
Run the ground wire under the bridge plate.
Test the connection before final installation.
7. Restring the Guitar Lightly
Install a light set of strings.
Use them to check alignment and
spacing before final setup.
8. Check Neck Relief
Sight down the neck or use a feeler gauge.
Adjust the truss rod if needed —
small turns only.
9. Rough-Set Your Action
Adjust saddle height to get close to
your preferred feel.
This is just a starting point —
not final setup.
👉 Pro Tip: Aim for a playable feel,
not perfection yet.
10. Final Neck Alignment Check
Make sure the strings run evenly
across the fretboard.
Adjust the neck slightly if needed
before tightening.
11. Lock Down All Hardware
Once everything lines up,
tighten all screws fully.
This locks your alignment in place
before final setup.
🎸 Final Thoughts…
Getting the bridge and neck set up correctly is
one of the most important steps in turning
your guitar kit into a truly
amazing instrument.
When everything is aligned, tightened,
and sitting where it should be,
the rest of the build gets a lot easier.
Wiring, intonation, action,
and final tweaks all fall into place.
Take your time, make small adjustments,
and let the guitar settle as you go.
The better this foundation is,
the better your guitar will feel
every time you pick it up to play.
 Ready to Start?
Here’s your next step —
pick one and go:
 New to guitar kits?
Start with
Step-by-Step Guide To Building
Your First Electric Guitar Kit
and
Essential Tools Every Electric Guitar Kit
Builder Should Have.
Already built a kit?
Jump into
How To Properly Set Up Your
Electric Guitar Kit For Intonation
or
Fixing Common Problems:
Buzzing And Dead Frets.
Chasing better tone?
Head to
Understanding Humbucker
Vs Single Coil Pickups In Kits
or
Playing With Tone Controls:
Tips For Electric Guitar Kits
and start experimenting.
 Your Guitar, Your Build,
Your Sound
You don’t need a custom shop or a tech on speed dial.
All you need is a little guidance, some patience,
and a place to go that shows you what to do next.
Come on man… You got this.
GuitarCrafts
is here to help you along the way.
Craft it. Play it. Own it!
This post is a fantastic deep dive into one of the trickiest parts of building an electric guitar kit—setting up the bridge and neck just right. I love how it breaks down the steps clearly and emphasizes how these adjustments impact playability and tone. It’s great to see detailed tips on intonation and neck relief, which can be intimidating for beginners but are so crucial for getting that perfect feel. A couple of questions: Do you have any favorite tools or gadgets that make neck and bridge setup easier or more precise for DIY builders? How often do you recommend checking and adjusting the setup once the guitar is in regular use?
Thanks for sharing such a thorough guide! ~Leahrae
Thanks so much, Leahrae! I’m really glad the post helped break things down… Neck and bridge setup can definitely feel overwhelming at first, but once you understand how it all works together, it gets a lot more approachable. Great questions, too! I’d say a good, notched straightedge and fret rocker are must-haves for precision, and I’m a big fan of digital string action gauges. They take the guesswork out of measurements. As for ongoing maintenance, I usually recommend checking the setup every few months, especially with seasonal humidity changes or after lots of playing. A small tweak here and there can keep everything feeling dialed in.
Thanks again!
What a great guide! Setting up the bridge and neck really is the heart of getting an electric guitar kit to feel like a real instrument instead of just parts bolted together. I like how you broke it down into approachable steps and emphasized patience — that’s key, since rushing adjustments usually leads to buzzing strings or awkward action. The way you compared setup to a dance party made it fun and relatable too. I also appreciate the reminder that a little relief in the neck is normal; so many beginners chase a perfectly straight neck without realizing it can make playability worse. Pairing the setup with amp exploration is a nice touch, since tone and feel go hand in hand. Overall, this makes the process less intimidating and encourages players to learn their instrument inside out. Inspiring stuff!
Thank you so much! I’m thrilled to hear the guide made the bridge and neck setup feel approachable. Patience really is everything, and rushing almost always leads to headaches. I’m glad the “dance party” analogy landed! It makes the process a little more fun, right? You’re spot-on about neck relief; a bit of natural bow is actually great for playability. Pairing setup with amp exploration is one of my favorite ways to connect feel and tone, so I’m glad that resonated.
I really appreciate you taking the time to share your thoughts!
~Wayne
Wow, this post is great for beginners. I never knew that setting the neck and bridge is so important. The way you explain string height and neck relief is easy to understand. Glad you talked about using small tools and being careful! Playing a chord should feel smooth, and your tips help with that. I also like the part about using an amp to find good sound. I feel ready to try building a guitar now.
Thanks so much for your kind words! I’m glad the explanations on neck and bridge setup, string height, and neck relief made things easier to understand. Taking it slow and using the right tools really does make a huge difference, especially when you’re just starting out. It’s awesome that you found the tip about testing with an amp helpful. Hearing how adjustments affect tone in real time is a game changer.
I’m excited for you to start building your guitar! Enjoy the process and have fun experimenting!
Thanks again!
~Wayne