
Skip to content
Electric Guitar Kits Logo
Menu
  • Home
  • Start Here
    • Build Your First Guitar Kit
    • Essential Tools Every Electric Guitar Kit Builder Should Have
    • Setting Up The Bridge And Neck On Your Electric Guitar Kit
    • Are DIY Guitar Kits Good For Beginners?
    • Mastering Tone Controls on Your Electric Guitar Kit (Beginner-Friendly Guide)
  • Fix & Setup
    • How To Adjust Truss Rod For Neck Relief In Guitar Kits
    • Adjusting Action On An Electric Guitar
    • How To Properly Set Up Your Electric Guitar Kit For Intonation
    • Fix Buzzing Frets & Dead Notes
    • Setting Up The Bridge And Neck On Your Electric Guitar Kit
  • Pickups & Wiring
    • Understanding Humbucker Vs Single Coil Pickups In Kits
    • How Pickup Height Affects Electric Guitar Tone
    • How To Adjust Pickup Height On Electric Guitar
    • Guide To Wiring Your Electric Guitar Kit For Optimal Performance
    • How To Shield Your Guitar’s Electronics For Noise Reduction
  • Tone & Upgrades
    • How Tone Pots Shape Feel and Control on Your Guitar
    • How Guitar Electronics Shape Tone Beyond Pickups
    • Does Guitar Wood REALLY Affect Tone? (What Builders Notice First)
    • Best Pickups for Guitar Kits (Budget to Pro Tone Upgrades)
    • How To Choose The Perfect Nut Material For Your Electric Guitar
  • Mods & Custom Builds
    • D.I.Y. Fretboard Inlays For Guitar Kits (Creative Upgrade Guide)
    • D.I.Y. Custom Guitar Inlays (Step-By-Step Guide)
    • How To Choose Between Neck-Through And Bolt-On Necks In Kits
    • String Changing Techniques To Protect Your Guitar
    • Electric Guitar Customization & Mods Guide
Menu
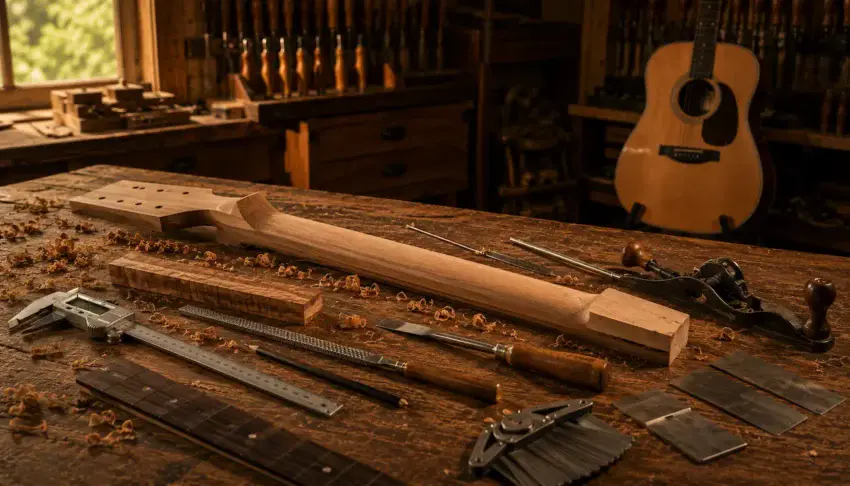
Partially shaped acoustic guitar neck blank on a rustic luthier’s workbench with a truss rod, fingerboard, shaping tools, and wood shavings ready for final carving.

How to Build an Acoustic Guitar Neck

Posted on July 11, 2026 by Wayne

Learning how to build an acoustic guitar neck is one of the most rewarding parts of guitar making.
The neck isn’t just a piece of wood that holds the strings — it’s the part of the instrument you’ll interact with every time you play.
A well-built neck feels comfortable in your hand, stays stable through changing seasons, and helps your finished guitar play beautifully for years to come.

While shaping a neck may seem intimidating at first, it’s simply a series of careful steps.
From selecting the right hardwood and installing a truss rod to carving the profile and fitting the fingerboard, each stage builds on the last.
With patience, accurate measurements, and the right tools, you can create a neck that’s both strong and comfortable.

In this guide, I’ll walk you through the entire process so you can build an acoustic guitar neck with confidence.

👉 Before carving your neck, take a look at The Acoustic Guitar Building Process: From Raw Wood to First Chord to see how this important step fits into the entire build.


🪵 Choosing the Right Wood for an Acoustic Guitar Neck

The wood you choose has a major effect on the neck’s strength, stability, weight, and feel.
Acoustic guitar necks must resist constant string tension while remaining comfortable in the player’s hand, so straight grain and proper seasoning matter more than flashy appearance.

Mahogany is one of the most popular choices because it is stable, easy to carve, and relatively lightweight.
Maple is harder and heavier, but it creates an exceptionally strong neck with a crisp, solid feel.
Walnut and Spanish cedar can also work well when the grain is straight, and the wood has been properly dried.

Look for a neck blank that is:

  • Straight and free from twisting
  • Quarter-sawn or rift-sawn when possible
  • Properly dried and stable
  • Free from large knots, cracks, or weak grain
  • Thick enough for the neck profile and headstock design

A beautiful piece of wood means very little if it moves after the guitar is assembled.

Choose stability first, then let color and grain become the bonus.


👉 Wondering how much work comes after the neck?
Read How Long Does It Take to Build an Acoustic Guitar? to see how this stage fits into the overall timeline.


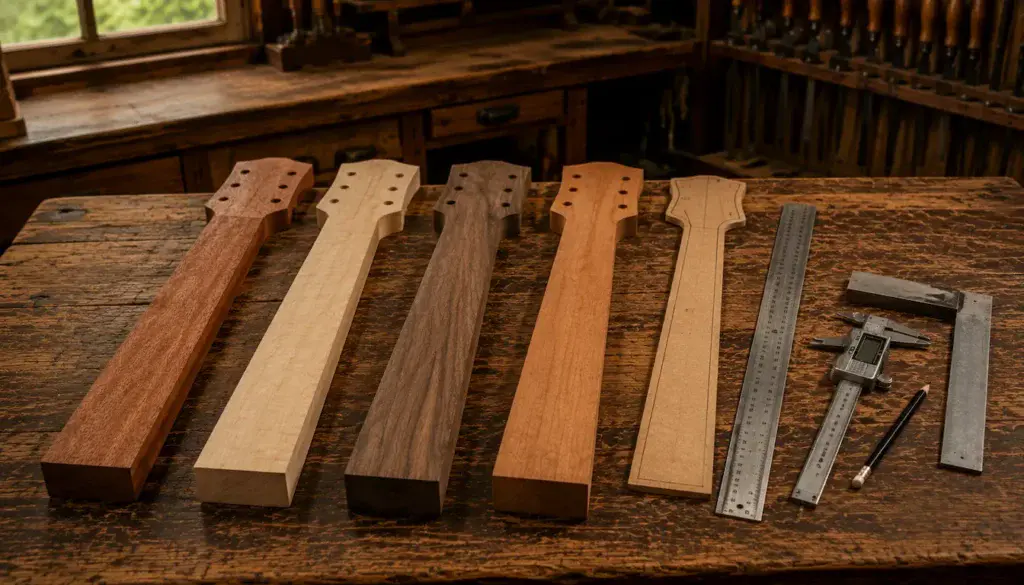
🎸 Choosing the Right Wood for an Acoustic Guitar Neck


Straight-grained acoustic guitar neck blanks made from mahogany, maple, walnut, and Spanish cedar on a luthier's workbench.
A stable, straight-grained neck blank is the foundation of a great acoustic guitar.

🛠 Tools You’ll Need to Build an Acoustic Guitar Neck

Building an acoustic guitar neck doesn’t require a professional luthier’s shop, but using the right tools will make the process more accurate and enjoyable.
Precision matters because even small mistakes can affect the guitar’s playability and long-term stability.

A few carefully chosen hand tools can handle most of the work.
A bandsaw or jigsaw is useful for cutting the neck blank, while rasps, a spokeshave, and cabinet scrapers help shape the neck into its final profile.
Digital calipers, straightedges, contour gauges, and a reliable square ensure everything stays symmetrical as you work.

Some of the most useful tools include:

  • Spokeshave for shaping smooth curves
  • Rasps and cabinet scrapers for refining the profile
  • Digital calipers for accurate measurements
  • Straightedge and engineer’s square for alignment
  • Router with a straight bit for the truss rod channel
  • Clamps and a sturdy workbench for secure work holding

Quality tools won’t build the neck for you, but they’ll help you work more accurately and with greater confidence every step of the way.


🎸 Tools for Building an Acoustic Guitar Neck
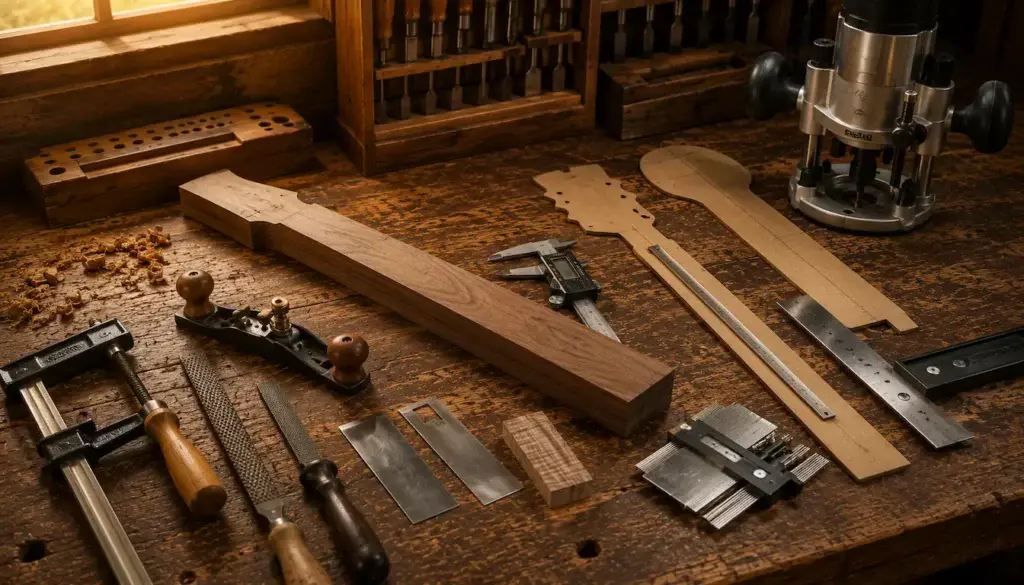

Neck-building tools arranged on a rustic workbench with an acoustic guitar neck blank ready for shaping.
The right tools make every cut count.

📐 Designing Your Acoustic Guitar Neck

Before making the first cut, spend time laying out the neck carefully.
Accurate measurements now will save hours of frustration later and help ensure the finished guitar plays comfortably and stays in tune.

Start by transferring your neck template onto the blank, marking the centerline, headstock angle, heel, and truss rod channel.
Double-check every measurement before cutting because the centerline becomes the reference for nearly every step that follows.
A small error here can affect the alignment of the fingerboard, bridge, and strings.

As you plan the layout, consider:

  • Neck scale length and overall dimensions
  • Headstock shape and angle
  • Heel size and body joint
  • Truss rod location and depth
  • Fingerboard width and taper

Taking your time during the design stage builds confidence for everything that follows.

When the layout is accurate, carving and fitting the neck become much more straightforward.


✏️ Cutting the Neck Blank

With your layout complete, it’s time to turn the rough piece of hardwood into a recognizable guitar neck.
This stage focuses on removing the excess material while leaving enough wood for final shaping later.

A bandsaw is the preferred tool because it makes clean, accurate cuts, but a jigsaw can also get the job done if you work slowly and stay just outside your layout lines.
Don’t try to cut right on the line — leave a small amount of extra material that can be refined during carving and sanding.

As you cut the neck blank:

  • Follow the outside of your layout lines.
  • Support the wood to prevent binding or splintering.
  • Take your time around the headstock and heel.
  • Leave extra material for final shaping.
  • Inspect the blank before moving to the next step.

Once the rough profile is cut, your neck will finally begin to look like part of a guitar.

The fine shaping comes next, where careful handwork transforms a simple block of wood into a neck that’s comfortable to hold and enjoyable to play.


🔩 Installing the Truss Rod

Before carving the neck to its final shape, install the truss rod while the neck blank still has flat reference surfaces.
This makes routing the channel easier and helps ensure the rod sits perfectly centered beneath the fingerboard.

The truss rod channel should match the manufacturer’s specifications for width and depth.
Test-fit the rod before installing it, making sure it moves freely without rattling.
Once you’re satisfied with the fit, the fingerboard can be glued in place, permanently enclosing the truss rod inside the neck.

Keep these tips in mind:

  • Route the channel along the centerline.
  • Follow the truss rod manufacturer’s dimensions.
  • Test-fit the rod before final assembly.
  • Make sure the adjustment nut remains accessible.
  • Remove dust and debris before gluing the fingerboard.

Taking a little extra time here can prevent major problems later.

A properly installed truss rod gives you the ability to fine-tune neck relief and keep your acoustic guitar playing its best for years to come.


🪚 Shaping and Carving the Neck

This is where your acoustic guitar neck truly comes to life.
With the truss rod installed and the fingerboard attached, you can begin transforming the square neck blank into a smooth, comfortable profile that feels natural in your hand.

Most builders remove wood gradually using a spokeshave, rasp, or cabinet scraper, checking the shape often as they work.
It’s far easier to remove a little more wood than it is to replace wood you’ve carved away.
Work slowly, compare both sides frequently, and use contour gauges or templates to keep the profile symmetrical from the nut to the heel.

As you carve the neck:

  • Remove small amounts of material at a time.
  • Check thickness with digital calipers often.
  • Compare both sides to maintain symmetry.
  • Blend the heel and headstock transitions smoothly.
  • Stop frequently to feel the neck in your hand.

The goal isn’t just a beautiful-looking neck — it’s one that feels comfortable every time someone picks up the guitar.

Patience during this stage pays off with an instrument that’s as enjoyable to play as it is to admire.


🎸 Carving an Acoustic Guitar Neck by Hand
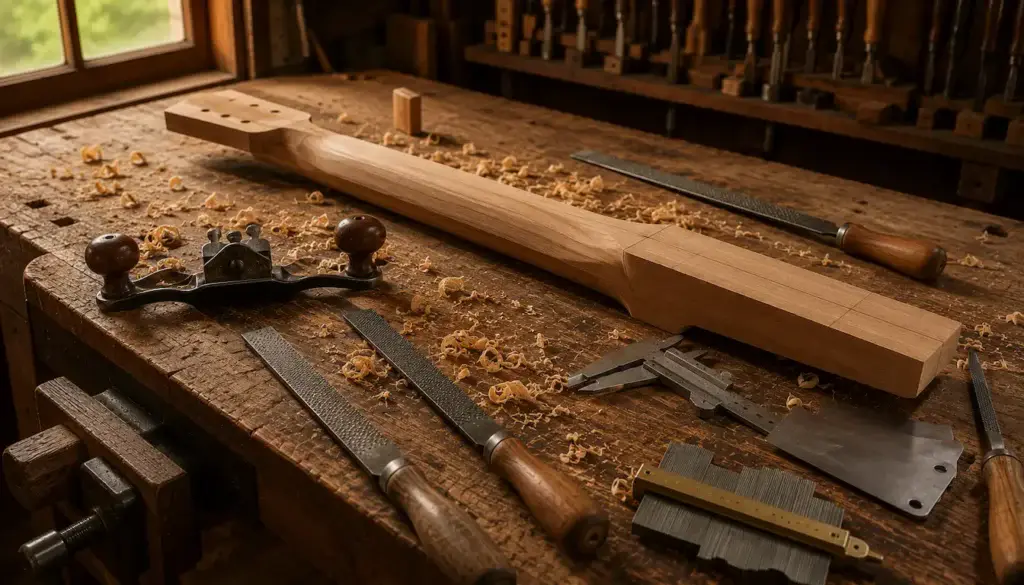

Acoustic guitar neck being hand carved with shaping tools on a rustic luthier's workbench.
Carve slowly. Check often. Build with confidence.

📏 Sanding and Final Neck Shaping

Once the neck profile feels right, it’s time to refine every surface.
Sanding removes tool marks, blends transitions, and creates the smooth feel that makes a handmade guitar a pleasure to play.

Begin with a coarser grit to eliminate any remaining high spots, then work progressively through finer grits.
As you sand, keep checking the neck from every angle and run your hand along its length. Your fingers will often detect uneven areas long before your eyes do.

For the best results:

  • Sand with the grain whenever possible.
  • Progress through finer grits gradually.
  • Blend the heel, headstock, and shaft smoothly.
  • Check for flat spots and uneven curves.
  • Remove all dust before applying the finish.

A well-sanded neck not only looks professional but also provides the comfortable, effortless feel that players appreciate every time they pick up the guitar.


⚠️ Common Mistakes to Avoid

Building an acoustic guitar neck rewards patience and careful measurements.
Most mistakes happen when builders rush through important steps or remove too much material before checking their progress.

Take your time, measure often, and don’t be afraid to pause and double-check your work.
A few extra minutes spent verifying your layout or profile can save hours of repairs later.

Avoid these common mistakes:

  • Carving the neck too thin too early
  • Failing to keep the centerline as your reference
  • Routing the truss rod channel too deep or off-center
  • Ignoring grain direction while carving
  • Skipping frequent measurements and profile checks
  • Rushing through the sanding process

Every experienced luthier has learned from mistakes along the way.

By working methodically and making small adjustments instead of large ones, you’ll end up with a neck that’s strong, comfortable, and ready to become part of a beautiful handmade acoustic guitar.


👉 Once your neck is complete, the next big milestone is building the guitar body.
Continue with How to Build an Acoustic Guitar Body to learn how the top, back, and sides come together to create the heart of your acoustic guitar.


🎸 This Could Be the Neck You Build


Handmade acoustic guitar with a beautifully carved neck resting on a rustic rocking chair on a log cabin porch at sunset, overlooking mountains and a peaceful creek.
This is what your hard work can become.

🏁 Final Thoughts…

Building an acoustic guitar neck is one of the most satisfying milestones in the entire guitar-making process.
It’s where careful planning, precise measurements, and patient craftsmanship come together to create the part of the instrument you’ll hold every time you play.
While it may seem challenging at first, each step builds on the last, making the process approachable for anyone willing to take their time.

Remember, no one carves a perfect neck on their first attempt.
Measure often, remove wood gradually, and trust the process.
When your finished neck fits comfortably in your hand and becomes part of a completed acoustic guitar, you’ll appreciate every hour you invested.

It’s more than just building a neck — it’s creating the foundation for an instrument you’ll be proud to play for years to come.


🎸 Your Guitar, Your Build, Your Sound

You don’t need a custom shop or a tech on speed dial.
All you need is a little guidance, some patience, and a place to go that shows you what to do next.

Come on man… You got this.

GuitarCrafts is here to help you along the way.


🎸Craft it. Play it. Own it! 🎸


Leave a Reply Cancel reply

Your email address will not be published. Required fields are marked *

  • Facebook
  • Pinterest
  • YouTube

© 2026 Guitar Crafts | Privacy Policy

© 2026 My Electric Guitar Kits Site | Powered by Superbs Personal Blog theme