
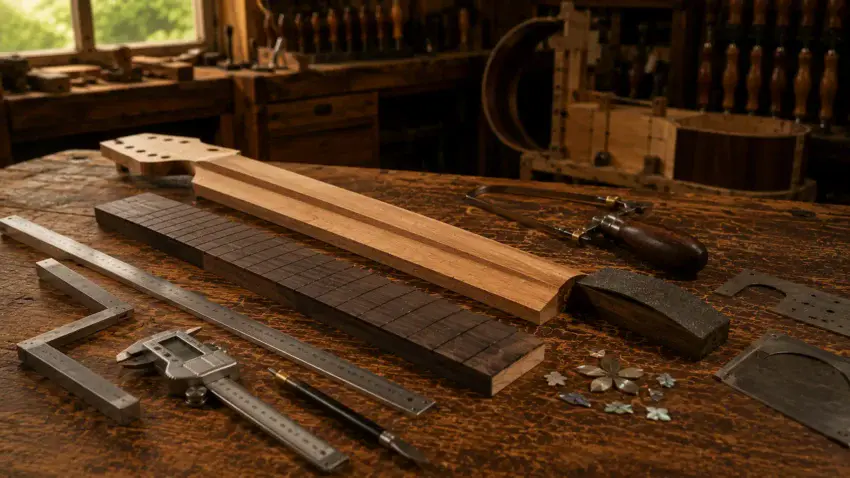
Building an acoustic guitar fretboard is where precision begins to take center stage.
While the neck provides strength and support, the fretboard determines how the guitar feels beneath your fingers every time you play.
Every measurement, every cut, and every detail matters because even the smallest error can affect intonation, playability, and the finished appearance of your instrument.
The good news is that building a quality fretboard isn’t about rushing through complicated techniques.
It’s about working methodically, measuring carefully, and letting accuracy guide every step.
From milling the wood and cutting precise fret slots to radiusing the surface and preparing it for frets and inlays, this guide will walk you through the complete process of building an acoustic guitar fretboard with confidence.
👉 Before building your fretboard, read How to Build an Acoustic Guitar Neck to understand how both pieces work together to create a comfortable, stable instrument.
🪵 Choosing the Right Fretboard Wood
A great fretboard begins long before the first fret slot is cut.
The wood you choose affects durability, appearance, and how the guitar feels every time it’s played.
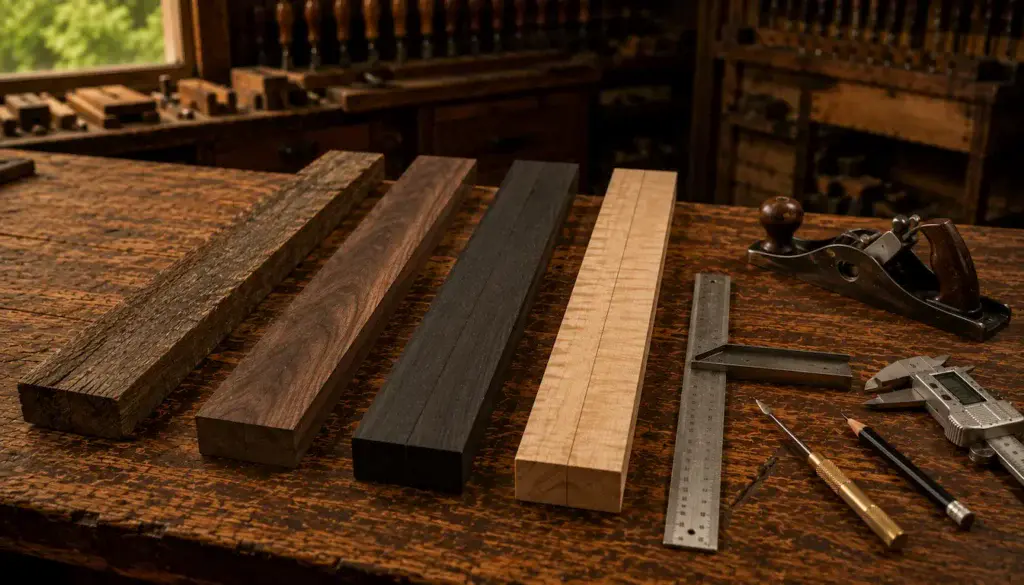
Since a fretboard experiences constant contact from fingers and strings, it should be made from a dense, stable hardwood that can withstand years of use.
Rosewood remains one of the most popular choices because it offers excellent stability, beautiful grain, and a naturally smooth feel.
Ebony is prized for its hardness and sleek appearance, while maple provides a brighter look and is often finished to protect the surface.
Each wood has its own personality, but straight grain and proper seasoning are far more important than dramatic figuring.
When selecting a fretboard blank, look for:
- Straight, even grain
- Properly dried hardwood
- No knots or cracks
- Consistent color and density
- Enough thickness for radiusing
A stable piece of wood is the foundation of an accurate fretboard and will make every step that follows much easier.
🎸 A great fretboard starts with the right piece of wood
📏 Milling the Fretboard Blank
If you’re starting with rough lumber instead of a pre-made fretboard blank, this is where the real craftsmanship begins.
Milling the wood properly creates accurate reference surfaces and ensures every operation that follows starts from a perfectly flat, square blank.
Begin by jointing one face until it’s completely flat.
From there, plane the opposite face to your target thickness while checking frequently with digital calipers.
Once both faces are parallel, rip the blank to width and square the edges before trimming it to length.
Take your time during this stage because every measurement builds on the last.
A blank that’s twisted, tapered, or uneven will only create more problems when it’s time to cut fret slots and install inlays.
As you mill the blank:
- Joint one face perfectly flat.
- Plane to consistent thickness.
- Rip to final width.
- Square both edges.
- Cut slightly oversize for final trimming.
Accuracy here makes every step afterward easier.
🛠 Tools You’ll Need to Build an Acoustic Guitar Fretboard
Building a fretboard doesn’t require a room full of expensive equipment, but precision tools make an enormous difference.
Accurate measuring and repeatable cuts are far more important than speed.
Many builders rely on a combination of traditional hand tools and a few precision measuring tools to produce professional results.
Whether you’re cutting fret slots by hand or using specialized jigs, consistency is always the goal.
Useful tools include:
- Digital calipers
- Engineer’s square
- Steel ruler
- Fret slotting saw
- Radius sanding block
- Straightedge
- Clamps
- Marking knife
- Sandpaper
- Precision templates
Quality tools don’t replace good technique, but they make accurate work much easier.
🎸 Shaping an Acoustic Guitar Fretboard
📐 Planning the Layout
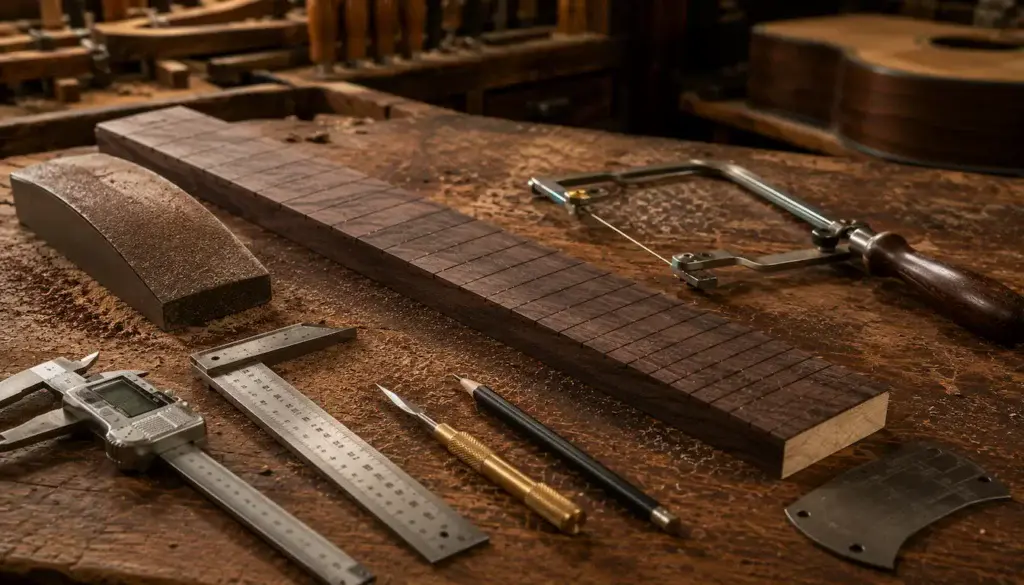
Before a single cut is made, establish a precise centerline and verify every measurement.
The centerline becomes the reference point for the fret slots, inlays, side dots, and ultimately the strings themselves.
Carefully mark the overall length, nut location, heel end, and any areas that will be trimmed after the fretboard is glued to the neck.
Double-check your scale length before marking the first fret position because even a tiny error can affect every fret that follows.
Good layout habits include:
- Marking a clear centerline
- Verifying scale length
- Checking all measurements twice
- Keeping reference marks visible
- Working from one consistent datum
Time spent laying out the fretboard accurately is never wasted.
It provides the roadmap for every stage that follows.
📏 Cutting the Fret Slots
Few operations demand more precision than cutting fret slots.
Their location determines the guitar’s intonation, so accuracy is far more important than speed.
Whether you use a dedicated slotting jig or carefully measure each position, every slot should be cut square to the centerline and to a consistent depth.
Take your time, check your measurements often, and resist the temptation to rush through repetitive cuts.
* Use a strip of painter’s tape on your fret saw as a simple depth stop to ensure every fret slot is cut to the same depth.
It’s a quick trick that helps produce consistent, professional results.
A few simple habits help produce clean, accurate results:
- Confirm every measurement before cutting.
- Keep the saw perfectly vertical.
- Cut each slot to a consistent depth.
- Clear sawdust frequently.
- Inspect your work before moving on.
Once the slots are complete, the fretboard begins to look less like a piece of hardwood and more like the foundation of a handmade acoustic guitar.
📐 Radiusing the Fretboard
A flat fretboard will play just fine, but most acoustic guitars use a radius to create a more natural playing surface.
Radiusing removes a small amount of material from the edges of the fretboard, creating a gentle curve that follows the shape of your fingers.
Most builders use a radius sanding block that matches their desired fretboard radius.
Work slowly and apply even pressure from one end of the fretboard to the other, checking your progress often.
The goal isn’t to remove large amounts of wood — it’s to create a smooth, consistent curve across the entire length of the fretboard.
As you radius the fretboard:
- Mark the surface with pencil lines before sanding.
- Sand evenly from end to end.
- Check your progress frequently with a radius gauge.
- Avoid spending too much time in one area.
- Continue until all pencil marks disappear evenly.
A consistent radius not only improves playability but also provides a perfectly shaped foundation for installing frets.
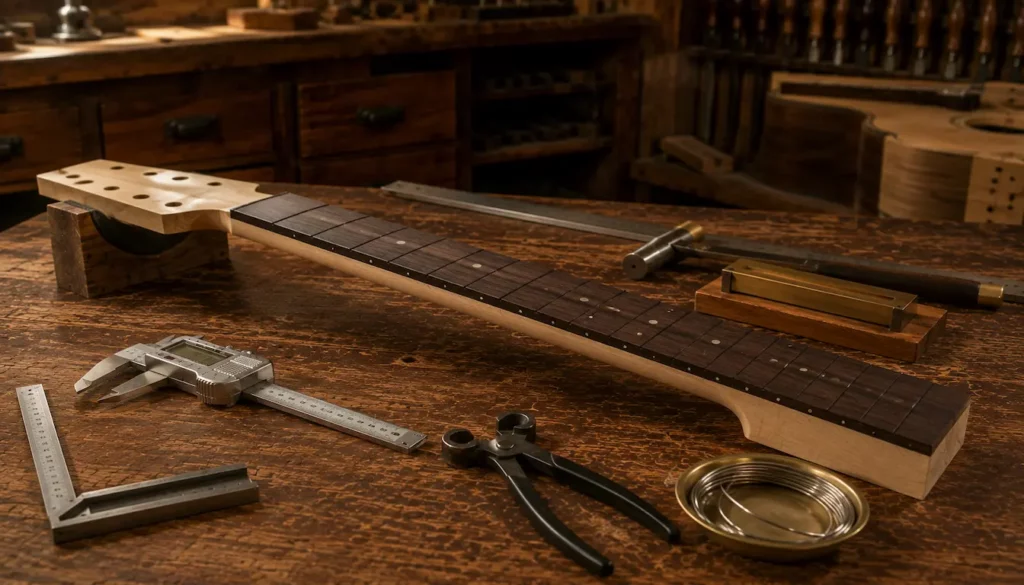
🎸 A Finished Fretboard Ready for Frets
💎 Installing Position Markers and Side Dots
Position markers may seem like simple decorations, but they help players navigate the fretboard quickly while adding personality to the instrument.
Whether you choose traditional pearl dots or create custom inlays, careful layout is the key to professional-looking results.
Begin by marking every location before drilling or routing.
Double-check your measurements against the fret positions and centerline to ensure everything remains perfectly symmetrical.
Small errors are difficult to hide once the inlays are installed.
When installing position markers:
- Mark every location before cutting.
- Drill or route carefully to the correct depth.
- Test-fit each inlay before gluing.
- Remove excess glue immediately.
- Sand everything perfectly flush after the adhesive cures.
Simple dots can look beautiful, while custom inlays allow you to make the guitar uniquely your own.
🎨 Creating Custom Fretboard Inlays
For many builders, inlays are where craftsmanship becomes art.
While simple position markers serve a practical purpose, custom inlays allow you to give a guitar its own personality and tell a story before a single note is ever played.
Intricate designs require careful planning, patience, and an accurate fit.
Every pocket should be cut cleanly, and every inlay should fit snugly with little or no visible gap.
Taking your time during this stage produces results that you’ll appreciate every time you look down at the finished fretboard.
Keep these tips in mind:
- Choose a design that fits the fretboard naturally.
- Cut the inlay before routing the pocket whenever possible.
- Sneak up on the final fit instead of removing too much material.
- Test-fit frequently throughout the process.
- Let precision — not speed — guide your work.
Beautiful inlays aren’t measured by how complicated they are, but by how cleanly they fit the wood around them.
🔗 Fitting the Fretboard to the Neck
Once the fretboard is complete, it’s time to attach it to the neck.
This step may look simple, but it’s one of the easiest places to lose perfect alignment if you’re not prepared.
One thing many first-time builders don’t realize is that wood glue acts like a lubricant until it begins to cure.
As soon as you apply glue and clamp the fretboard, it can easily slide out of position — even if everything was perfectly aligned during your dry fit.
A simple way to prevent this is to use indexing pins.
During your dry fit, place two small pins (or small finish nails with the heads removed) through the 12th fret slot and one pin through the 1st fret slot into the neck blank.
These tiny pins act as locating pins, allowing the fretboard to drop back into the exact same position every time.
When you’re ready for the final glue-up:
- Dry-fit the fretboard first.
- Install the indexing pins during the dry fit.
- Apply glue evenly to the mating surfaces.
- Lower the fretboard onto the pins.
- Clamp securely and remove any glue squeeze-out immediately.
Using indexing pins takes only a few extra minutes, but it eliminates the frustration of the fretboard shifting under clamp pressure and helps ensure perfect alignment from the nut to the heel.
🪵 Final Sanding and Preparation
With the fretboard securely attached, inspect every surface one final time.
Remove any remaining machining marks, soften sharp edges slightly, and prepare the fretboard for the next stage of construction.
This is also the perfect time to verify that every slot, marker, and surface still looks exactly the way you intended.
A few extra minutes spent inspecting your work now can prevent frustrating surprises later.
Take one last look at:
- Surface smoothness
- Edge consistency
- Slot cleanliness
- Marker alignment
- Overall symmetry
Attention to detail here makes the next stages of the build much more enjoyable.
⚠️ Common Mistakes to Avoid
Building an acoustic guitar fretboard rewards patience far more than speed.
Most mistakes happen because builders rush through measurements or try to remove too much material all at once.
Avoid these common mistakes:
- Milling the blank before it’s fully acclimated.
- Forgetting to maintain a true centerline.
- Cutting fret slots to inconsistent depths.
- Removing too much material while radiusing.
- Rushing inlay work.
- Failing to test-fit before gluing.
Every careful measurement brings you closer to a fretboard that not only looks beautiful but also performs exactly as intended.
👉 Now that your fretboard is complete, the next step is bringing it together with the guitar body.
Follow How to Build an Acoustic Guitar Body as you continue building your acoustic guitar from the ground up.
🎸 Imagine Building a Fretboard Like This

🏁 Final Thoughts…
Building an acoustic guitar fretboard is one of the most rewarding parts of the entire guitar-making process.
Every operation — from milling the blank and cutting fret slots to radiusing the surface and adding inlays — contributes to an instrument that will be played for decades.
While each step demands patience and precision, the reward is a fretboard that’s uniquely yours.
Don’t rush the process.
Measure often, trust your layout, and enjoy the craftsmanship that goes into every cut.
Long before the strings are installed, your fretboard begins telling the story of the guitar you’re creating.
Take pride in your work, and you’ll end up with an instrument that’s every bit as satisfying to play as it was to build.
Your Guitar, Your Build, Your Sound
You don’t need a custom shop or a tech on speed dial.
All you need is a little guidance, some patience, and a place to go that shows you what to do next.
Come on man… You got this.
GuitarCrafts is here to help you along the way.
 Craft it. Play it. Own it!