
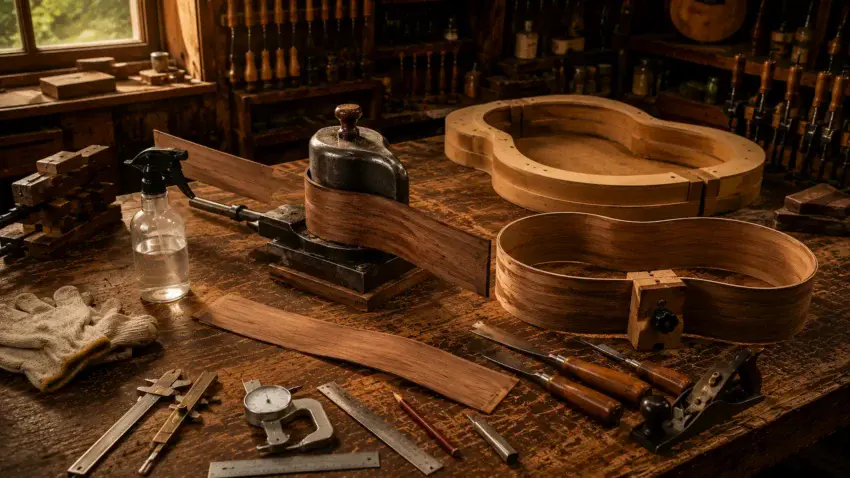
Bending acoustic guitar sides does not require a workshop full of expensive equipment.
But the right tools can make the difference between a controlled, predictable bend and a tense fight with a thin piece of wood that seems determined to crack.
The goal is not to buy every side-bending tool available.
It is to build a setup that gives you control over the things that matter most:
- thickness
- heat
- moisture
- pressure
- shape
- and alignment
With the right tools in place, side bending becomes less intimidating — and much more repeatable.
👉 New to bending guitar sides?
Start with How to Bend Acoustic Guitar Sides to see how heat, moisture, pressure, and patience turn flat wood into the curves of an acoustic guitar body.

🧰 What Tools Do You Really Need to Bend Guitar Sides?
The tools you need depend partly on how you plan to bend the wood.
A builder using a traditional bending iron will need a different setup from someone using a side-bending machine.
But most side-bending setups include tools for four basic jobs:
- Preparing the wood
- Applying controlled heat
- Shaping the curves
- Checking the finished result
Some tools are essential.
Others simply make the process faster, safer, or easier to repeat.
The best setup is not the one with the most equipment.
It is the one that gives you the most control.
🔥 A Traditional Bending Iron
A bending iron is one of the most familiar tools in acoustic guitar building.
The heated metal surface allows you to work directly on the wood, gradually shaping the waist, upper bout, and lower bout by hand.
A good bending iron should provide:
- A smooth heated surface
- Enough heat to soften the wood
- A range of curves for different parts of the guitar body
- Stable mounting
- Reliable temperature control
The biggest advantage is feedback.
- You can feel the wood begin to soften.
- You can stop when resistance increases.
- You can make tiny corrections exactly where they are needed.
For a builder who wants to learn how wood responds to heat, a good quality bending iron is hard to beat.
🎸 Bending Guitar Sides by Hand
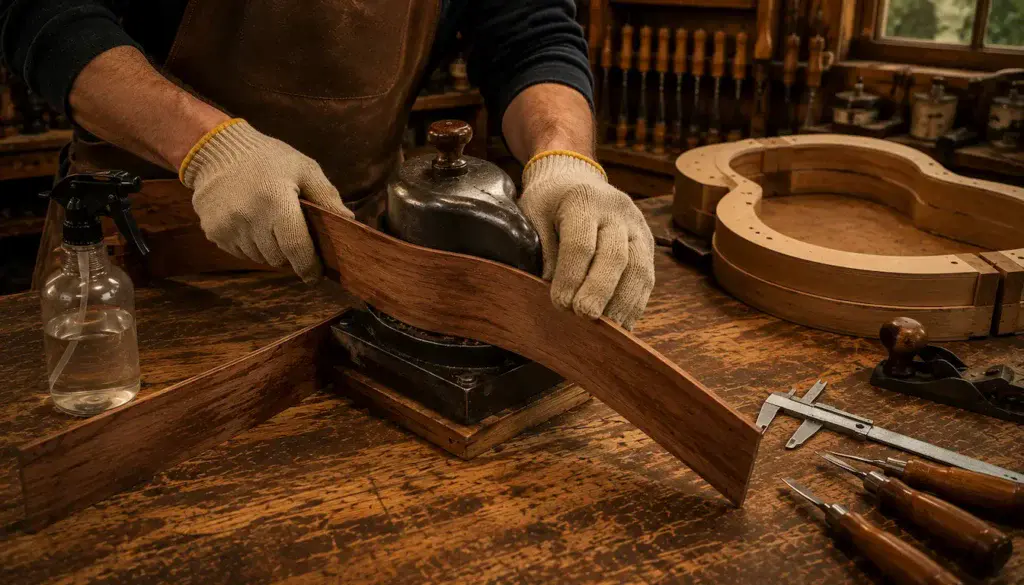
Vetimobato Guitar Rib Bending Iron
A good bending iron gives you the controlled heat needed to shape acoustic guitar sides without forcing the wood.
It allows you to work gradually through the waist and bouts while keeping the curve smooth and controlled.
 Amazon Product Suggestion:
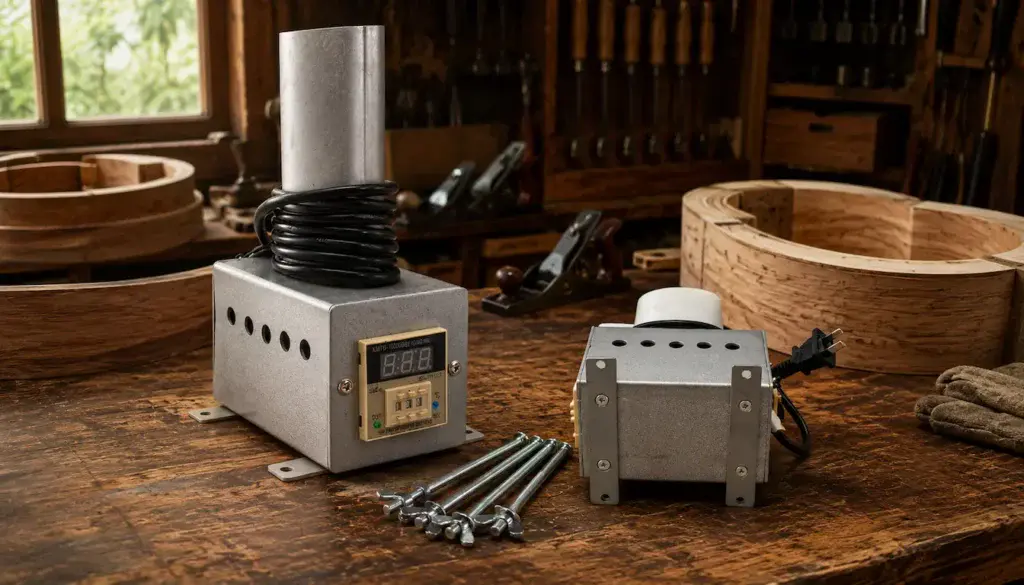
✓ Vetimobato Guitar Rib Bending Iron
The Vetimobato Guitar Rib Bending Iron provides a
heated metal surface for shaping thin acoustic guitar sides by hand.
Its temperature control helps you adjust the heat
while working slowly through each curve.
Why It’s Great
✔️ Adjustable temperature control
✔️ Designed for bending guitar sides
✔️ Helps create smooth curves
✔️ Ideal for hands-on bending
🌡️ Temperature Control Matters
A bending iron is only useful if you can control the heat.
Too little heat and the wood resists.
Too much heat and you risk scorching, discoloration, or drying the wood until it becomes harder to control.
Some bending irons include built-in temperature control.
Others may require an external controller or careful monitoring.
The exact temperature is not the only thing that matters.
Wood species, thickness, moisture, and bending speed all affect how the side responds.
You are not trying to hit one magic number.
You are trying to create repeatable, controlled heat.
🏗️ A Side-Bending Machine
A side-bending machine shapes the guitar side around a form using controlled heat and pressure.
Instead of working each curve entirely by hand, the wood is supported by the machine as it is gradually pressed into shape.
A typical setup may include:
- A guitar-shaped bending form
- Heating blankets or another heat source
- Metal bending slats
- A waist press
- Upper and lower bout supports
- Spring or screw pressure
A side bender can make the process more repeatable, especially if you plan to build several guitars with the same body shape.
It does not make side bending automatic.
The wood still needs proper preparation, controlled heat, and careful pressure.
🎸 Using an Acoustic Guitar Side-Bending Machine
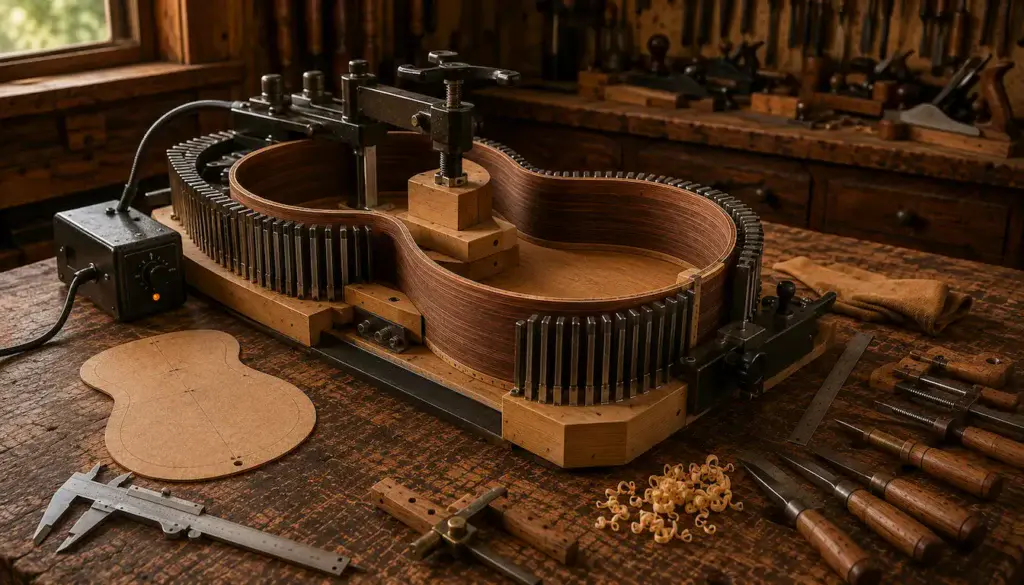
⚡ Silicone Heating Blankets
Many side-bending machines use a flexible silicone heating blanket.
The blanket spreads heat across a larger area of the guitar side instead of concentrating it in one small spot.
This can help create:
- More even heating
- Better temperature control
- Smoother full-length bends
- More repeatable results
Heating blankets are usually used with bending slats and a shaped form.
Because they are electrical heating tools, they should always be used with the proper controller and according to the manufacturer’s instructions.
Controlled heat is the goal.
More heat is not automatically better.
🪙 Metal Bending Slats
Bending slats are thin metal strips placed around the guitar side during machine bending.
They support the wood and help distribute pressure as the side takes shape.
Slats can be especially helpful around tight curves where the outside fibers of the wood are under tension.
Depending on the bending setup, the guitar side may be sandwiched between metal slats with a heating blanket as part of the stack.
Good slats should be:
- Smooth
- Flexible
- Free of sharp edges
- Long enough for the entire side
- Compatible with the bending machine
A sharp or damaged slat can create exactly the kind of problem it is supposed to prevent.
🧩 A Guitar Body Mold
A body mold is one of the most useful tools in the entire acoustic guitar body-building process.
During side bending, it gives you a full-size reference for the finished shape.
After bending, it holds the sides in alignment while you install the neck block, tail block, and kerfing.
A good body mold helps you check:
- The waist
- The upper bout
- The lower bout
- The neck end
- The tail end
- Overall symmetry
Even if you bend entirely by hand, the mold tells you when you are finished.
Without a reliable reference, it is easy to keep adjusting a curve that was already correct.
📏 Calipers or a Thickness Gauge
Side bending begins with properly prepared wood.
That makes a good set of calipers one of the most important tools in the process — even though it never touches the hot bend.
Use calipers to check the side at multiple points from end to end.
You are looking for:
- Thick spots
- Thin spots
- Sudden changes
- Differences between matching sides
A side with inconsistent thickness bends inconsistently.
- The thick area resists.
- The thin area moves too quickly.
- The builder adds pressure — and that is when trouble can begin.
Measure before you heat.
Jiavarry Digital Caliper Measuring Tool
Accurate measurements matter throughout an acoustic guitar build, especially when checking wood thickness and fitting small parts.
A digital caliper gives you quick, repeatable readings without relying on guesswork.
Amazon Product Suggestion:
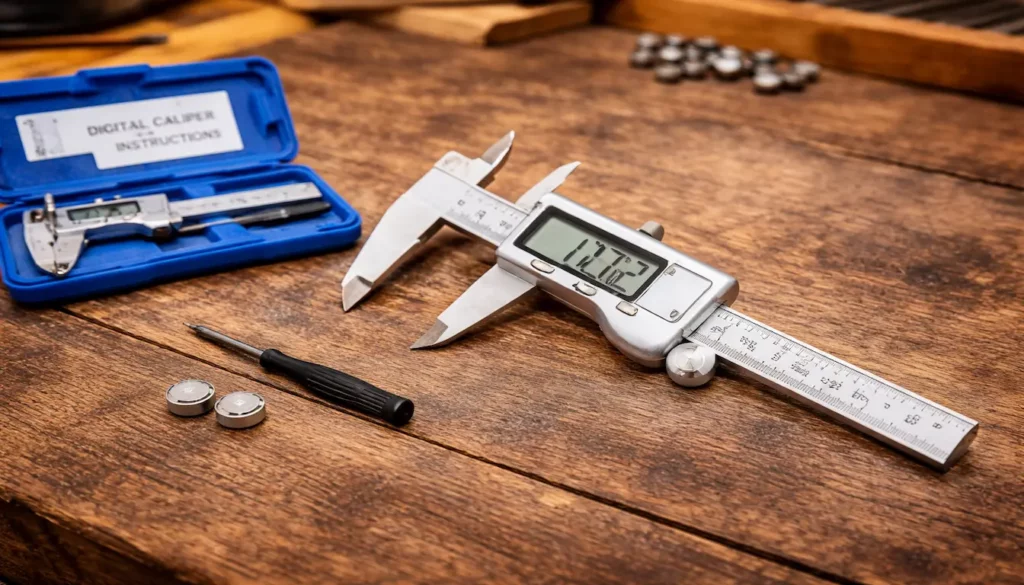
✓ Jiavarry Digital Caliper Measuring Tool
This Measuring Tool provides
clear digital measurements for checking guitar parts, hardware,
and material thickness during the build.
Its simple controls and easy-to-read display make
precise measuring quick and convenient.
Why It’s Great
✔️ Quick digital measurements
✔️ Easy-to-read display
✔️ Measures inside and outside dimensions
✔️ Useful throughout the entire build
📐 A Straightedge and Flexible Ruler
Simple measuring tools still earn their place at the bending bench.
A straightedge can help reveal:
- Twist
- Uneven edges
- Distortion
- Areas that are no longer square
A flexible ruler is useful for checking curves and comparing the side against templates or reference marks.
Neither tool is exciting.
Both can prevent a lot of frustration.
Sometimes the most valuable tool is the one that tells you something is wrong before you glue it into the guitar.
💧 A Fine-Mist Spray Bottle
Moisture can help heat transfer into the wood and make the fibers more willing to move.
A small fine-mist spray bottle gives you much better control than pouring, soaking, or using an overly wet cloth.
The goal is usually a light, even application.
A good spray bottle should produce:
- A fine mist
- Consistent coverage
- Easy one-handed use
- No heavy streams of water
This is a simple tool, but it helps prevent one of the easiest mistakes to make:
using far more water than the wood actually needs.
🧤 Heat-Resistant Gloves
Hot wood, hot metal, steam, and heated bending equipment can make side bending uncomfortable — and dangerous.
Heat-resistant gloves can help protect your hands while still allowing enough control to handle the wood.
Avoid gloves that are so bulky that you cannot feel what you are doing.
You still need to control:
- Pressure
- Alignment
- Movement
- Position
The best gloves give you protection without taking away all your feedback.
Side bending is hands-on work.
Protect the hands that are doing it.
Non-Slip Silicone Grip and Cotton Lined Oven Gloves
Amazon Product Suggestion:
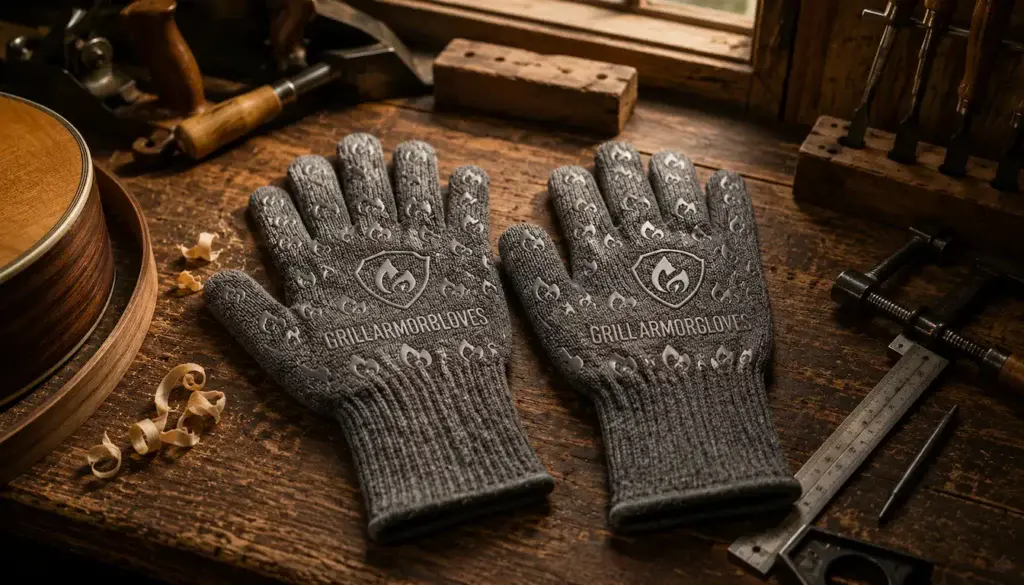
✓ Non-Slip Silicone Lined Oven Gloves
The Non-Slip Silicone Lined Oven Gloves provide heat protection
while maintaining a secure grip during the bending process.
Their textured silicone surface helps you
control the wood while working around hot tools.
Why It’s Great
✔️ Protects hands from heat
✔️ Non-slip silicone grip
✔️ Flexible for better control
✔️ Useful around hot tools
🗜️ Clamps and Hold-Downs
Clamps are useful throughout the bending process.
They may help:
- Secure a bending iron
- Hold a body mold in place
- Stabilize a side-bending machine
- Keep freshly bent sides in position
- Support later body assembly
The important thing is stability.
You do not want a bending iron shifting across the bench while you are applying pressure to hot wood.
You also do not want a body mold moving while you are trying to judge a curve.
A stable setup lets you concentrate on the wood you are working with.
🪵 A Body Template
Before the wood ever touches heat, you need to know the shape you are trying to create.
A full-size body template helps you:
- Mark the waist
- Locate the upper bout
- Locate the lower bout
- Compare curves
- Check the neck and tail ends
Templates are especially useful when bending by hand.
They give you a quick reference without requiring you to place the side into the full body mold after every small adjustment.
The mold gives you the final answer.
The template gives you quick feedback along the way.
✏️ Pencil Marks and Reference Lines
Sometimes the cheapest tool on the bench is one of the most useful.
Before bending, clearly mark:
- The waist location
- The neck end
- The tail end
- The inside surface
- Any questionable grain areas
These marks help you stay oriented once the side is hot, damp, and moving.
Without them, it is surprisingly easy to lose track of exactly where the tightest curve should begin.
Good reference marks reduce guesswork when the pressure is on.
🔍 A Bright Inspection Light
Cracks often begin small.
A strong adjustable work light can help reveal:
- Hairline cracks
- Lifted grain
- Scorching
- Uneven surfaces
- Small defects before bending
Angle the light across the wood rather than shining it straight down.
Low-angle light makes surface problems easier to see.
This is especially useful before bending and during inspection afterward.
- A crack you catch early may be manageable.
- A crack you never noticed can keep growing.
🧰 Bending Iron or Side-Bending Machine: Which Should You Choose?
There is no single correct answer.
Choose a traditional bending iron if you:
- Want direct feedback from the wood
- Enjoy hands-on control
- Build different body shapes
- Need a compact setup
- Want to make small local corrections
Choose a side-bending machine if you:
- Plan to build several guitars
- Want repeatable results
- Use the same body shapes often
- Prefer full-length support during bending
- Have room for a larger setup
Many experienced builders use both.
The machine handles the main bend.
The iron handles small corrections.
These tools do not have to compete.
They can work well together.
💰 Where Should You Spend Your Money First?
If you are building your first acoustic guitar, I would not buy every possible side-bending tool.
Start with the tools that improve control and prevent mistakes.
A practical priority order is:
- Accurate calipers or thickness gauge
- A reliable body mold
- A controlled heat source
- A fine-mist spray bottle
- Heat-resistant gloves
- Basic measuring and inspection tools
After that, decide whether your long-term building plans justify a more elaborate side-bending machine.
Buy for the builder you are becoming — not the imaginary factory you do not own yet.
⚠️ Tools Cannot Fix Poor Technique
The best equipment in the world cannot protect a side that is forced before it is ready.
Tools help you control the process.
They do not replace:
- Patience
- Proper wood preparation
- Careful heating
- Gradual pressure
- Frequent checking
A $20 spray bottle will not save a side that is too thick.
An expensive bending machine will not save wood that is cracked before it enters the form.
A premium bending iron will not help if you keep pushing cold wood.
Good tools make good technique easier.
They do not make technique unnecessary.
👉 Worried about ruining the wood during bending?
Read How to Avoid Cracks When Bending Guitar Sides before applying heat and pressure to your first side.
🎯 The Best Side-Bending Setup for a Beginner
For a first build, keep the setup understandable.
You need to be able to see what is happening and know what each tool is doing.
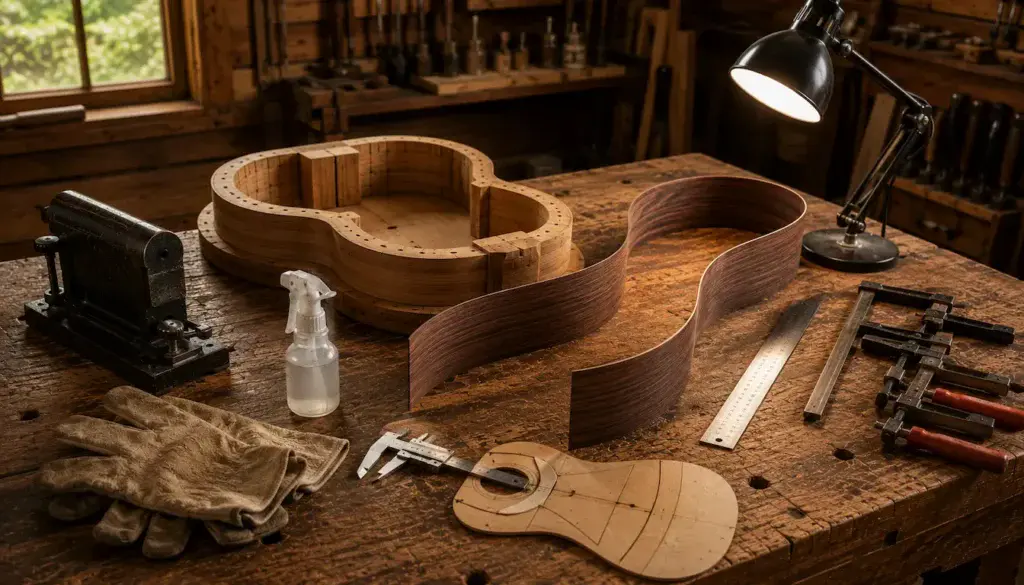
A beginner-friendly setup might include:
- A traditional bending iron
- A body mold
- Calipers
- A body template
- A spray bottle
- Heat-resistant gloves
- A straightedge
- Good lighting
- A few reliable clamps
That is enough to learn the process.
Later, if you decide to build several acoustic guitars, you can add a side-bending machine, heating blankets, dedicated forms, and other specialized equipment.
Start with control.
Add speed and repeatability later.
🎸 Beginner Acoustic Guitar Side-Bending Setup
🎸 How These Tools Work Together
The best side-bending tools are not isolated pieces of equipment.
They form a system…
- The calipers prepare consistent wood.
- The template shows you where the curves belong.
- The bending iron or machine provides heat and shape.
- The spray bottle helps manage moisture.
- The gloves protect your hands.
- The body mold tells you whether the bend is correct.
- The inspection light helps you catch problems before they get worse.
Each tool solves a different part of the same job.
Together, they turn side bending from guesswork into a controlled process.
🎸 What Comes After the Sides Are Bent?
Once both sides hold the correct shape, the tools change — but the body-building process continues.
Next, you will:
- Fit the sides into the mold
- Trim the ends
- Install the neck block
- Install the tail block
- Add the kerfing
- Prepare for the soundboard and back
The bending tools create the shape.
The next set of tools begins turning that shape into a rigid guitar body.
👉 Ready to see where the bent sides go next?
Return to How to Build an Acoustic Guitar Body and follow the process from curved sides to a complete hollow structure.
🎸 The Guitar These Tools Help You Build
A bending iron is not exciting because it gets hot.
A body mold is not exciting because it holds wood.
Calipers, spray bottles, gloves, and clamps are not the reason anyone dreams about building an acoustic guitar.
The guitar is the reason.
Every tool on the bench has one job:
- help two flat pieces of wood become the graceful curves of an instrument you will someday hold, play, and hear for the first time.
🎸 What Simple Tools Can Create

🏁 Final Thoughts…
The best tools for bending guitar sides are the ones that give you control.
- You need to control the thickness before bending begins.
- You need to control the heat and moisture while the wood is moving.
- You need to control the shape as the waist and bouts take form.
- And you need to check the finished side before the body begins to come together.
You do not need every specialized tool on your first build.
Start with a reliable bending method, accurate measuring tools, a good body mold, basic protection, and enough patience to let the wood move when it is ready.
The tools do not build the guitar for you.
They help your hands do better work.
Your Guitar, Your Build, Your Sound
Every new tool makes more sense when you understand the job it is supposed to do.
- Build your setup gradually.
- Learn what the wood is telling you.
- Add specialized equipment when your building process actually needs it.
Come on, man… You got this.
GuitarCrafts is here to help you along the way.