
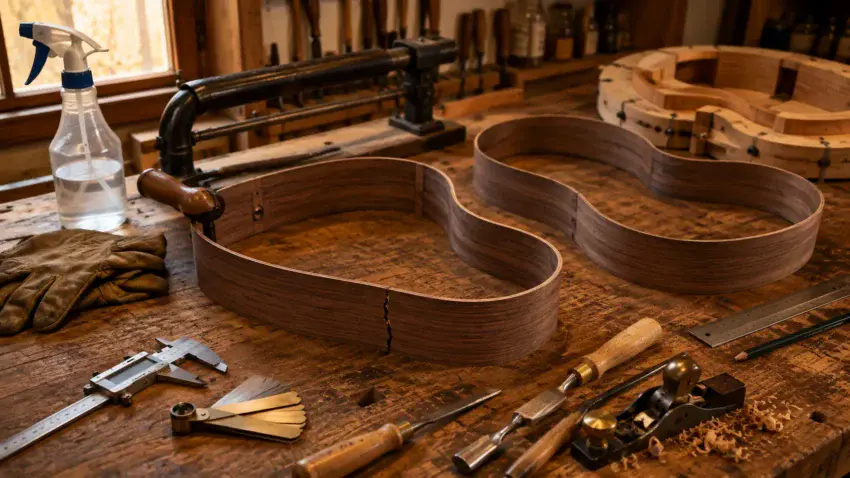
Few sounds make a guitar builder’s heart sink faster than a sudden snap during side bending.
One moment, the wood is beginning to take shape.
The next, a small crack appears along the grain — and a carefully prepared guitar side may be in trouble.
Most side-bending cracks are not completely random.
They usually happen because the wood was too thick, too cold, too dry, bent too quickly, or forced before it was ready to move.
Learning to avoid those problems can make one of the most intimidating parts of an acoustic guitar build much more manageable.
👉 Ready to learn the complete side-bending process first?
Follow How to Bend Acoustic Guitar Sides to see how heat, moisture, pressure, and patience turn flat wood into the curves of an acoustic guitar body.
🪵 Why Guitar Sides Crack During Bending
Wood can bend much farther than it first appears — but only when the conditions are right.
During side bending, the fibers on the outside of the curve are stretched while the fibers on the inside are compressed.
If the wood cannot handle those forces, a crack can begin.
The most common causes include:
- Sides that are too thick
- Uneven thickness
- Insufficient heat
- Too much pressure
- Bending too quickly
- Poor grain orientation
- Weak or damaged wood
- Too much or too little moisture
Usually, it is not one dramatic mistake.
A crack often begins when several small problems come together at the same time.
🔍 Inspect the Wood Before You Bend It
Crack prevention begins before the bending iron ever gets hot.
Hold each side under good light and inspect the entire surface.
Be sure to look for:
- Existing hairline cracks
- Knots or weak areas
- Grain runout
- Small splits near the ends
- Unusual changes in grain direction
- Damage caused during thicknessing or sanding
Pay special attention to areas where the curve will be tightest.
A tiny weakness in a flat piece of wood can become a much larger problem once heat and bending pressure are applied.
Never assume a side is ready to bend just because it looks good from a distance.
🎸 Inspecting Guitar Sides Before Bending

📏 Keep the Side Thickness Consistent
Uneven thickness is one of the easiest ways to make side bending unpredictable.
A thicker area may refuse to bend while a thinner section nearby moves too quickly.
The builder adds more pressure to overcome the stiff area — and the weaker section pays the price.
Before bending, check the side in several places.
You want a smooth, consistent thickness from one end to the other.
The exact final thickness depends on:
- The wood species
- The guitar design
- The depth of the body
- The tightness of the curves
- The builder’s preferred bending method
The important thing is consistency.
A predictable side is much easier to bend than a side with hidden thick and thin spots.
🌳 Pay Attention to Grain Direction
Wood rarely breaks without giving you a reason.
One of those reasons can be grain runout.
Ideally, the grain should travel cleanly along the length of the side.
When the grain runs sharply toward the surface, the wood can be more likely to split along that direction during bending.
This does not mean every imperfect piece of wood will crack.
But it does mean you should know where the vulnerable areas are before you begin.
Mark questionable spots lightly with a pencil so you remember to slow down when those areas reach a tight curve.
The more you know about the wood before bending, the fewer surprises it can give you.
💧 Use Moisture Carefully
Moisture can help transfer heat into the wood and make the fibers more willing to bend.
But more water is not always better.
Soaking a side can create other problems, including:
- Staining
- Raised grain
- Uneven heating
- Excessive steam
- Difficulty controlling the bend
For many woods, a light mist is enough.
The goal is not to turn the side into a wet board.
You want enough moisture to help the bending process — not so much that water becomes another problem to manage.
Different woods respond differently, so learn how your particular side material behaves.
🔥 Give the Wood Enough Heat
Cold wood fights back.
That resistance is one of the biggest warning signs during bending.
Heat softens the natural components within the wood and allows the fibers to move more easily.
Until that happens, increasing pressure can quickly lead to a crack.
Do not assume the wood is ready simply because the surface feels hot.
Give the heat time to work through the thickness of the side.
When the wood is ready, you should feel a change.
It begins to move more willingly.
That moment — not brute force — is what you are waiting for.
🌡️ Avoid Too Much Heat
Too little heat can cause a crack.
Too much heat can ruin the wood in a different way.
Excessive heat may cause:
- Scorch marks
- Surface damage
- Brittleness
- Discoloration
- Drying that makes the wood harder to control
Keep the side moving when using a traditional bending iron.
Pay attention to smell and color.
If the wood begins to darken quickly or smells burned, something needs to change.
The goal is controlled heat, not maximum heat.
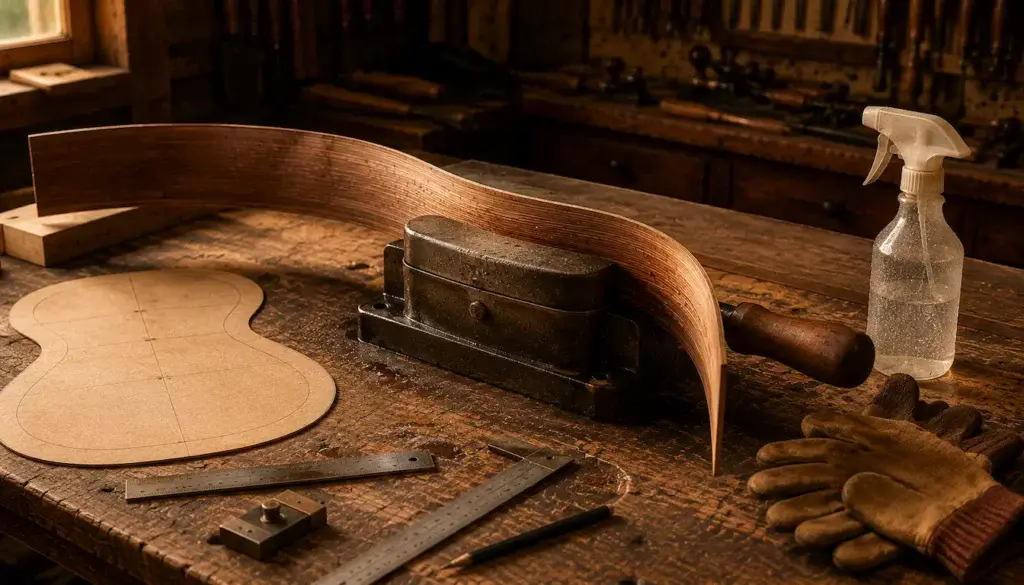
🌀 Take Extra Care Around the Waist
The waist is usually the tightest curve in an acoustic guitar body.
That makes it one of the most likely places for a crack to begin.
Do not try to create the full waist curve in one aggressive movement.
Do this instead:
- Heat the area gradually
- Apply gentle pressure
- Let the wood begin to move
- Release pressure if resistance increases
- Reheat when necessary
- Deepen the curve a little at a time
The tighter the curve, the more patience matters.
If the waist is fighting you, pushing harder is usually the wrong answer.
🎸 Bending the Acoustic Guitar Waist
✋ Never Force the Wood
This may be the single most important rule on the page.
If you have to force the wood, stop.
A properly heated side should not feel completely limp, but it should begin to move with controlled pressure.
Warning signs that you are using too much force include:
- Your hands are straining
- The wood suddenly stops moving
- You hear faint ticking sounds
- A sharp kink begins to form
- The grain starts lifting
- You feel a sudden change in resistance
More muscle does not make you a better guitar builder.
Knowing when to stop does.
⏱️ Slow Down the Bending Process
Rushing creates problems that patience avoids.
A side may need several heating and bending passes before it fits the body shape correctly.
That is normal.
You do not get extra points for bending the entire side in one pass.
Work gradually through:
- The waist
- The upper bout
- The lower bout
- The neck end
- The tail end
Check the shape often.
A slow correction is much safer than trying to rescue an overbent or cracked side.
The wood does not know you are in a hurry.
🧩 Check the Body Mold Often
The body mold is not something you use only after bending is finished.
It should be part of the process.
Regular checks can reveal:
- A waist that needs more bend
- A curve that was bent too tightly
- A flat spot
- A twisted section
- A neck or tail area that needs adjustment
Without a reference, it is easy to keep bending a section that is already close enough.
Check. Adjust. Check again.
Small corrections are safer than big ones.
↔️ Keep the Side From Twisting
A side can crack even when the main curve looks correct.
Twisting creates uneven stress across the width of the wood.
One edge may be under much more tension than the other.
As you bend, keep checking that the side remains square.
Watch both edges.
If one edge begins moving ahead of the other, correct the twist before continuing with the main curve.
This becomes especially important around tight areas like the waist.
You are bending the side into a curve — not winding it into a spiral.
🚨 Learn the Warning Signs Before a Crack Opens
A guitar side often gives you a warning before it fails completely.
Watch and listen for:
- Faint ticking or snapping sounds
- Grain beginning to lift
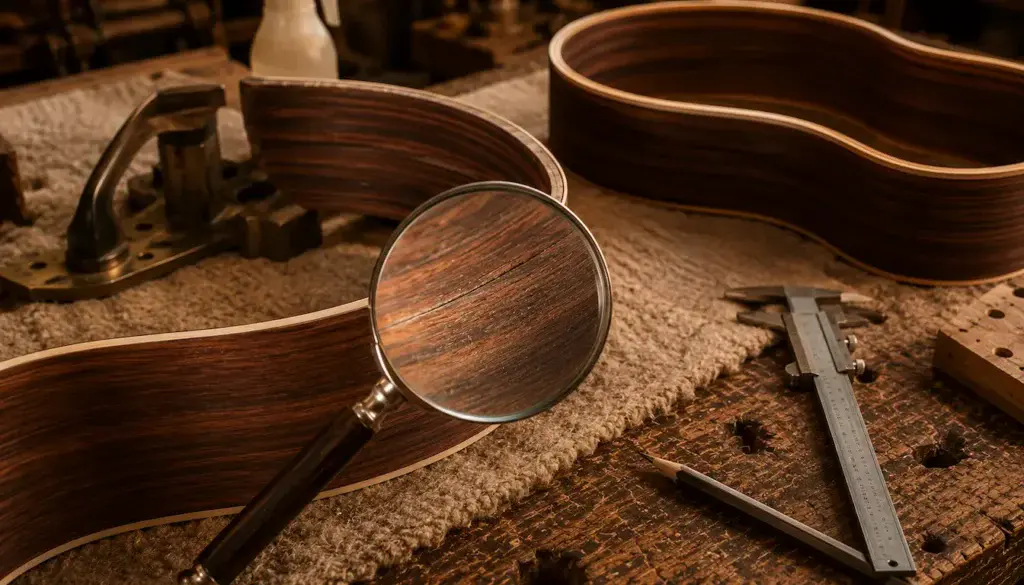
- A small line appearing along the surface
- Sudden resistance
- A sharp crease instead of a smooth curve
- One edge stretching more than the other
If you notice any of these signs, stop applying pressure immediately.
Do not bend a little farther just to see what happens.
You already know what might happen.
The earlier you respond, the better chance you have of preventing a small problem from becoming a broken side.
🎸 Inspecting a Hairline Crack in a Guitar Side
🛑 What to Do If a Crack Starts
If you see or hear a crack beginning, stop the bend.
Do not keep forcing the wood into shape.
First:
- Release the bending pressure
- Let the area cool enough to inspect safely
- Find both ends of the crack
- Check whether it follows the grain
- Determine whether the wood is still structurally usable
Some small cracks may be repairable.
Others may make the side unsuitable for the build.
The important thing is not to turn a small crack into a complete break by continuing the bend.
- Stop first.
- Inspect second.
Then decide what to do next only after you understand the damage.
🧰 Use the Right Bending Setup
Good tools cannot guarantee that a side will never crack.
But a controlled setup makes mistakes less likely.
Useful equipment may include:
- A properly shaped bending iron
- A temperature-controlled bending system
- A body mold
- Bending slats
- A spray bottle
- Calipers or a thickness gauge
- Protective gloves
- Good lighting
The most valuable tool is the one that gives you better control over the process.
You want to control:
- Thickness.
- Heat.
- Moisture.
- Pressure.
- Shape.
When those five things are working together, side bending becomes much more predictable.
👉 Want to make side bending easier and more controlled?
See Best Tools for Bending Guitar Sides for the equipment that helps manage heat, pressure, shape, and alignment.
🪵 Some Woods Are Easier to Bend Than Others
Not every wood species behaves the same way.
Some bend smoothly and tolerate small mistakes.
Others are more brittle, more sensitive to heat, or less forgiving around tight curves.
The same species can even vary from one set to another.
Factors include:
- Grain orientation
- Figure
- Density
- Natural oils
- Moisture content
- Thickness
This is why experienced builders do not treat every side exactly the same.
The method stays consistent, but the wood still gets a vote.
🎯 The Best Crack Prevention Is Preparation
Most side-bending disasters begin before the bend itself.
A carefully prepared side gives you the best chance of success.
Before applying heat, make sure you have:
- Inspected the grain
- Checked for existing damage
- Confirmed consistent thickness
- Marked the waist location
- Prepared the body mold
- Tested the bending setup
- Placed your tools within reach
Once the wood is hot and moving, that is not the time to start looking for a spray bottle or wondering where the waist should be.
Preparation removes panic from the process.
🎸 What Comes After a Successful Bend?
When both sides hold their shape without cracks, you are ready to move forward with the acoustic guitar body.
The next steps usually include:
- Checking both sides in the mold
- Making small final corrections
- Trimming the ends
- Fitting the neck block
- Fitting the tail block
- Adding the kerfing
- Preparing for the soundboard and back
This is where two thin pieces of wood begin becoming the outer walls of an actual instrument.
👉 Ready to continue building the body?
Return to How to Build an Acoustic Guitar Body and follow the process from bent sides to a complete hollow structure.
🎸 The Guitar You Are Protecting
Every careful decision during side bending protects more than a thin piece of wood.
It protects the guitar that wood may become.
The patience you use at the bending iron can eventually become a graceful waist, a polished body, and an instrument that stays with you for years.
That is worth slowing down for.
🎸 The Curves That Make the Guitar

🏁 Final Thoughts…
Cracks during side bending are intimidating, but most can be traced back to a few common problems.
The wood may be too thick.
The heat may be too low.
The pressure may be too high.
Or the builder may simply be asking the wood to move before it is ready.
The best way to avoid cracks is not complicated:
- Prepare the wood carefully
- Keep the thickness consistent
- Use moisture with control
- Give the heat time to work
- Bend gradually
- Watch for warning signs
- Never force the wood
The goal is not to overpower the side.
The goal is to understand when it is ready to bend.
Two flat pieces of wood are slowly becoming the shape of an acoustic guitar.
Give them the time they need to get there.
Your Guitar, Your Build, Your Sound
Every difficult step in guitar building becomes less intimidating once you understand what can go wrong — and how to prevent it.
Work slowly, pay attention to the wood, and do not let one challenging bend convince you that you cannot build the guitar you have in mind.
Come on, man… You got this.
GuitarCrafts is here to help you along the way.
WONDERFUL!
IT IS THE BEST GUIDING ARTICLE TO PREVENT MISTAKES WHEN BENDING GUITAR SIDES.
THANK YOU.
Thank you very much, Demosthenes!
I’m glad you found the article helpful.
Bending guitar sides can definitely be intimidating, and avoiding problems before they happen is much better than trying to repair a cracked side afterward.
I really appreciate you taking the time to read the article and leave a comment!
~ Wayne
Thank you, Demosthenes!
I truly appreciate the kind words.
I’m always learning, and I enjoy sharing what I learn along the way.
If something I write helps another builder avoid a mistake or approach a project with a little more confidence, then the article has done exactly what I hoped it would do.
Thank you again for reading and for taking the time to comment!
~ Wayne