
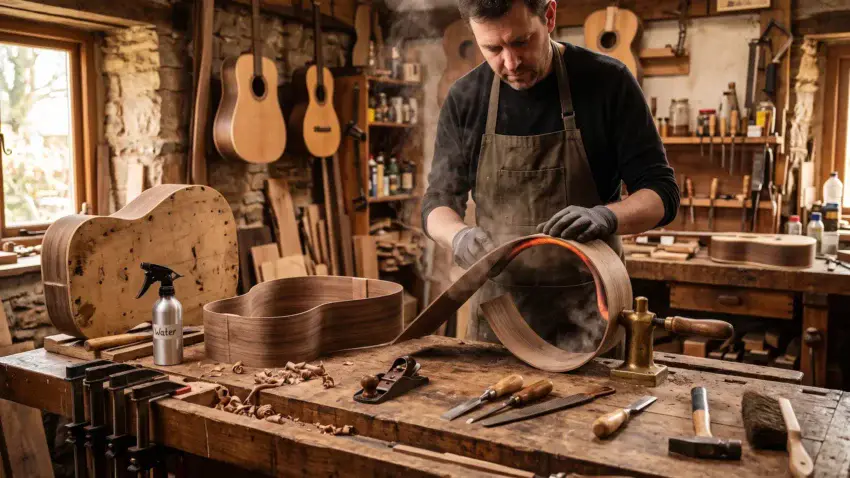
Bending the sides is one of the most intimidating parts of building an acoustic guitar.
You begin with two thin, flat pieces of wood.
With the right combination of heat, moisture, pressure, and patience, those pieces slowly take on the curves that define the shape of the finished instrument.
The process may look difficult at first, but side bending is not about forcing wood into shape.
It is about learning when the wood is ready to move — and giving it the time it needs to get there.
👉 Want to see where bent sides fit into the complete body build?
Follow How to Build an Acoustic Guitar Body to see how the sides, soundboard, back, and binding come together.
 The Moment Flat Wood Becomes a Guitar
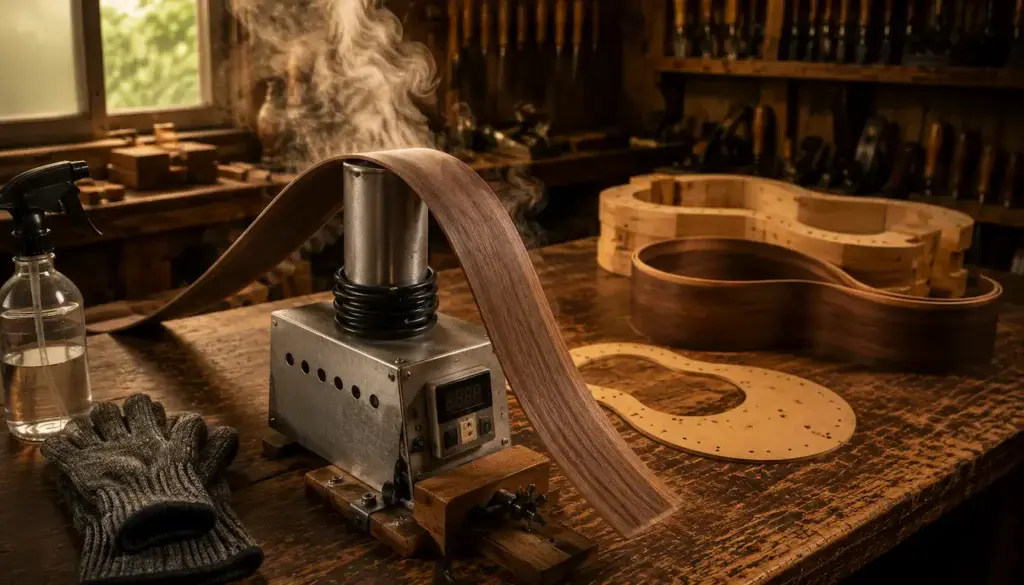
🔥 Why Acoustic Guitar Sides Need to Be Bent
The sides create the outer shape of the acoustic guitar body.
Unlike the soundboard and back, which begin as flat panels, the sides must curve around the waist, upper bout, and lower bout of the instrument.
Those curves do more than create the familiar shape of an acoustic guitar.
They also help determine:
- The size and depth of the body
- The internal air volume
- How the top and back are supported
- The overall feel and appearance of the finished guitar
The challenge is creating those curves without cracking, scorching, twisting, or permanently damaging the wood.
🪵 Start With Properly Prepared Side Wood
Successful bending begins before the wood ever touches heat.
Acoustic guitar sides are usually cut thin enough to flex but thick enough to remain strong once the body is assembled.
If the sides are too thick, they become much harder to bend.
If they are uneven, one area may resist while another bends too easily.
Before bending, inspect each side carefully.
Look for:
- Consistent thickness
- Straight, clean grain
- Cracks or weak areas
- Grain runout
- Matching orientation between both sides
The smoother and more consistent the side wood is, the more predictable the bending process becomes.
📏 Thickness Matters More Than You Might Think
A small difference in thickness can make a big difference during bending.
Thicker areas require more heat and pressure.
Thin spots may bend too quickly or become vulnerable to cracking.
That is why the sides should be brought to a consistent final thickness before bending begins.
The exact thickness depends on the wood species and the guitar design, but the goal is always the same:
Create a side that is thin enough to bend smoothly while remaining strong enough for the finished instrument.
Do not rush this preparation.
A few extra minutes spent checking thickness can prevent a ruined side later.
💧 How Moisture Helps the Wood Bend
A small amount of moisture can help heat move into the wood and make the fibers more willing to bend.
The key word is “small”.
The sides should not be soaked until they are dripping wet.
Too much water can stain certain woods, raise the grain, and make the bending process harder to control.
Many builders lightly mist the wood or wrap it with damp paper before applying heat.
Moisture helps — but heat is what does most of the work.
🌡️ Heat Makes the Wood Flexible
Wood does not become ready to bend simply because it feels warm.
As the temperature rises, the natural components within the wood begin to soften.
That is the moment when the side becomes more flexible and willing to take a new shape.
Different woods respond differently.
Some species bend easily and give plenty of warning before trouble begins.
Others can be stubborn, brittle, or sensitive to excessive heat.
The goal is not to use as much heat as possible.
The goal is to use enough heat for the wood to move without damaging it.
🔥 Bending With a Traditional Bending Iron
A heated bending iron is one of the most traditional ways to shape acoustic guitar sides.
The builder works the side directly against the hot curved surface, gradually creating each part of the guitar body.
This method gives you direct feedback from the wood.
You can feel:
- When the wood begins to soften
- Where resistance remains
- Whether a curve is becoming too tight
- When more heat or moisture may be needed
The process is slow and hands-on, but it gives the builder a great deal of control.
🌀 Start With the Waist
The waist is usually the tightest curve in the middle of the guitar body, which makes it a natural place to begin.
Mark the waist location clearly on the side before bending.
Apply heat gradually and allow the wood to become flexible before increasing pressure.
The side should slowly conform to the curve rather than being forced around it.
This is where patience matters most.
If the wood is fighting you, it probably needs more time — not more muscle.
Bending the Acoustic Guitar Waist
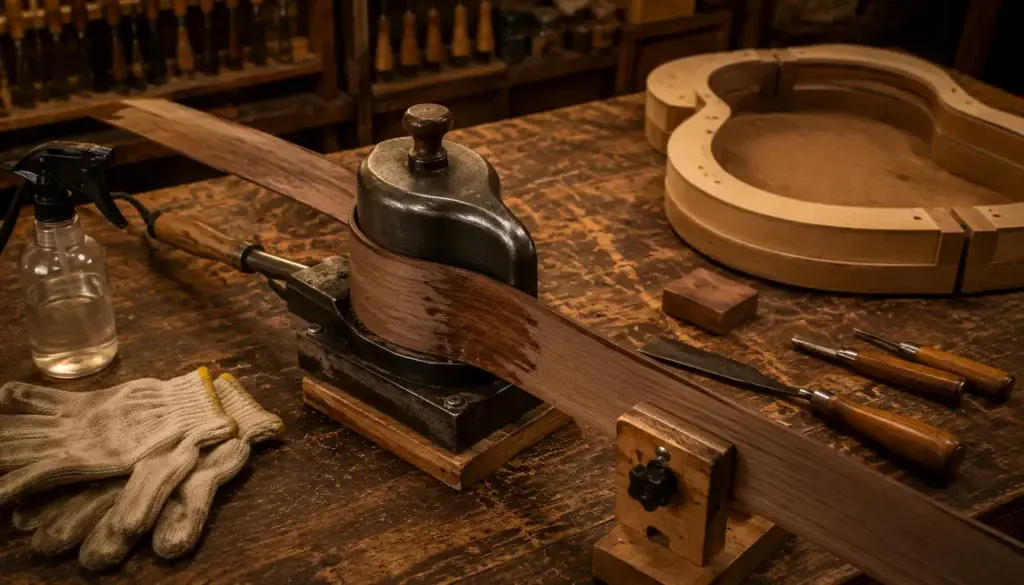
🎸 Shape the Upper and Lower Bouts
Once the waist begins to take shape, move outward toward the upper and lower bouts.
These curves are usually broader and more gradual than the waist, but they still need careful attention.
Work a little at a time.
Move the wood across the heat, apply gentle pressure, and keep checking the shape against the body mold or template.
The goal is a smooth, flowing curve with no sudden flat spots or sharp transitions.
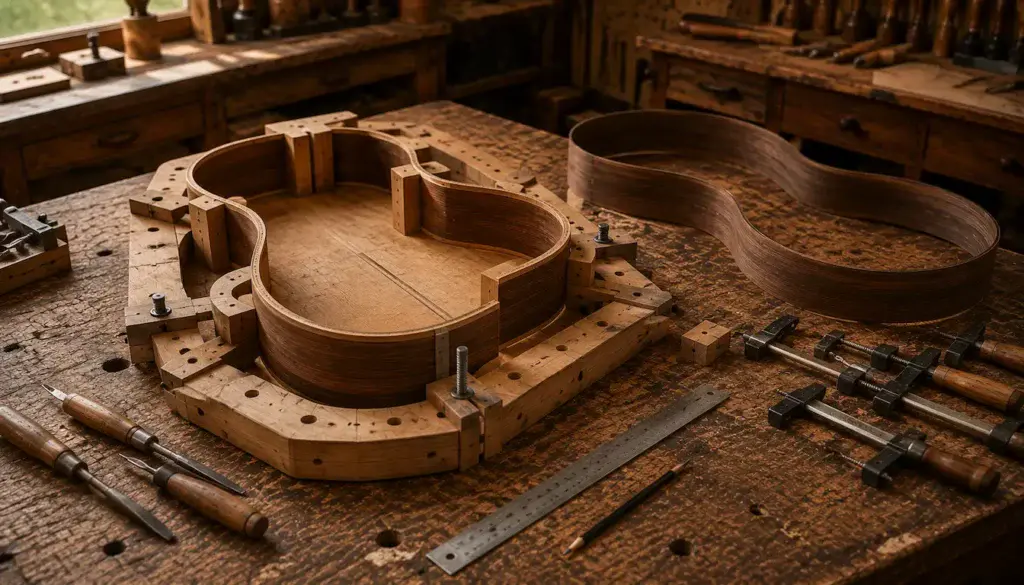
🧩 Check the Shape Against the Body Mold
The body mold is your reference.
As the side takes shape, place it into the mold regularly to see where more bending is needed.
Do not expect the side to fit perfectly after one pass.
You may need to:
- Tighten the waist
- Loosen a curve that was bent too tightly
- Correct a flat area
- Remove a slight twist
- Adjust the curve near the neck or tail block
Frequent checking prevents small errors from becoming larger ones.
Checking the Bent Guitar Sides
🛠️ Bending Iron vs. Side-Bending Machine
Both methods can produce excellent results.
A bending iron gives you direct control and allows you to feel the wood as it responds to heat.
It is traditional, versatile, and useful for making small corrections.
A side-bending machine uses a form, heat, and controlled pressure to shape the entire side more evenly.
Neither method removes the need for care.
The best choice depends on how often you plan to build, how much equipment you want to make or buy, and how hands-on you want the process to be.
⚠️ Never Force Cold Wood
One of the fastest ways to crack a guitar side is to apply too much pressure before the wood is ready.
Cold or underheated wood will resist the bend.
That resistance is a warning.
When the wood begins to soften properly, the difference is noticeable. It starts to move more willingly and conform to the shape.
If you find yourself pushing harder and harder, stop.
More force is rarely the answer.
🪵 Different Woods Bend Differently
Not every tonewood behaves the same way.
Some woods are relatively forgiving.
Others require tighter control over heat, moisture, thickness, and bending speed.
Grain direction also matters.
Even two pieces from the same set can respond slightly differently because wood is a natural material.
This is why builders learn to watch and feel the wood rather than relying only on a timer.
The wood tells you a lot if you pay attention.
🚨 Watch for the Warning Signs of a Crack
Cracks often begin before the side completely fails.
Watch for:
- A faint snapping or ticking sound
- A small line opening in the grain
- Sudden resistance during the bend
- Grain beginning to lift
- A sharp kink instead of a smooth curve
If something feels wrong, stop applying pressure.
A small problem may still be manageable. Forcing the bend usually makes it worse.
👉 Why do some guitar sides crack while others bend cleanly?
Next, we’ll look at the most common reasons acoustic guitar sides fail during bending — and how to avoid them.
🔥 Avoid Scorching the Wood
Too much heat can leave dark marks or permanently damage the side.
Scorching is more likely when:
- The wood stays in one place too long
- The bending iron is excessively hot
- The side becomes too dry
- Pressure is concentrated in one small area
Keep the wood moving and pay attention to changes in color, smell, and surface condition.
A little patience is much easier to fix than a burned side.
↔️ Keep the Side Square While Bending
A side can follow the correct curve and still be wrong if it twists during bending.
Keep checking that the top and bottom edges remain properly aligned.
Twisting can create problems later when you try to:
- Fit the side into the mold
- Attach the neck and tail blocks
- Install kerfing
- Join the soundboard and back
The goal is not just the right outline.
You want a clean curve that remains square and controlled.
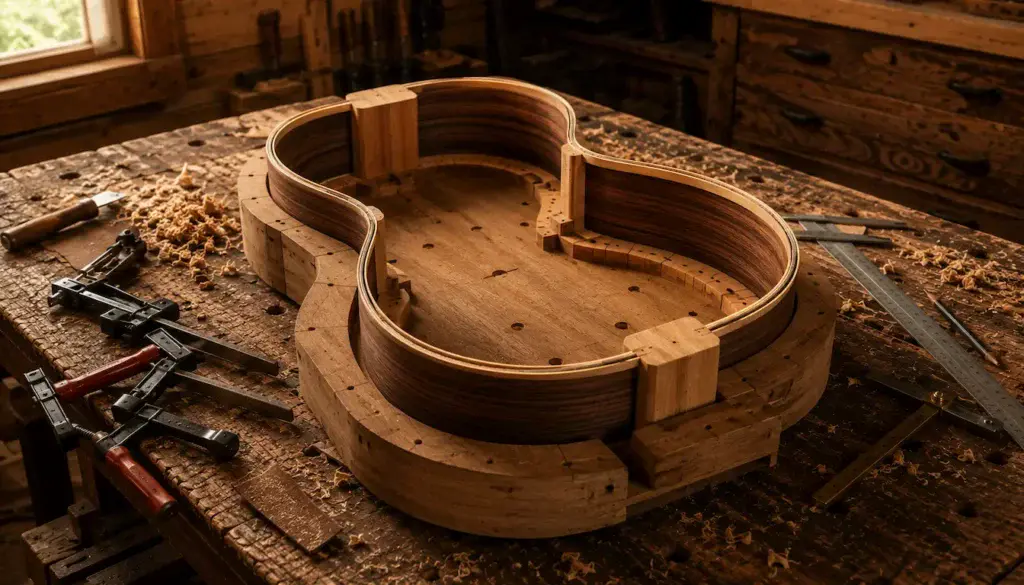
🧱 Let the Bent Sides Rest in the Mold
Freshly bent wood may try to move back toward its original shape.
This is called springback.
Once the sides fit the mold, leave them supported while they cool and stabilize.
The mold helps hold the shape and keeps both sides aligned while you prepare for the next stages of body construction.
Do not rush to remove them just because the bending is finished.
The wood may need time to settle into its new shape.
🎸 What Are the Upper and Lower Bouts?
If you are new to guitar building, the word bout simply means one of the wide, rounded sections of the guitar body.
An acoustic guitar has two:
- Upper bout — the smaller rounded section closest to the neck
- Lower bout — the larger rounded section at the bottom of the guitar
The narrow inward curve between them is called the waist.
Together, the upper bout, waist, and lower bout create the familiar shape of an acoustic guitar.
Knowing these terms makes it much easier to understand where each curve needs to be checked and adjusted during bending.
Acoustic Guitar Sides in the Body Mold
🔍 Inspect Both Sides Before Moving On
Before attaching the neck and tail blocks, inspect the entire bend.
Be sure to check the:
- The waist
- The upper bout
- The lower bout
- The neck and tail ends
- The top and bottom edges
- The inside and outside surfaces
Look for cracks, flat spots, twists, scorch marks, or areas that do not sit properly in the mold.
Small corrections are much easier now than after the body begins to come together.
🧰 The Right Tools Make Side Bending Easier
You do not need a factory full of equipment to bend acoustic guitar sides.
But the right setup can make the process more controlled and repeatable.
Depending on the method you choose, useful equipment may include:
- A bending iron
- A side-bending machine
- A guitar body mold
- A spray bottle
- Temperature control or monitoring
- Protective gloves
- Bending slats
- Clamps and forms
The goal is not to own every possible tool.
It is to create a setup that helps you control heat, shape, pressure, and alignment.
👉 Wondering which side-bending tools are actually worth buying?
See Best Tools for Bending Acoustic Guitar Sides for the equipment that makes this job easier, safer, and more predictable.
🎯 What Comes After the Sides Are Bent?
Once both sides hold the correct shape, the acoustic guitar body can begin to come together.
The next stages usually include:
- Fitting the sides into the body mold
- Trimming the ends
- Installing the neck block
- Installing the tail block
- Adding kerfing
- Preparing for the soundboard and back
This is the moment when two curved pieces of wood begin becoming the walls of an actual instrument.
👉 Ready to see the rest of the body come together?
Return to How to Build an Acoustic Guitar Body and continue from the bent sides to the completed hollow body.
The Guitar You Built

🏁 Final Thoughts…
Bending acoustic guitar sides can feel intimidating because the margin for error seems small.
But successful side bending is not about strength or speed.
It is about preparing the wood carefully, applying heat gradually, checking the shape often, and knowing when to stop pushing.
- Take your time with the waist.
- Let the wood tell you when it is ready to move.
- Check the mold often and correct small problems before they become big ones.
Two flat pieces of wood go into the process.
Two graceful guitar-shaped sides come out.
That is one of the first truly magical transformations in an acoustic guitar build.
Your Guitar, Your Build, Your Sound
You don’t need decades of luthier experience to learn how wood responds to heat.
You need patience, careful preparation, and the willingness to work with the wood instead of fighting it.
Come on, man… You got this.
GuitarCrafts is here to help you along the way.
WONDERFUL ARTICLE!
INDEED, YOU ARE A VERY EXPERIENCED MASTER LUTHIER AND TEACHER.
THANK YOU