

Installing the strings is one of the most rewarding moments of any acoustic guitar build.
After weeks of shaping wood, fitting hardware, and assembling the instrument, you’re finally ready to bring it to life with the first notes.
Whether you’re stringing a brand-new build or replacing worn strings on a favorite guitar, doing it correctly improves tuning stability, extends string life, and helps your guitar perform at its best.
🎸 Before installing your strings, make sure your tuning machines are securely mounted and properly aligned.
If you haven’t completed that step yet, visit How to Install Guitar Tuners before moving forward.

Why Proper Stringing Matters
Many tuning problems aren’t caused by poor-quality tuners — they’re caused by poor string installation.
Too many wraps around the tuner post, crossed windings, loose coils, or improperly seated bridge pins can all cause strings to slip as they stretch.
Taking a few extra minutes to install each string correctly gives you better tuning stability and makes future restringing much easier.
A properly strung guitar also looks cleaner, feels more professional, and inspires confidence every time you pick it up.
Tools You’ll Need
✔ New acoustic guitar strings
✔ String winder
✔ Flush-cut string cutters
✔ Electronic tuner
✔ Soft polishing cloth
Elixir Acoustic Guitar Strings
Fresh strings can completely transform the sound and feel of an acoustic guitar.
If you want bright tone, reliable tuning stability, and strings that last far longer than traditional sets, Elixir Nanoweb strings are an excellent choice.
 Amazon Product Suggestion:

✔ Elixir Acoustic Guitar Strings
Elixir 80/20 Bronze Nanoweb strings deliver a crisp,
articulate sound with the durability of an ultra-thin protective coating.
They resist dirt, sweat, and corrosion, helping your guitar stay brighter
and sound fresher through many more hours of playing than uncoated strings.
Why They’re Great
✔ Nanoweb coating greatly extends string life
✔ Bright, balanced 80/20 bronze tone
✔ Smooth feel with reduced finger squeak
✔ Holds tuning well and stays sounding fresh longer
Step 1: Prepare the Guitar
If you’re restringing an existing guitar, loosen each string gradually instead of cutting them under full tension.
Once the strings are slack, remove the bridge pins carefully and pull the strings free from the bridge.
This is also the perfect opportunity to clean the fretboard, polish the guitar, and inspect the nut, saddle, and bridge pins for wear before installing the new strings.
If you’re stringing a newly built guitar for the very first time, you can skip directly to the next step.
Step 2: Install the String at the Bridge
Insert the ball end of the string into the correct bridge hole.
Place the matching bridge pin into the hole with its slot facing toward the string.
As you press the pin into place, gently pull upward on the string until you feel the ball end seat firmly against the underside of the bridge plate.
Avoid forcing the bridge pin into the hole. The ball end — not the bridge pin — is what holds the string securely.
Once seated correctly, the bridge pin should fit snugly without excessive force.
Step 3: Thread the String Through the Tuner
Guide the string along the fretboard and through the correct tuning machine post.
Avoid putting a sharp bend or kink in the string as you feed it through the post.
A kink can often be felt while playing and may weaken the string over time.
Pull the string tight, then back it off slightly to leave enough slack for two to three neat wraps around the post.
This provides enough grip for excellent tuning stability without creating a bulky coil.
Keep the string straight while preparing to wind it.
Starting with proper alignment makes the remaining steps much easier.
Step 4: Wind the String Correctly
Begin turning the tuning key while keeping gentle tension on the string with your free hand.
Each wrap should wind neatly downward toward the face of the headstock without crossing over the previous wrap.
These clean, even coils help lock the string in place and reduce the chance of slipping during tuning.
Continue winding until the string begins to hold its tension naturally, but don’t bring it fully up to pitch until all six strings have been installed.
Step 5: Bring the Strings Up to Pitch
After all six strings have been installed, begin tuning them gradually.
Work back and forth across the strings instead of bringing one string completely up to pitch before moving to the next.
This allows the neck to adjust to the increasing tension more evenly.
Once every string is close, use an electronic tuner to bring the guitar up to standard tuning.
Take your time.
New strings will stretch quickly and require several tuning passes before they begin to stabilize.
Peterson StroboClip HD Guitar Tuner
A great setup starts with accurate tuning, and even the smallest tuning error can affect intonation and playability.
The Peterson StroboClip HD is one of the most precise clip-on tuners available, making it a favorite among professional players and luthiers alike.
Amazon Product Suggestion:

✔ Peterson StroboClip HD Guitar Tuner
Using Peterson’s renowned strobe tuning technology,
the StroboClip HD delivers exceptional accuracy
with a bright, easy-to-read display and fast response.
Whether you’re tuning during a setup, setting intonation,
or simply getting ready to play, it provides the precision needed
to get every string exactly where it belongs.
Why It’s Great
✔ Ultra-accurate strobe tuning technology
✔ Bright, easy-to-read HD display
✔ Perfect for setups and intonation adjustments
✔ Fast, reliable tuning for acoustic and electric guitars
Step 6: Stretch the New Strings
New strings naturally stretch during their first few minutes of playing.
Gently lift each string away from the fretboard several times along its length, then retune the guitar.
Repeat this process until the strings begin holding their pitch consistently.
Don’t overdo it.
A gentle stretch is all that’s needed to remove the initial slack from the windings around the tuner posts.
Pulling too hard can damage the string or pull it out of tune unnecessarily.
Taking a few extra minutes to stretch your new strings now will reward you with better tuning stability from the very first chord.
Step 7: Trim the Excess String
Once the guitar is holding its tuning reasonably well, trim the excess string from each tuner post.
Use a quality pair of flush-cut string cutters to leave approximately 1/4 inch (6 mm) beyond the final wrap.
This creates a clean, professional appearance while eliminating sharp ends that can scratch your hands or snag on clothing.
Double-check that every bridge pin remains fully seated after trimming the strings.
Heavy Duty Flush Cut Pliers
A clean string change doesn’t end with installing new strings — it finishes with trimming the excess safely and neatly.
A quality pair of heavy-duty flush cut pliers makes quick work of string ends while leaving a clean, professional-looking result.
Amazon Product Suggestion:
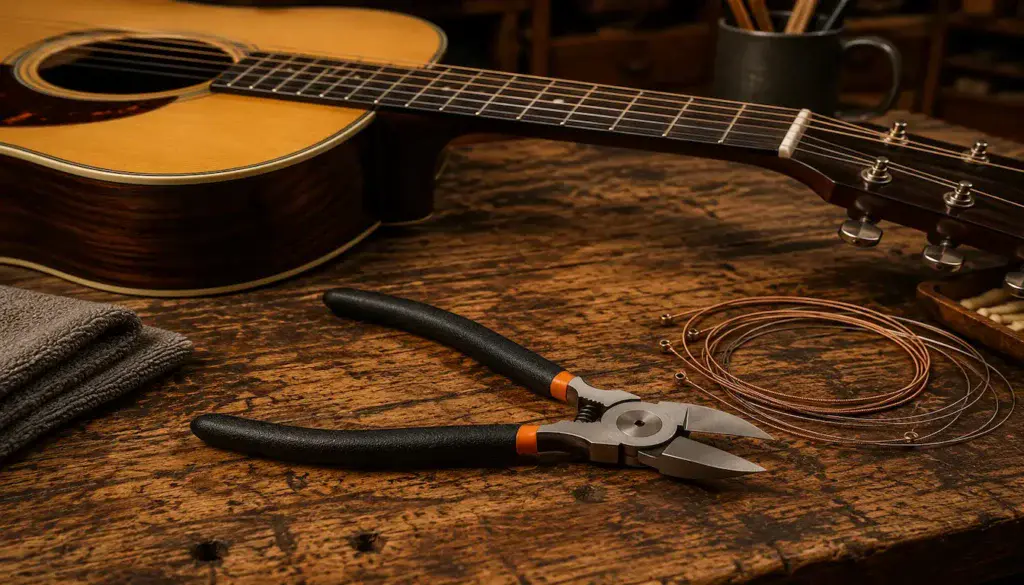
✔ Heavy Duty Flush Cut Pliers
Designed to make precise, flush cuts, these pliers easily trim
acoustic guitar strings without crushing or fraying the wire.
They’re comfortable to use, durable enough for years of restringing,
and an essential addition to any guitar maintenance toolbox.
Why They’re Great
✔ Clean, flush cuts every time
✔ Strong enough for acoustic guitar strings
✔ Comfortable non-slip grips
✔ Ideal for guitar maintenance and setups
Wayne’s Workshop Tip
Always wind the strings neatly downward on the tuner post without crossing over previous wraps.
Clean, even coils improve tuning stability and give your guitar the professional appearance every builder wants.
Common Mistakes to Avoid
❌ Kinking the string while feeding it through the tuner
❌ Wrapping the string too many times around the post
❌ Crossing the string wraps
❌ Failing to seat the bridge pins correctly
❌ Forgetting to stretch new strings
❌ Trimming the strings before confirming stable tuning
A great-playing guitar starts with a great neck.
See How to Build an Acoustic Guitar Neck to learn the foundation of excellent playability.
If you haven’t already, learn How to Install Frets on an Acoustic Guitar for smooth playability and accurate intonation.
🏁 Final Thoughts…
Stringing an acoustic guitar isn’t difficult, but the little details make a big difference.
Neat wraps, properly seated bridge pins, and carefully stretched strings all contribute to better tuning stability and a guitar that’s ready to play.
Whether this is the first set of strings on a guitar you built yourself or simply routine maintenance on an old favorite, taking your time now will reward you every time you pick it up.
🎸 Your Guitar, Your Build, Your Sound
Every new set of strings is another opportunity to make your guitar sound its best.
With a little patience and the right techniques, you’ll enjoy better tone, improved tuning stability, and the satisfaction of knowing the job was done right.
Come on, man… You got this.
GuitarCrafts is here to help you every step of the way.
🎸 Craft it. Play it. Own it! 🎸