
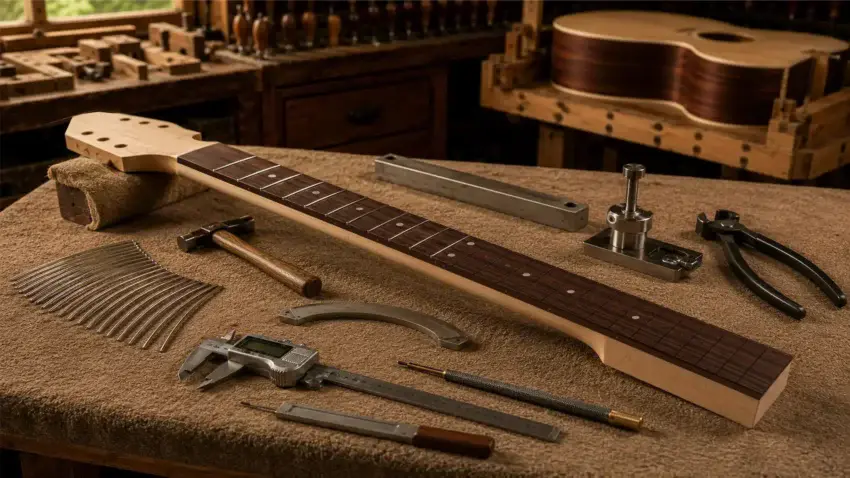
Installing frets is one of the most satisfying milestones in building an acoustic guitar.
It’s the moment your carefully crafted neck and fretboard begin transforming from beautifully shaped pieces of wood into a real musical instrument.
While the process demands patience and precision, it isn’t nearly as intimidating as many first-time builders imagine.
Successful fret installation begins long before the first fret is seated.
Clean fret slots, properly prepared fret wire, and the right tools all contribute to professional results.
In this guide, I’ll walk you through the complete process of installing frets on an acoustic guitar, from preparing the fretboard to trimming, leveling, crowning, and polishing the finished frets.
👉 Before installing frets, make sure your fretboard is complete.
Our guide to How to Build an Acoustic Guitar Fretboard walks you through preparing the perfect foundation.

🛠 Gather Your Fret Installation Tools
Installing frets requires a few specialized tools, but they’re well worth the investment if you plan to build more than one guitar.
Quality tools not only make the job easier, they also reduce the risk of damaging your fretboard during installation.
You’ll use some of these tools throughout the entire process, while others come into play during the final leveling and polishing stages.
Useful tools include:
- Fret hammer or fret press
- Fret press caul
- End nippers
- Fret rocker
- Leveling beam
- Crowning file
- Digital calipers
- Straightedge
- Fret slot cleaning tool
- Fret polishing kit
A few quality tools can produce results that rival much more expensive shop equipment.
Guitar Fractal Fret Press
Installing frets by hand works well, but a quality fret press makes it easier to seat each fret consistently while reducing the risk of damaging your fretboard.
If you’re planning to build more than one guitar, it’s an investment that quickly pays for itself.
 Amazon Product Suggestion:

✔ Guitar Fractal Fret Press
This adjustable fret press automatically
conforms to different fretboard radii,
eliminating the need to constantly change cauls.
It delivers even pressure across the fret,
helping each one seat cleanly with less effort.
Why It’s Great
✔ Self-adjusting design fits multiple fretboard radii
✔ Seats frets evenly with consistent pressure
✔ Reduces the chance of damaging the fretboard
✔ Great for both first-time builders and experienced luthiers
🪵 Preparing the Fretboard
Before installing a single fret, inspect every fret slot carefully.
Any glue squeeze-out, sanding dust, wood fibers, or debris left inside the slots can prevent the fret tang from seating completely.
Run a fret slot cleaning tool or thin saw through each slot if necessary.
Check that every slot is clean, consistent in depth, and free from obstructions.
Taking a few extra minutes now can prevent frustrating problems later.
As you prepare the fretboard:
- Clean every fret slot.
- Verify slot depth.
- Remove loose fibers.
- Check for chipped edges.
- Inspect the fretboard one final time.
A clean fretboard gives every fret the best chance of seating properly the first time.
📏 Cutting and Preparing the Fret Wire
Fret wire is supplied in long coils or straight lengths and must be cut slightly longer than each fret slot before installation.
Leaving a small amount of extra material on each side makes trimming much easier after the frets have been seated.
Many builders also pre-radius the fret wire slightly tighter than the fretboard radius.
This helps the fret ends seat firmly into the wood and reduces the chance of gaps developing along the edges.
A fret wire radius jig makes this process quick, accurate, and repeatable by forming consistent curves before the wire is cut to length.
When preparing fret wire:
- Cut each piece slightly oversize.
- Match the fret wire to your fretboard radius.
- Use a fret wire radius jig for consistent results.
- Inspect each piece for damage.
- Organize the frets before installation.
- Work one fret at a time.
Good preparation makes installation smoother and far more consistent.
Guyker Guitar Fretwire Bender
One of the easiest ways to improve fret installation is to pre-radius your fret wire before cutting it to length.
A quality fret wire radius jig creates smooth, consistent curves that help the fret ends seat tightly against the fretboard.
Amazon Product Suggestion:
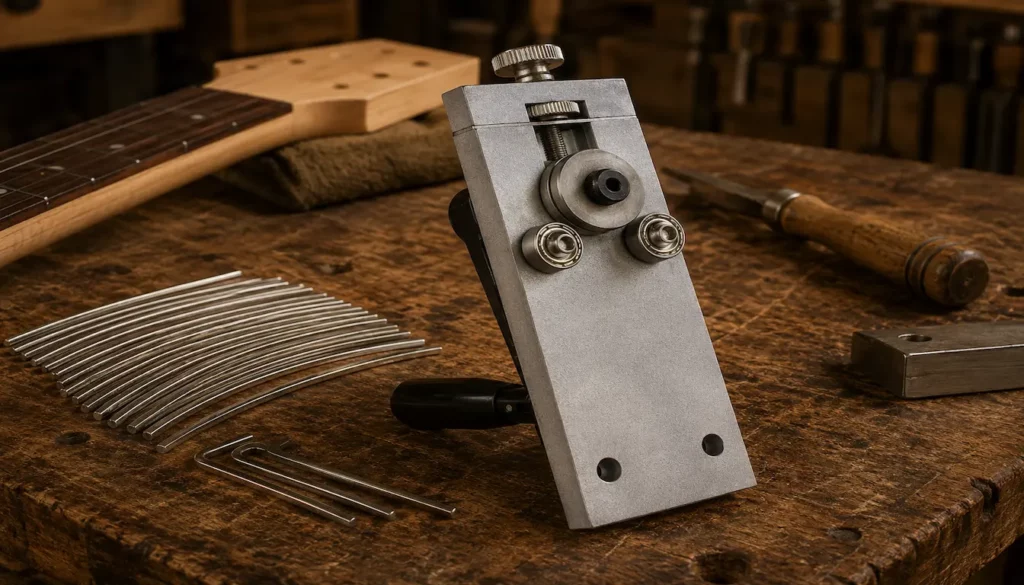
✔ Guyker Guitar Fretwire Bender
This adjustable fret wire radius jig quickly bends straight
or coiled fret wire to match your desired fretboard radius.
It’s simple to use, highly accurate, and helps eliminate gaps
that can occur when fret wire isn’t properly formed before installation.
Why It’s Great
✔ Creates smooth, consistent fret wire curves
✔ Adjustable for multiple fretboard radii
✔ Helps frets seat securely with less effort
✔ Saves time while improving installation accuracy
🔨 Installing the Frets
With everything prepared, it’s time to begin installing the frets.
Whether you use a fret hammer or a fret press, the goal is the same — seat each fret fully into its slot without damaging the fretboard.
Start at one end of the fret and work toward the opposite end, applying steady, controlled pressure.
After each fret is installed, inspect both ends carefully to ensure the tang has seated completely against the wood.
As you install each fret:
- Begin at one end.
- Work evenly across the fret.
- Check both ends for gaps.
- Avoid striking harder than necessary.
- Inspect every fret before moving on.
Take your time.
One properly installed fret is far better than backtracking to fix mistakes that you made because you got in a hurry.
✂️ Trimming the Fret Ends
Once every fret has been installed, trim the excess wire flush with the edge of the fretboard.
A quality pair of fret end nippers makes this job much easier while minimizing the amount of filing required afterward.
Cut each fret carefully and leave just enough material for final beveling and dressing.
Rushing this stage can chip the fretboard or damage freshly installed frets.
Keep these tips in mind:
- Support the fret while trimming.
- Cut close without forcing the tool.
- Inspect every cut.
- Remove loose metal fragments.
- Prepare the edges for final dressing.
Cleanly trimmed frets make the remaining finishing work much easier.
StewMac Fret Cutters
After installing the frets, you’ll need to trim the excess wire as close to the fretboard as possible.
Of all the tools I’ve purchased from StewMac, this is one I recommend without hesitation because it performs exactly as advertised.
Amazon Product Suggestion:
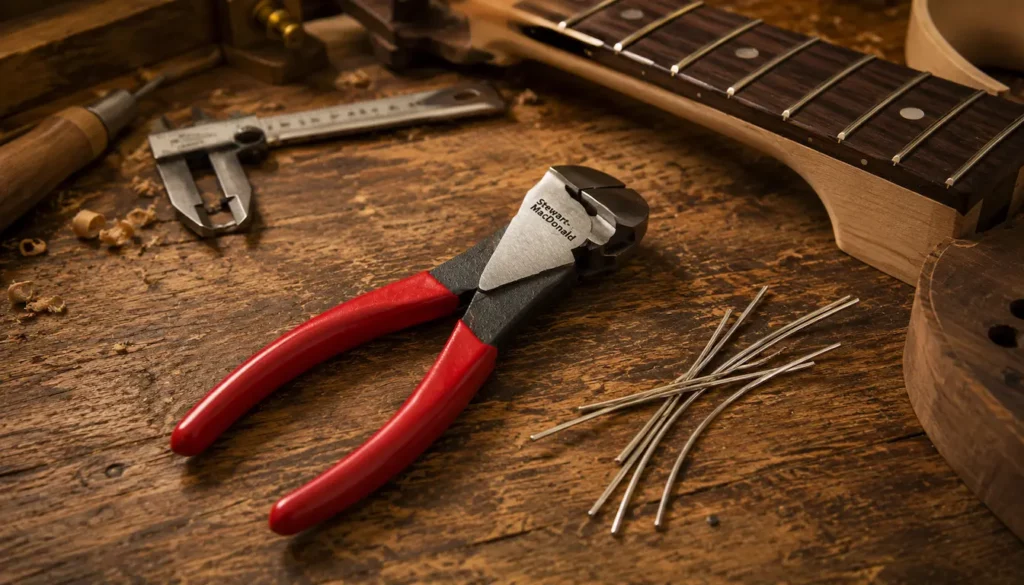
✔ StewMac Fret Cutters
The StewMac Precision Fret Cutter is designed to cut
fret wire nearly flush with the edge of the fretboard,
leaving very little cleanup before beveling and dressing the fret ends.
What makes these cutters even more valuable is that the
flush-ground jaws also make them an outstanding tool for pulling frets.
They grip the fret tightly against the wood, allowing you to
carefully work the fret out a little at a time while
greatly reducing the risk of chipping the fretboard.
Why It’s Great
✔ Cuts fret wire exceptionally close to the fretboard
✔ Excellent for pulling frets during repairs or refrets
✔ Flush-ground jaws grip the fret right against the wood
✔ Hardened steel stays sharp for years
🎸 Wayne’s Workshop Tip
I keep these cutters for one job only — fret wire.
They never cut copper wire, nails, screws, or anything else.
Treat them like the precision luthier’s tool they are, not a general-purpose pair of nippers, and they’ll reward you with clean flush cuts and dependable performance for years to come.
📐 Leveling the Frets
Even if every fret appears to be fully seated, they won’t all be exactly the same height.
That’s perfectly normal.
Leveling removes tiny high spots so every fret shares the same playing surface, helping eliminate buzzes and dead notes.
Before you begin, use a permanent marker to color the top of every fret.
As you work the leveling beam across the fretboard, the marker will disappear from the high spots first, making it easy to see which frets still need attention.
Work slowly and use long, even strokes that follow the radius of the fretboard.
Let the leveling beam do the work rather than forcing it with heavy pressure.
As you level the frets:
- Color the fret tops with a marker.
- Use a straight leveling beam.
- Apply light, even pressure.
- Check your progress often.
- Stop as soon as every fret shows a clean, level surface.
Removing too much material only shortens the life of your frets.
MusicNomad Fret Leveler
A leveling beam is one of the most important fretwork tools you’ll own.
Unlike a short sanding block, it bridges multiple frets at once, creating a perfectly level playing surface.
Amazon Product Suggestion:

✔ MusicNomad Fret Leveler
A quality leveling beam provides a long, perfectly flat reference surface
that removes high spots while maintaining consistent fret height across the neck.
Pair it with self-adhesive abrasive paper and
you’ll quickly see why professional builders rely on one.
Why It’s Great
✔ Perfectly flat reference surface
✔ Levels multiple frets at once
✔ Produces more consistent results
✔ Reusable with adhesive sandpaper
👑 Crowning the Frets
Leveling leaves a small flat surface across the top of every fret.
Crowning restores the rounded profile so the string contacts a narrow point instead of a flat surface.
Work each fret carefully, removing material from both sides until only a thin line of marker remains on top.
That narrow line tells you the fret is still level while regaining its proper shape.
Take your time.
Once metal is removed, it can’t be put back.
As you crown each fret:
- Work evenly from both sides.
- Leave a fine center line.
- Check your work frequently.
- Avoid over-filing.
- Maintain a consistent fret shape.
A properly crowned fret not only plays better but also makes bending strings feel noticeably smoother.
MusicNomad MN850 Guitar Fret Crowning File
This is one tool I wouldn’t try to substitute for cheap.
A good quality diamond crowning file cuts smoothly, lasts for years, and produces much cleaner results than inexpensive files.
Amazon Product Suggestion:
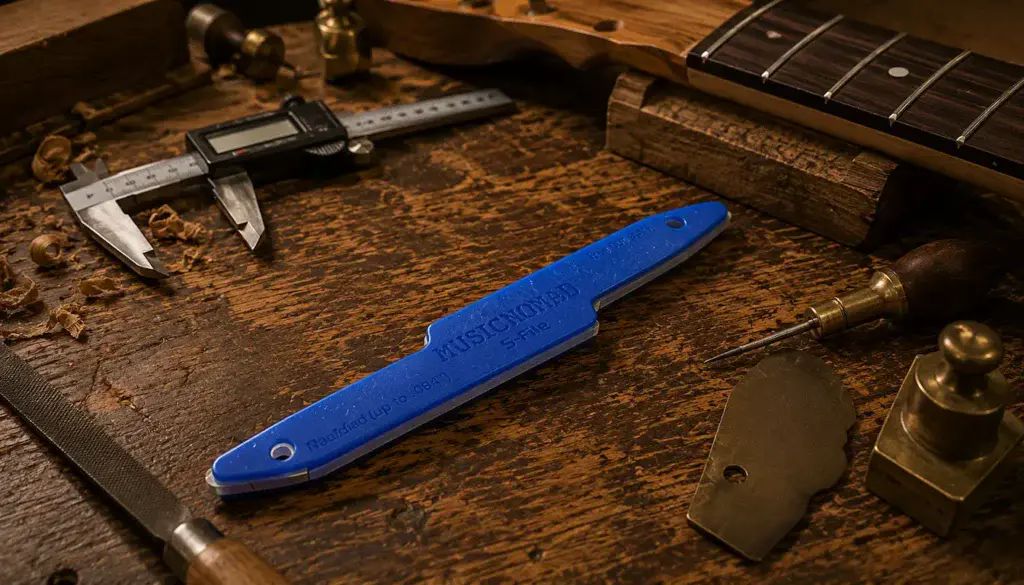
✔ MusicNomad Guitar Fret Crowning File
The MusicNomad Safe Zone Diamond Fret Crowning File
restores the rounded profile of your frets after
leveling with smooth, controlled diamond cutting.
Its angled handle keeps your knuckles off the fretboard, giving you
better visibility and more comfortable control while you work.
Why It’s Great
✔ Diamond-coated cutting surface cuts quickly and smoothly
✔ Safe Zone design helps protect the fretboard from accidental damage
✔ Produces clean, consistent fret crowns with excellent control
✔ Built to provide years of dependable fretwork
✨ Polishing the Frets
After crowning, the frets still contain fine scratches from the file.
Polishing removes those scratches and leaves the frets smooth enough for effortless bends and accurate tuning.
Work through progressively finer abrasives before finishing with polishing pads or fret erasers.
As the scratches disappear, the frets will begin reflecting light like chrome.
When polishing:
- Start with the coarsest grit needed.
- Progress through finer abrasives.
- Keep the fretboard protected.
- Remove every visible scratch.
- Finish until the frets shine like mirrors.
Mirror-polished frets don’t just look better — they feel better and let the strings glide across the frets for smoother bends.
Micro MESH Soft Touch Sanding Pads
After crowning your frets, polishing is what transforms good fretwork into great fretwork.
Over the years, I’ve found that Micro-Mesh pads are one of the easiest and most effective ways to bring frets to a mirror finish.
Amazon Product Suggestion:
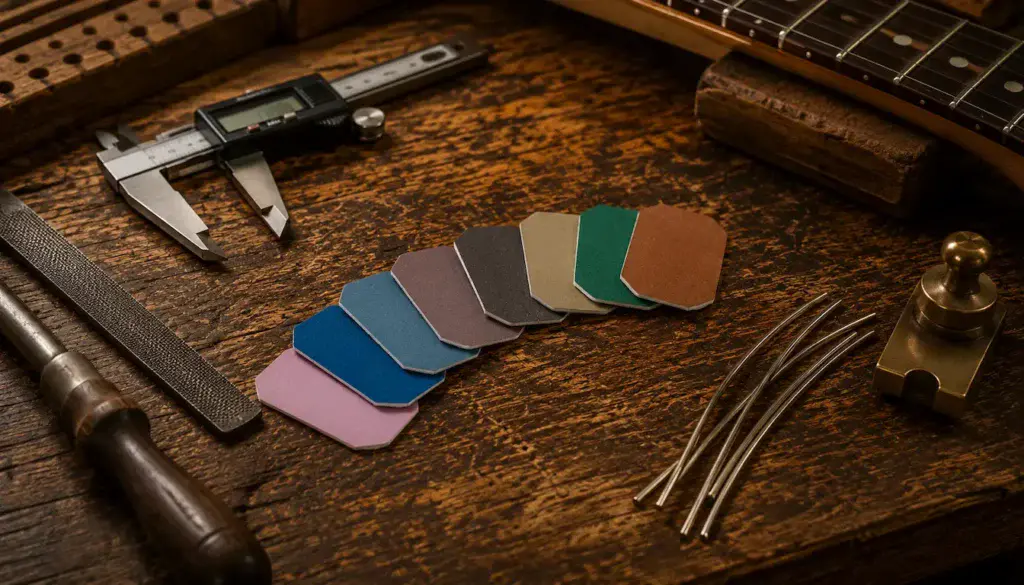
✔ Micro MESH Soft Touch Sanding Pads
Micro-Mesh Soft Touch Sanding Pads use progressively finer grits
to remove scratches left behind by leveling and crowning while
producing an incredibly smooth, reflective finish.
They last a long time, are easy to use, and leave your
frets looking and feeling professionally polished.
Why It’s Great
✔ Produces a true mirror finish on frets
✔ Progressive grits remove scratches safely
✔ Makes string bends feel noticeably smoother
✔ Long-lasting and reusable for multiple guitars
⚠️ Common Mistakes to Avoid
Installing frets successfully isn’t about working quickly — it’s about paying attention to the small details throughout the process.
Most problems happen because builders rush or skip steps that seem unimportant.
Avoid these common mistakes:
- Installing frets into dirty slots.
- Forgetting to pre-radius the fret wire.
- Driving frets too aggressively.
- Trimming fret ends before checking they are fully seated.
- Removing too much material while leveling.
- Over-crowning the frets.
- Skipping the polishing stage.
Every careful step contributes to a guitar that not only looks professional but also plays beautifully.
🎸 The Reward for Getting Every Fret Right
🏁 Final Thoughts…
Installing frets is one of those jobs that rewards patience and precision.
Every stage — from preparing the fretboard and seating the frets to leveling, crowning, and polishing — builds on the one before it.
Take your time, use the right tools where they truly matter, and don’t be afraid to stop and inspect your work along the way.
One of the things I’ve learned over the years is that there’s no prize for finishing first.
A little extra care now is far easier than having to pull frets back out or redo work later because you rushed the process.
Done properly, a well-fretted neck will reward you every time you pick up your guitar.
 Your Guitar, Your Build, Your Sound
You don’t need a custom shop or a tech on speed dial.
All you need is a little guidance, some patience, and a place to go that shows you what to do next.
Come on man… You got this.