

There’s something satisfying about seeing a beautifully shaped headstock finally come to life.
Installing the tuning machines is one of those milestone moments where your acoustic guitar starts looking like a real instrument instead of a woodworking project.
🎸 Before you install your tuners, make sure your headstock is completely shaped and the tuner holes are drilled accurately.
If you haven’t finished those steps yet, check out our guide on How to Drill Tuner Holes in an Acoustic Guitar Headstock before moving forward.

Why Proper Tuner Installation Matters
Installing guitar tuners may seem straightforward, but small mistakes can affect the appearance, tuning stability, and long-term reliability of your guitar.
- Crooked tuners make even a beautifully crafted instrument look amateurish.
- Overtightened bushings can damage the finish or compress the wood fibers around the headstock.
- Misaligned mounting screws can also place unnecessary stress on the tuner housing over time.
Taking a few extra minutes to align everything carefully ensures your tuning machines operate smoothly, look professional, and stay secure for years to come.
Tools You’ll Need
✔ Small Phillips screwdriver
✔ Nut driver or wrench for tuner bushings
✔ Masking tape
✔ Straightedge or steel ruler
✔ Engineer’s square
✔ Digital calipers (optional)
✔ Awl or center punch (if pilot holes still need marking)
Step 1: Inspect Every Tuning Machine
Before installing anything, inspect each tuner closely.
Rotate every tuning key and make sure it turns smoothly without binding or excessive play.
Verify that every washer, bushing, and mounting screw is included in the package.
It’s much easier to replace a defective tuner now than after everything has been installed.
Lay all six tuners on your workbench in the order they’ll be installed.
This helps you quickly identify left- and right-side machines on a three-per-side headstock.
Gotoh SG381-01 Chrome 3×3 Guitar Tuners
Your tuning machines are one of the few parts of the guitar you’ll touch every single time you play.
Investing in a quality set now pays off with smoother tuning, better stability, and years of dependable performance.
 Amazon Product Suggestion:
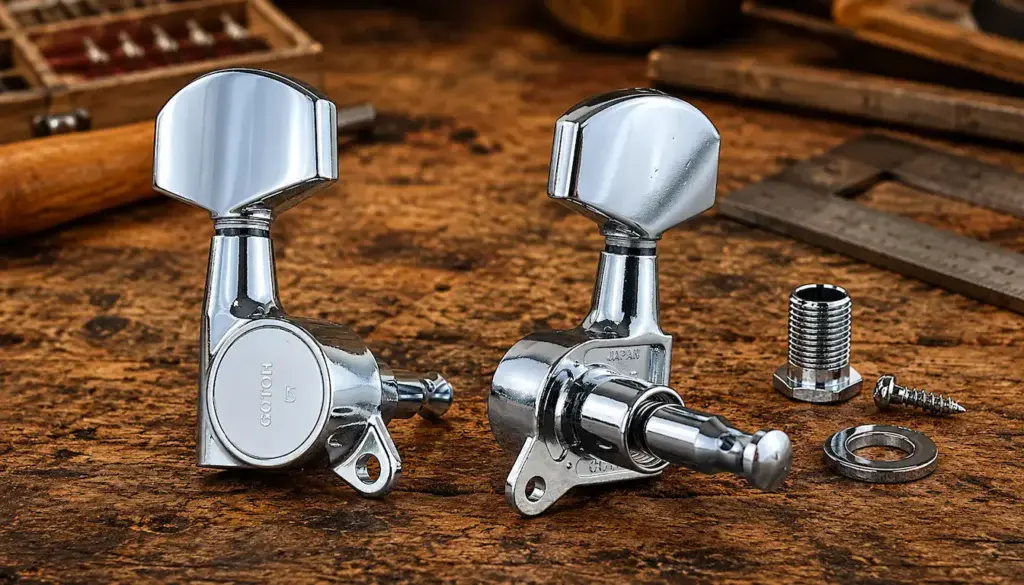
✔ Gotoh SG381-01 Chrome 3×3 Guitar Tuners
The Gotoh SG381-01 tuning machines deliver smooth,
precise tuning with a durable 16:1 gear ratio
and premium Japanese craftsmanship.
They’re trusted by professional luthiers for their
reliability, stability, and long-lasting performance.
Why It’s Great
✔ Smooth, precise 16:1 gear ratio
✔ Excellent tuning stability
✔ Professional-quality Japanese craftsmanship
✔ Built to last for years of reliable performance
Step 2: Install the Bushings
Insert the tuner bushings into the front of the headstock.
Many modern bushings are a light press fit while others slide in easily before being secured by the threaded collar.
If they’re a press fit, avoid using a hammer.
Instead, use a drill press, arbor press, or a clamp with hardwood cauls to seat them evenly without damaging the finish.
Each bushing should sit perfectly flush against the face of the headstock.
Step 3: Position the Tuners
Insert each tuner from the back of the headstock.
Thread the retaining nuts onto the bushings only finger tight.
Don’t fully tighten anything yet.
Leaving the tuners slightly loose allows you to align every machine perfectly before locking everything into place.
This single step makes the difference between a factory-looking headstock and one that looks professionally built.
CRAFTSMAN 7-Piece Metric Nut Driver Set
Using the correct nut driver helps protect your guitar’s finish while tightening tuner bushings securely.
It’s a simple tool that gives you far better control than an adjustable wrench or pliers.
Amazon Product Suggestion:
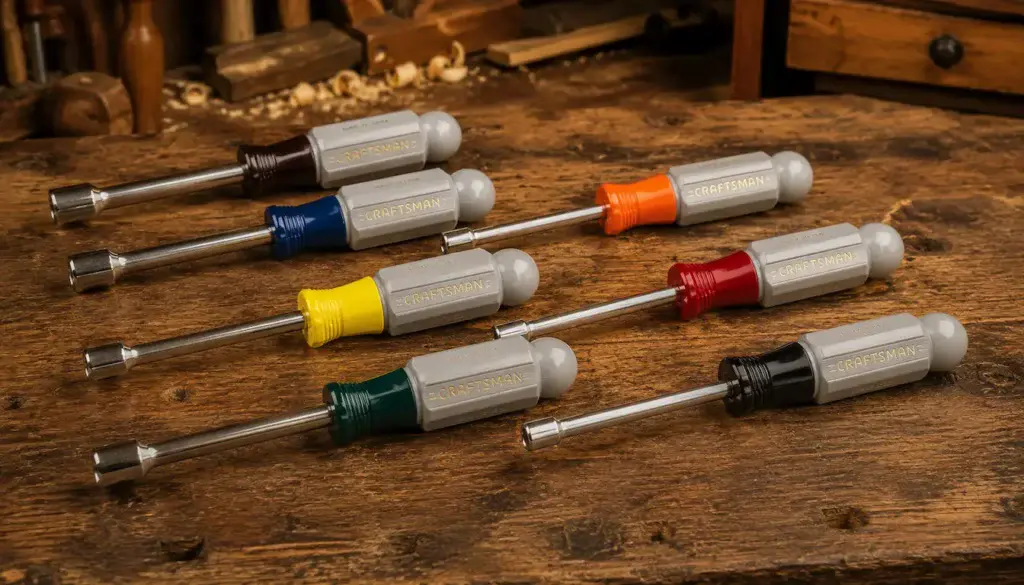
✔ CRAFTSMAN 7-Piece Metric Nut Driver Set
The CRAFTSMAN 7-Piece Metric Nut Driver Set includes
the commonly used 8 mm and 10 mm sizes for installing
many acoustic guitar tuning machines.
The comfortable handles and durable construction make it a
reliable addition to any guitar builder’s workshop.
Why It’s Great
✔ Includes 8 mm and 10 mm drivers
✔ Won’t scratch tuner bushings like pliers
✔ Comfortable ergonomic handles
✔ Trusted CRAFTSMAN quality
Step 4: Align the Tuners
Place a long straightedge against the edges of the tuner housings.
Adjust each machine until every tuner forms one perfectly straight line.
Take your time here.
Even being off by a millimeter becomes obvious once the guitar is finished.
When you’re satisfied with the alignment, snug the retaining nuts just enough to prevent the tuners from moving.
🎸 A great headstock starts with a great neck.
If you’re building from scratch, see How to Build an Acoustic Guitar Neck before moving on.
iGaging Engineer Square Set
Perfectly aligned tuning machines give your guitar a clean, professional appearance.
A quality square makes it easy to keep every tuner housing straight before you tighten the mounting screws.
Amazon Product Suggestion:
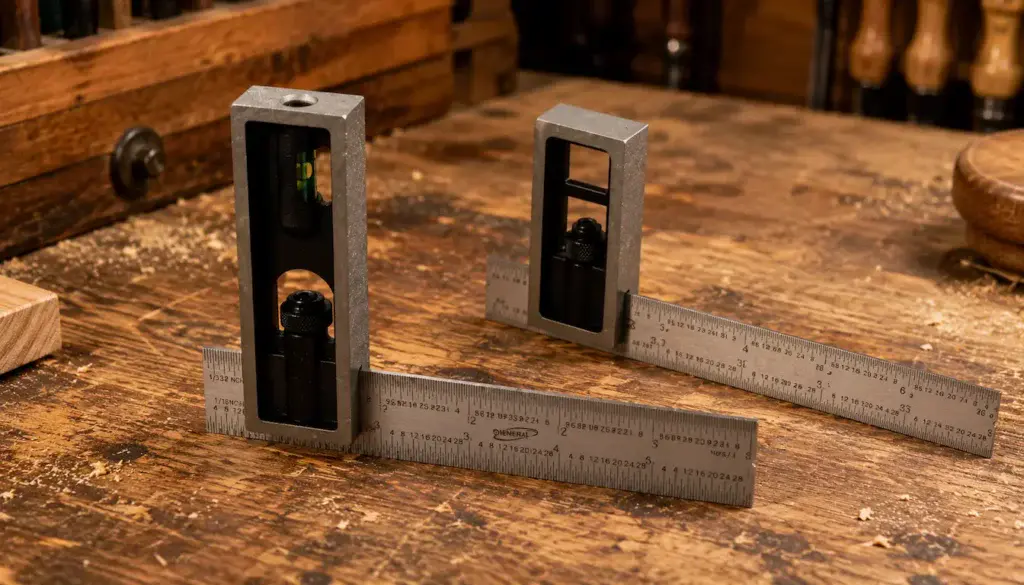
✔ iGaging 4″ Double Square & 6″ Combination Square Set
Step 5: Install the Mounting Screws
Once the tuners are perfectly aligned, it’s time to secure them permanently.
If your headstock doesn’t already have pilot holes, use an awl or center punch to mark the center of each mounting screw location.
Drill shallow pilot holes with a small drill bit that’s slightly smaller than the screw shank.
Wrapping a piece of masking tape around the drill bit makes an excellent depth stop and helps prevent drilling too deep.
Drive each screw in by hand using a good quality Phillips screwdriver.
Avoid using a power driver, as it’s very easy to strip these tiny screws or snap one off inside the headstock.
Tighten each screw until it’s snug, but don’t overdo it.
The screw only needs to hold the tuner housing firmly against the wood.
WORKPRO 10-Piece Precision Screwdriver Set
Tiny tuner screws deserve the right tool.
A quality precision screwdriver gives you better control and helps prevent stripped screw heads during installation.
Amazon Product Suggestion:
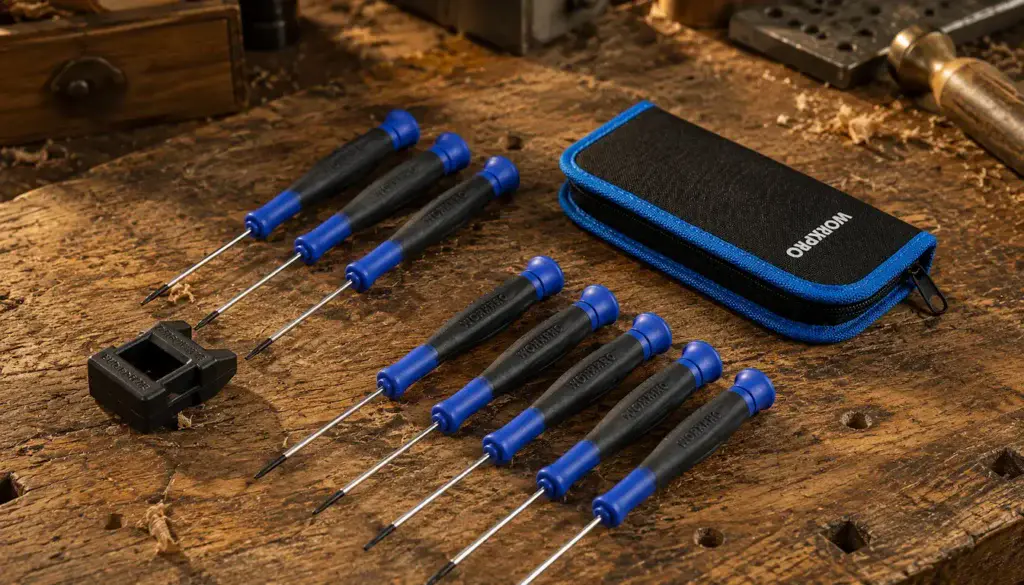
✔ WORKPRO 10-Piece Precision Screwdriver Set
The WORKPRO 10-Piece Precision Screwdriver Set includes
magnetic Phillips and slotted drivers that are perfect for
installing guitar tuners and other small hardware.
The comfortable handles and organized storage pouch
make it a handy addition to any luthier’s toolbox.
Why It’s Great
✔ Magnetic tips hold tiny screws securely
✔ Comfortable non-slip handles
✔ Includes multiple Phillips sizes
✔ Durable storage pouch included
Step 6: Tighten the Bushing Nuts
With the mounting screws installed, return to the front of the headstock and tighten the retaining nuts.
Use a correctly sized nut driver or socket wrench rather than pliers or an adjustable wrench.
The proper tool prevents scratches around the bushings and applies even pressure.
Hold the tuner from the back of the headstock while tightening the nut to keep it from twisting out of alignment.
The nut should be snug, but excessive force isn’t necessary.
Overtightening can compress the wood fibers or damage the finish around the tuner hole.
Wayne’s Workshop Tip
Install all of the tuners loosely before tightening anything permanently.
Once every tuner is in place, use a straightedge to line them up, tighten the mounting screws first, and finish by snugging the bushing nuts.
It’s a simple routine that produces clean, professional-looking results every time.
Step 7: Check the Operation
Turn each tuning key through its full range of motion.
Every tuner should rotate smoothly with consistent resistance and no binding.
If one feels noticeably tighter or more loose than the others, double-check that the mounting screws and retaining nut are seated correctly.
Now is also a good time to inspect the alignment one final time.
Stand behind the guitar and sight across the back of the headstock.
All six tuning machines should appear perfectly straight and evenly spaced.
Correcting a small alignment issue now is much easier than after the strings are installed.
Common Mistakes to Avoid
❌ Tightening the bushing nuts before aligning the tuners
❌ Using a power driver to install the tiny mounting screws
❌ Skipping pilot holes for the mounting screws
❌ Overtightening the retaining nuts
❌ Using pliers instead of a proper nut driver
❌ Forgetting to verify that every tuner turns smoothly before restringing the guitar
🎸 With your tuning machines securely installed, your headstock is finally complete. The next step is learning how to string the guitar correctly for maximum tuning stability. Continue with our guide to How to String an Acoustic Guitar Properly once it’s published.
🏁 Final Thoughts…
Installing guitar tuners isn’t one of the most difficult parts of building an acoustic guitar, but it’s one of the most visible.
A perfectly aligned set of tuning machines instantly gives your instrument a clean, professional appearance and ensures smooth, dependable tuning for years to come.
Take your time, measure twice, and tighten everything with care.
When you step back and see those six tuners lined up perfectly across the headstock, you’ll know your patience paid off.
🎸 Your Guitar, Your Build, Your Sound
You don’t need a custom shop or decades of experience to build a beautiful acoustic guitar.
You just need patience, the right tools, and a willingness to learn one step at a time.
Every completed step brings your guitar — and your skills — closer to the finish line.
Come on, man… You got this.
GuitarCrafts is here to help you every step of the way.
🎸 Craft it. Play it. Own it! 🎸