
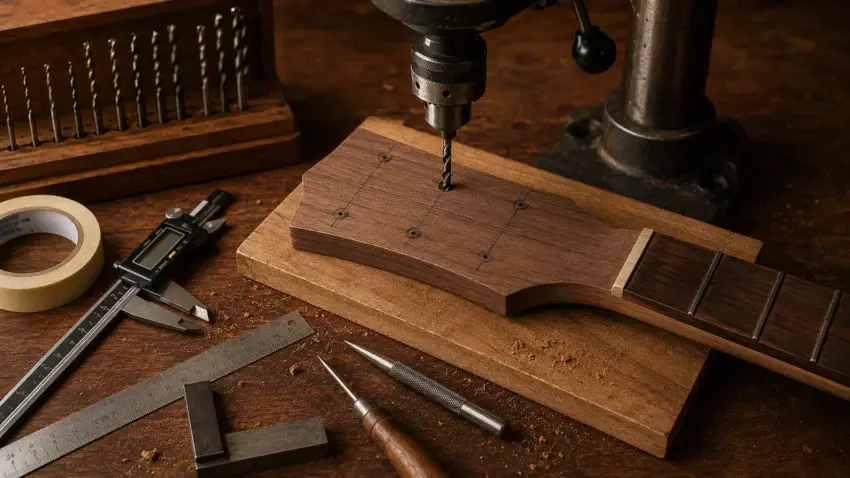
Few moments in a guitar build require as much confidence as drilling the tuner holes in your finished headstock.
With careful layout, the right tools, and a little patience, you’ll end up with perfectly aligned tuners that look as good as they function.
💡 Related: Before drilling anything, make sure your headstock has been fully shaped and sanded by following our guide: How to Shape an Acoustic Guitar Headstock.

Quality Tools to Help You Get Started
A few quality tools can make the difference between perfectly aligned tuner holes and a headstock you’ll wish you could do over.
These are some of the products I trust and use in my own shop to help make the job accurate, clean, and repeatable.
Fisch Brad Point Drill Bit Set
Clean, accurate tuner holes start with the right drill bit.
A quality brad point bit cuts exactly where you mark it, helping prevent wandering and ugly tear-out.
 Amazon Product Suggestion:
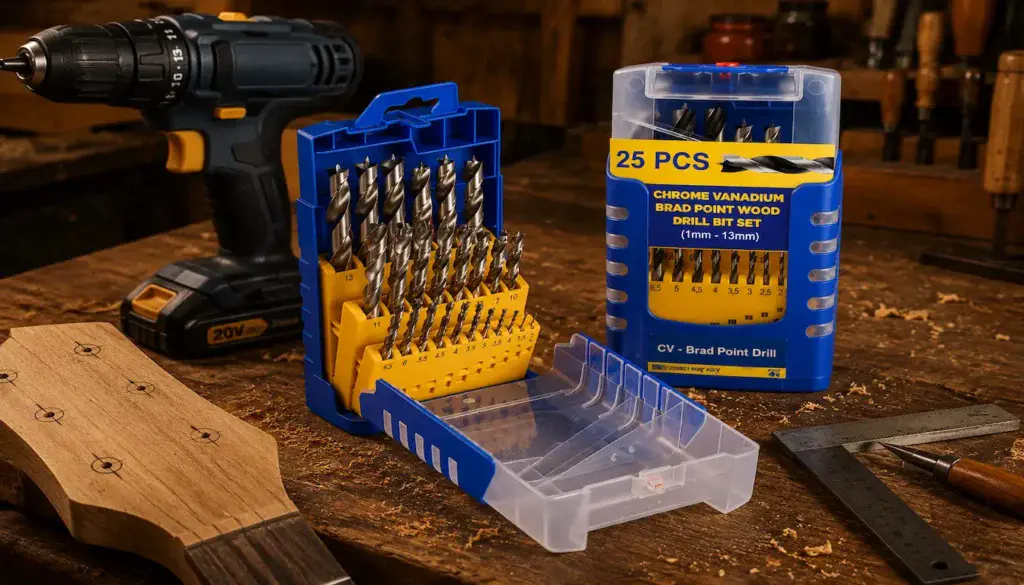
✔ Fisch Brad Point Drill Bit Set
This Fisch Brad Point Drill Bit Set is designed specifically for woodworking,
making it an excellent choice for drilling precise tuner holes in an acoustic guitar headstock.
The razor-sharp center point establishes the hole location instantly, while the outer spurs
score the wood fibers before the cutting edges remove material,
leaving crisp, clean holes in even delicate hardwoods.
Why It’s Great
✔ Razor-sharp brad point starts exactly on your mark
✔ Produces clean holes with minimal tear-out
✔ Excellent for hardwood guitar headstocks
✔ Wide range of sizes for lutherie and woodworking
Milescraft DrillMatePRO 1348
A drill guide is one of the easiest ways to improve accuracy when drilling tuner holes.
It helps keep the drill bit perfectly square to the headstock, reducing the chance of crooked or oversized holes.
Amazon Product Suggestion:
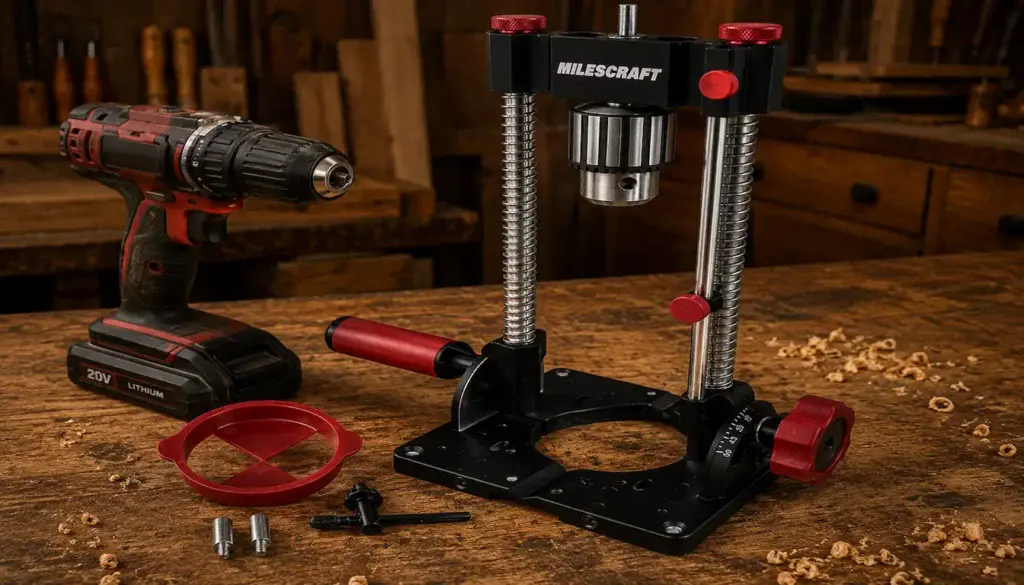
✔ Milescraft DrillMatePRO 1348
The Milescraft DrillMatePRO 1348 turns almost any cordless drill
into a portable drill press, making it an excellent choice for luthiers
and woodworkers who don’t own a full-size drill press.
Its sturdy dual-guide rods, adjustable angle settings, and solid base
help produce clean, straight, repeatable holes with confidence.
Why It’s Great
✔ Keeps holes straight and accurately aligned
✔ Works with most cordless drills
✔ Adjustable for multiple drilling angles
✔ Great alternative to a full-size drill press
Jiavarry Digital Caliper Measuring Tool
When drilling tuner holes, even a small measuring error can throw off the alignment of your tuners.
A quality digital caliper helps you measure accurately, verify spacing, and double-check your layout before the drill ever touches the wood.
Amazon Product Suggestion:
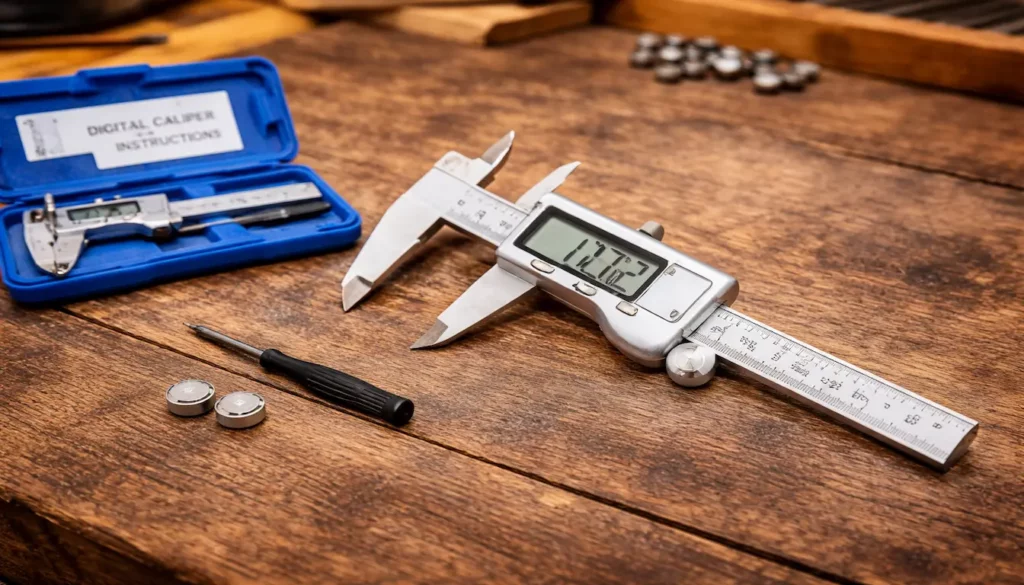
✔ Jiavarry Digital Caliper Measuring Tool
The Jiavarry Digital Caliper Measuring Tool provides fast,
accurate measurements for virtually every stage of guitar building.
Whether you’re checking headstock thickness, confirming
tuner bushing diameters, or measuring hole spacing,
this easy-to-read digital caliper helps you build
with confidence and precision.
Why It’s Great
✔ Accurate digital measurements in seconds
✔ Measures inside, outside, depth, and step dimensions
✔ Easy-to-read LCD display
✔ Perfect for guitar building and general woodworking
iGaging 4″ & 6″ Double Square Set
Straight layout lines are the foundation of perfectly aligned tuner holes.
A quality double square makes it easy to mark accurate centerlines, verify measurements, and keep every tuner in perfect alignment.
Amazon Product Suggestion:
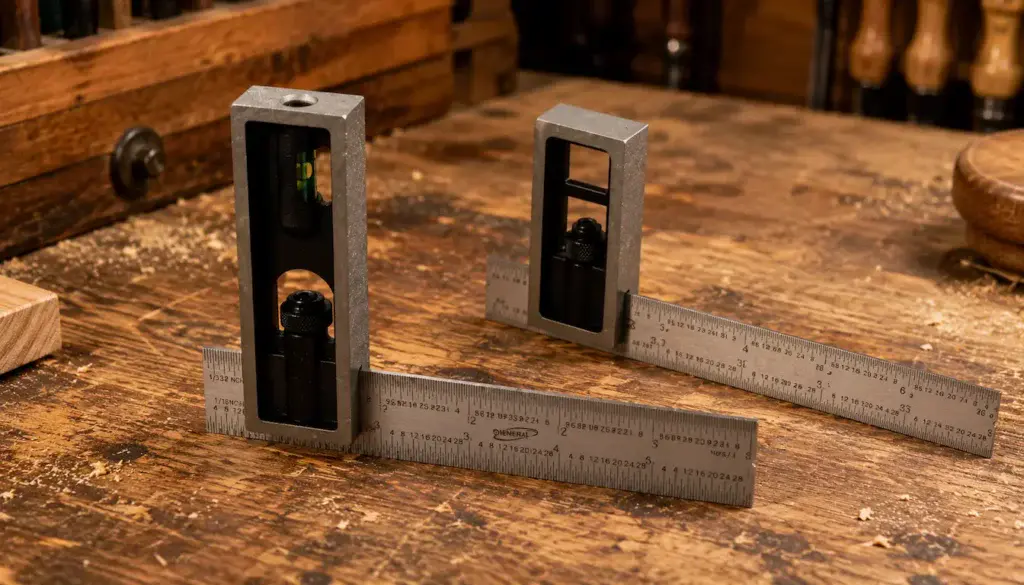
✔ iGaging 4″ & 6″ Double Square Set
NEIKO Automatic Center Punch
A tiny center mark can make the difference between a perfectly aligned tuner hole and a drill bit that wanders off target.
An automatic center punch creates a small starting dimple that helps the brad point bit stay exactly where you intended.
Amazon Product Suggestion:
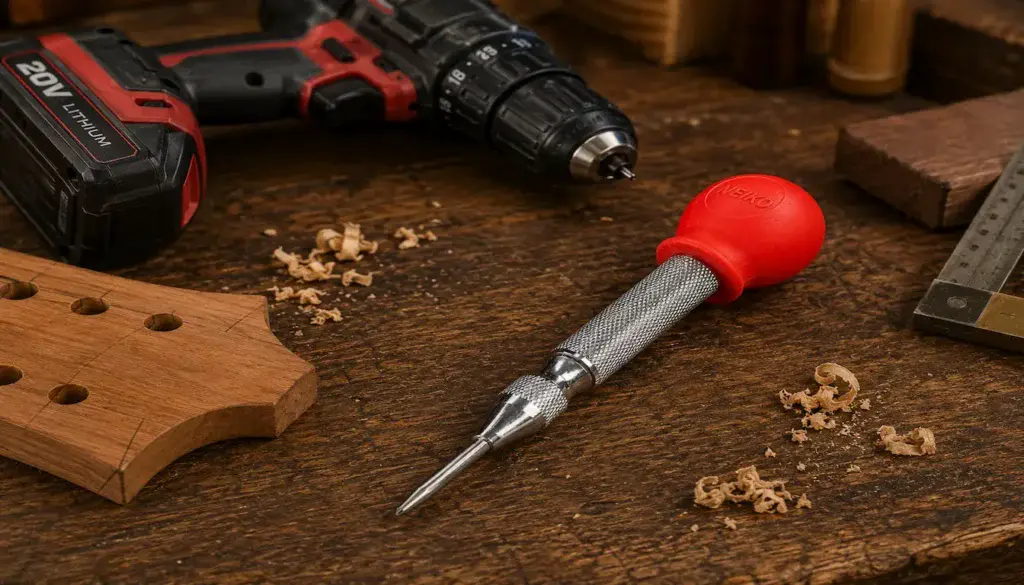
✔ NEIKO Automatic Center Punch
The NEIKO Automatic Center Punch is a simple but
valuable layout tool for guitar building and woodworking.
Its spring-loaded design delivers a consistent indentation
with one hand, eliminating the need for a hammer and helping
ensure every tuner hole starts precisely on your layout mark.
Why It’s Great
✔ Prevents drill bit wandering
✔ Creates consistent starting marks
✔ One-handed, spring-loaded operation
✔ Ideal for accurate layout work
Mark the Tuner Hole Locations
Before the drill ever touches the wood, spend your time getting the layout right.
Draw a centerline down the length of the headstock if one isn’t already visible.
Using your tuner manufacturer’s dimensions, carefully mark the center of each tuner hole with a sharp pencil.
Use digital calipers or a steel ruler to verify that every hole is equally spaced.
Small layout mistakes become very obvious once the tuners are installed.
An engineer’s square also helps confirm that your measurements stay perfectly perpendicular to the centerline.
Do not rush this step.
Good layout prevents bad drilling.
Double-Check the Alignment
Before drilling, place the actual tuners on the headstock.
This simple dry fit allows you to confirm:
- Even spacing
- Straight tuner alignment
- Equal edge distance
- Proper clearance between tuner housings
If something doesn’t look right now, it’s easy to erase pencil marks.
After drilling…
Not so much.
Drill the Tuner Holes
A drill press produces the straightest, cleanest holes, but a portable drill with a quality drill guide can also deliver excellent results.
Before drilling, place a sacrificial hardwood backer board beneath the headstock.
It supports the wood fibers as the drill bit exits, greatly reducing the chance of tear-out.
A sharp brad-point bit is the best choice because its center spur prevents wandering while the outer cutting spurs produce crisp, clean hole edges.
Let the drill bit do the work.
Don’t force the cut or rush the process.
A steady feed produces cleaner holes and gives you better control.
After drilling each hole, lightly remove any raised fibers with fine sandpaper before test-fitting the tuners.
Test-Fit the Tuners
Before applying finish, install every tuner temporarily.
Each tuner should slide smoothly into its hole without excessive force or noticeable play.
If a hole feels slightly tight, carefully enlarge it with an appropriate hand reamer instead of forcing the hardware into place.
This quick test-fit gives you the opportunity to make small corrections while everything is still easy to access.
👉 Before installing your tuning machines permanently, make sure the rest of your neck is complete. If you’re still working on the profile, follow our guide to How to Carve an Acoustic Guitar Neck Properly to finish shaping the neck before final assembly.
Common Mistakes to Avoid
- Drilling before verifying the layout
- Using dull or incorrect drill bits
- Forgetting the sacrificial backer board
- Forcing the drill through too quickly
- Skipping the test fit before finishing
Avoiding these simple mistakes will save hours of frustration later.
🛠️ Wayne’s Workshop Tip
Measure one more time than you think you need to.
Once the first tuner hole is drilled, every remaining hole depends on it being in exactly the right place.
Spending five extra minutes checking your layout is much easier than trying to hide a crooked set of tuners.
💡 Next Step: Your headstock is now ready for hardware.
Continue with How to Install Guitar Tuners to align, mount, and secure your tuning machines for smooth, reliable performance.
🏁 Final Thoughts…
Every great acoustic guitar begins with a series of small decisions made with care, and drilling the tuner holes is one of them.
- Take your time,
- trust your layout,
- and drill with confidence.
When the tuners finally slide into place perfectly straight, you’ll know those extra few minutes of preparation were worth every second.
That’s the moment you’ll realize you’re no longer just assembling a guitar… you’re building one.
 Your Guitar, Your Build, Your Sound
You don’t need a custom shop or a tech on speed dial.
All you need is a little guidance, some patience, and a place to go that shows you what to do next.
Come on man… You got this.