
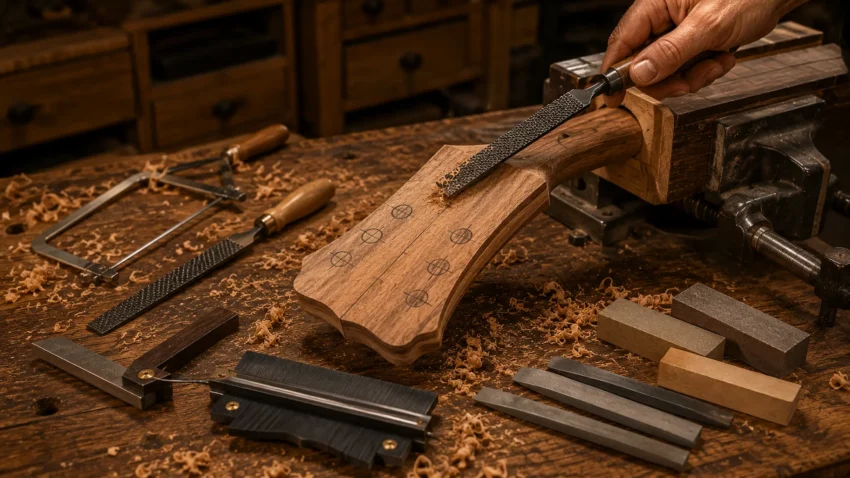
The headstock is one of the first things people notice when they pick up a guitar.
While it doesn’t produce the sound, it plays a huge role in the instrument’s appearance, balance, and personality.
A well-shaped headstock transforms a simple neck into something that looks professionally crafted.
Fortunately, shaping a headstock isn’t complicated when you approach it methodically.
With careful layout work, the right-hand tools, and a little patience, you can create clean, elegant curves that complement the rest of your acoustic guitar.
👉 A great headstock starts with a properly carved neck. Before shaping the headstock, make sure you’ve completed the neck profile by following our guide to How to Carve an Acoustic Guitar Neck Properly.

🎸 Why Headstock Shape Matters
The headstock does much more than hold the tuning machines.
Its shape influences the overall appearance of your guitar and reflects your personal style as a builder.
From classic Martin-inspired designs to modern custom creations, the headstock often becomes the signature feature that makes one instrument instantly recognizable from another.
A good headstock should feel balanced with the rest of the guitar.
It shouldn’t look oversized or awkward, nor should it appear so small that it feels disconnected from the neck.
Proportion is everything.
The best designs flow naturally from the neck shaft into the headstock without abrupt changes in width or sharp transitions.
Smooth curves and balanced lines create an instrument that looks as refined as it plays.
Before making a single cut, spend time studying guitars whose headstocks you admire.
Pay attention to the overall silhouette rather than individual details.
Great designs often appear simple because every curve has a purpose.
✏️ Plan Your Design Before Making a Cut
One of the easiest mistakes a first-time builder can make is grabbing a saw before settling on a final design.
Don’t do that!
Take your time with this step.
Draw several headstock shapes on paper before transferring anything to the wood.
Sometimes a design that looks fantastic on a computer screen feels completely different once it’s drawn full size.
Once you’ve chosen a design, create a full-size template from cardstock, thin plywood, or MDF.
Lay it over the neck blank.
Step back and take it in.
Look at it from different angles.
Small adjustments made now are much easier than trying to fix an awkward curve after you’ve started cutting.
When you’re satisfied, carefully trace the outline onto the headstock using a sharp pencil.
Those layout lines become your guide throughout the entire shaping process.
🛠️ Wayne’s Workshop Tip
Draw it… then walk away.
Don’t cut the first design you come up with.
Leave it on the workbench overnight and look at it again the next day.If something feels “off” today, it’ll probably bother you every time you look at the finished guitar.
🎨 Choosing the Right Headstock Shape
There are countless headstock designs, but most fall into a handful of classic styles.
Some builders prefer timeless traditional designs inspired by vintage acoustics.
Others enjoy creating something completely unique.
Neither approach is wrong.
The important thing is creating a shape that feels balanced and leaves enough material around the tuner holes for strength and stability.
A few popular approaches include:
Traditional Rounded
Soft flowing curves inspired by classic American acoustic guitars.
Ideal for first-time builders because they’re easy to lay out and forgiving to shape.
Tapered Modern
Slimmer lines with gentle tapers that create a contemporary appearance.
These work especially well on modern fingerstyle instruments.
Open Book Style
Inspired by several famous guitar manufacturers, this style features graceful upper curves that create an elegant silhouette.
When designing your own guitar, avoid copying protected trademarks exactly.
Instead, use them as inspiration while creating something that’s uniquely yours.
Custom Designs
One of the most rewarding parts of building your own guitar is creating a headstock no one else has.
Whether it’s a family initial, a favorite curve, or your own signature profile, a custom headstock gives the instrument its own identity.
This is where your creativity gets to shine.
👉 Need a fingerboard before moving forward? Learn how to slot, radius, and prepare one with our complete guide to How to Build an Acoustic Guitar Fretboard.
🛠️ Best Tools for Shaping an Acoustic Guitar Headstock
The right tools make shaping easier, cleaner, and far more enjoyable.
Fortunately, you don’t need an expensive machine shop.
A handful of quality hand tools will produce beautiful results.
RUITOOL Japanese Hand Saw
A precision fret slotting saw is one of the most important tools you’ll use when building a guitar neck.
Clean, accurate fret slots are the foundation for proper fret installation and great playability.
 Amazon Product Suggestion:
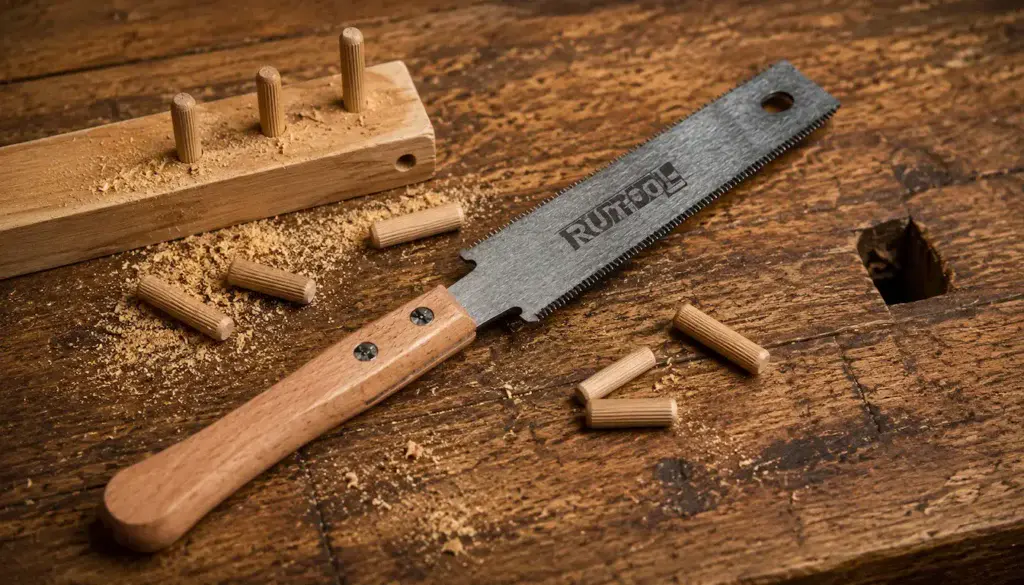
✔ RUITOOL Japanese Hand Saw
The RUITOOL Japanese Hand Saw features an ultra-thin kerf
that produces clean, consistent fret slots with minimal effort.
Its razor-sharp pull-cut design offers excellent control,
making it a great choice for cutting new fret slots or
deepening existing ones during a build.
Why It’s Great
✔ Ultra-thin blade for precise fret slots
✔ Smooth pull-cut action improves control
✔ Comfortable hardwood handle reduces fatigue
✔ Ideal for acoustic and electric guitar builds
Shinto Saw Rasp
When it’s time to carve an acoustic guitar neck, few tools remove wood faster while still giving you excellent control.
A Shinto saw rasp makes it easy to shape smooth, flowing neck contours before switching to finer tools for final refinement.
Amazon Product Suggestion:
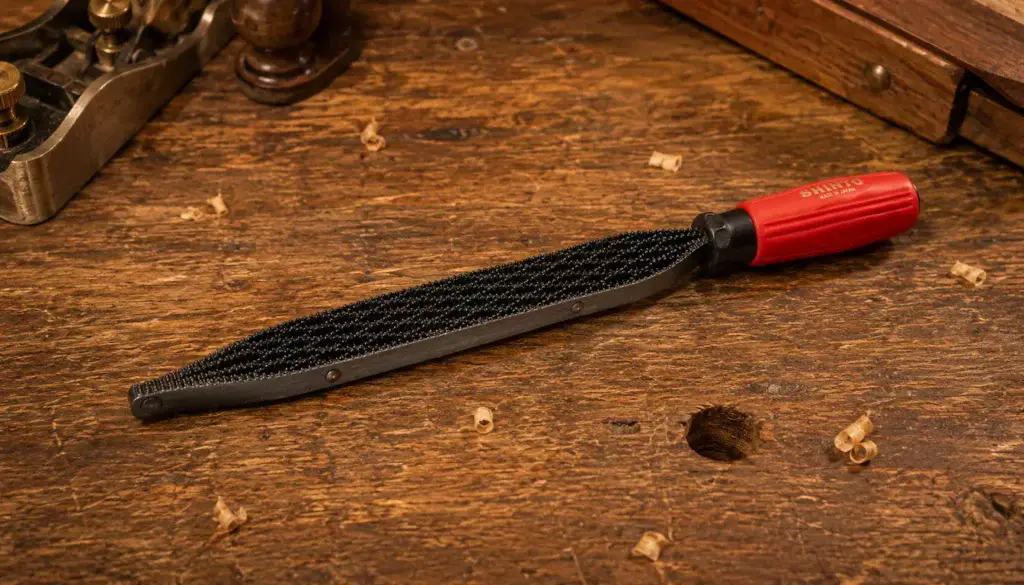
✔ Shinto Saw Rasp
The Shinto Saw Rasp features a unique saw-blade tooth design
that cuts aggressively without clogging, making
quick work of neck blanks and headstock shaping.
With coarse and fine cutting surfaces on opposite sides,
it’s one of the most versatile shaping tools a guitar builder can own.
Why It’s Great
✔ Removes wood quickly with excellent control
✔ Coarse and fine cutting surfaces in one tool
✔ Resists clogging for smoother shaping
✔ Perfect for carving guitar necks and headstocks
LIBRATON Needle File Set
Small details make the difference between a good guitar and a great one.
A quality needle file set lets you refine tight areas with precision that larger tools simply can’t match.
Amazon Product Suggestion:
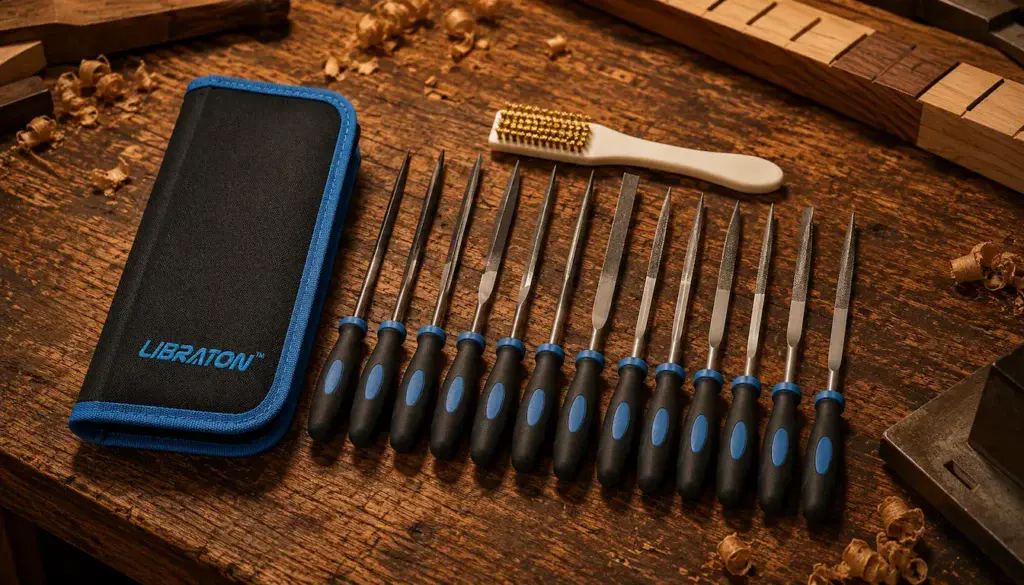
✔ LIBRATON Needle File Set
The LIBRATON Needle File Set includes a variety of
file profiles for shaping headstock curves, refining nut slots,
cleaning small recesses and smoothing delicate details.
Comfortable handles and hardened steel files provide excellent control
for the fine work that gives a handmade guitar its professional finish.
Why It’s Great
✔ Multiple file shapes for detailed work
✔ Comfortable handles improve control
✔ Hardened steel files for long life
✔ Ideal for headstocks, nuts, and fine shaping
iGaging 4″ & 6″ Double Square Set
Accurate layout is the foundation of every great guitar build.
A quality double square helps you mark, measure, and verify critical dimensions with confidence from start to finish.
Amazon Product Suggestion:
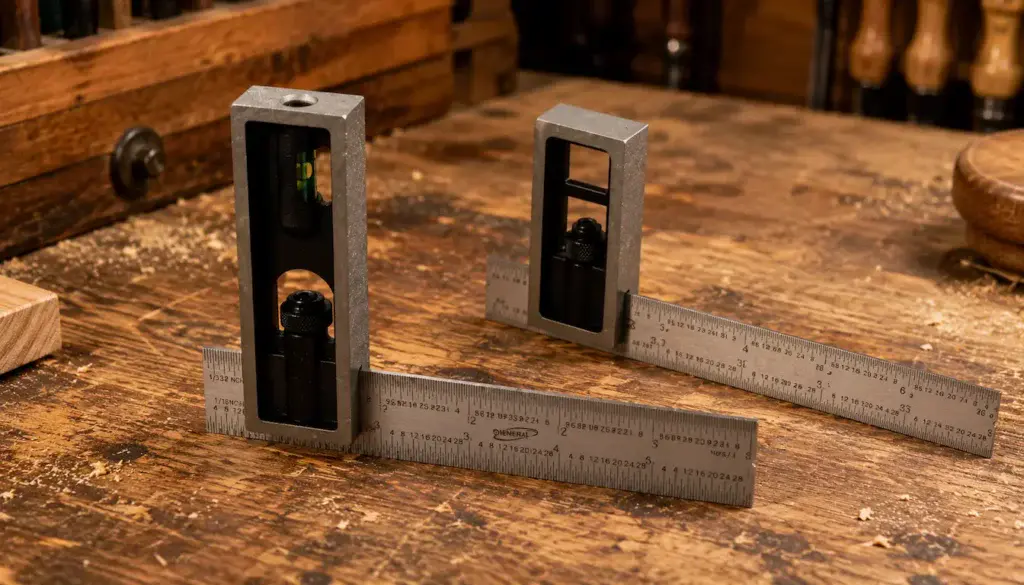
✔ iGaging 4″ & 6″ Double Square Set
✂️ How to Shape an Acoustic Guitar Headstock
With your layout lines complete and your tools ready, it’s time to transform that oversized blank into a beautifully shaped headstock.
- The key is to remove material gradually.
- Never try to cut directly on your layout line.
Instead, make your rough cuts just outside the pencil marks, leaving a small amount of material for final shaping.
It’s much easier to remove a little more wood than it is to replace wood you’ve already cut away.
A coping saw is an excellent choice for making the initial cuts.
Work slowly through the curves and avoid forcing the blade.
Tight turns are easier to make with several short cuts than one aggressive sweep.
Once the waste has been removed, switch to a Shinto saw rasp.
Long, controlled strokes will quickly smooth the rough saw marks and begin defining the graceful curves of the headstock.
Work evenly from one side to the other, constantly comparing both sides for symmetry.
As you approach your layout lines, slow down.
This is where patience pays off.
A cabinet rasp or fine file allows you to refine each curve while maintaining smooth transitions between the headstock and the neck.
Don’t think about carving one side…
Think about carving both sides together.
A balanced headstock always looks more professional than one side finished before the other.
🛠️ Wayne’s Workshop Tip
Leave the pencil line.
I never try to remove the layout line with the saw.
I leave a little extra material and sneak up on the final shape with rasps and files.It’s a lot easier to remove another 1/32″ than it is to glue it back on. (I’ve tried)
📐 Keep Everything Symmetrical
Nothing stands out faster than an uneven headstock.
Even small differences from one side to the other become surprisingly obvious once the tuners are installed and the guitar is finished.
The easiest way to maintain symmetry is to work both sides equally.
Rather than completely finishing one side before moving to the other, remove a little material from the bass side, then make the same adjustment on the treble side.
Repeat that process throughout the entire shaping stage.
Stop often.
Lay the neck flat on your bench and look straight down the centerline.
- Compare every curve.
- Look for areas where one side appears fuller or flatter than the other.
If something doesn’t look right…
It probably isn’t.
Trust your eyes.
And then trust your hands.
Running your fingers along both edges often reveals uneven transitions long before they’re obvious visually.
🎨 Refining the Curves
Once the overall shape has been established, it’s time to refine every curve until the headstock feels like one continuous flowing design.
This is where hand tools really shine.
Use light pressure with your rasp or file and let the tool do the work.
Avoid digging into one small area.
Instead, blend every curve into the next.
Pay special attention to the transition where the headstock meets the neck.
This area should feel completely natural.
There shouldn’t be any sharp shoulders or abrupt changes in shape.
Small files are especially useful around tight inside curves.
Take your time.
A few extra minutes here can dramatically improve the finished appearance of your guitar.
🛠️ Wayne’s Workshop Tip
Stand the neck up once in a while.
We spend so much time looking straight down at the workbench that it’s easy to miss awkward curves.
Hold the neck upright at arm’s length and look at the headstock like you’re seeing it hanging on a music store wall.Take it outside and look at it in natural sunlight.
If a curve jumps out at you now… it’ll jump out every time you pick up the finished guitar.
⚠️ Common Mistakes to Avoid
Cutting on the Pencil Line
Always leave a little extra material.
The final shape should come from rasps, files, and sanding—not the saw.
Rushing the Curves
Trying to shape the headstock too quickly usually creates flat spots and uneven transitions.
Slow down.
Ignoring the Centerline
Your centerline is your best friend.
Use it often to confirm both sides remain balanced.
Making Tight Curves Too Early
Leave the delicate details until the overall shape has been established.
It’s much easier to refine curves than to rebuild them.
Forgetting About the Tuners
Before finalizing your design, make sure there’s plenty of room for the tuner holes and washers.
A beautiful headstock isn’t much use if the hardware won’t fit properly.
🛡️ Safety Tips
Always secure the neck firmly before cutting or shaping.
Trying to hold the neck with one hand while using a rasp or saw with the other is unsafe and almost guarantees poor results.
Wear safety glasses whenever you’re cutting or filing wood.
Even hand tools can send small chips flying unexpectedly.
Keep your rasps, files, and saw blades clean and sharp.
Sharp tools require less effort, produce cleaner cuts, and are much easier to control.
Finally…
Don’t rush.
A headstock is one of the most visible parts of your guitar.
Every extra minute spent refining the shape will be appreciated every time you open the guitar case.
✨ Final Sanding and Inspection
With the headstock fully shaped, it’s time to slow down and focus on the details that separate a good build from a great one.
Start with a sanding block and medium-grit sandpaper, working with the grain to remove the tool marks left behind by your rasps and files.
As the surface becomes smoother, progress through finer grits until every curve flows naturally into the next.
- Don’t rush this stage.
- The shape is already there.
- Now you’re simply refining it.
Pay close attention to the edges of the headstock.
They should feel crisp enough to define the design, but never so sharp that they’re uncomfortable to handle.
A light chamfer or a gentle round-over gives the headstock a finished appearance while making it more pleasant to hold.
When you think you’re finished…
- Inspect it one more time.
- Hold it under bright light.
- Look at it from every angle.
- Then close your eyes and run your fingers around every curve.
If your hand finds something your eyes missed, fix it now.
🎨 Preparing the Headstock for Finish
Before applying any finish, remove every trace of sanding dust.
Compressed air works well around tuner holes and tight inside curves, followed by a vacuum or tack cloth to remove the remaining dust from the surface.
Now is also the perfect time to inspect your layout.
- Are both sides symmetrical?
- Are the curves smooth?
- Do the tuner locations still look balanced?
If something doesn’t look quite right…
Fix it now.
Remember…
The finish doesn’t hide mistakes.
It highlights them.
Whether you’re planning a natural oil finish, lacquer, or polyurethane, careful surface preparation is what separates a homemade guitar from one that looks professionally built.
👉 The headstock is shaped — now it’s time to make it functional. Continue with our step-by-step guide to How to Drill Tuner Holes in an Acoustic Guitar Headstock and learn how to lay out and drill perfectly aligned tuner holes.
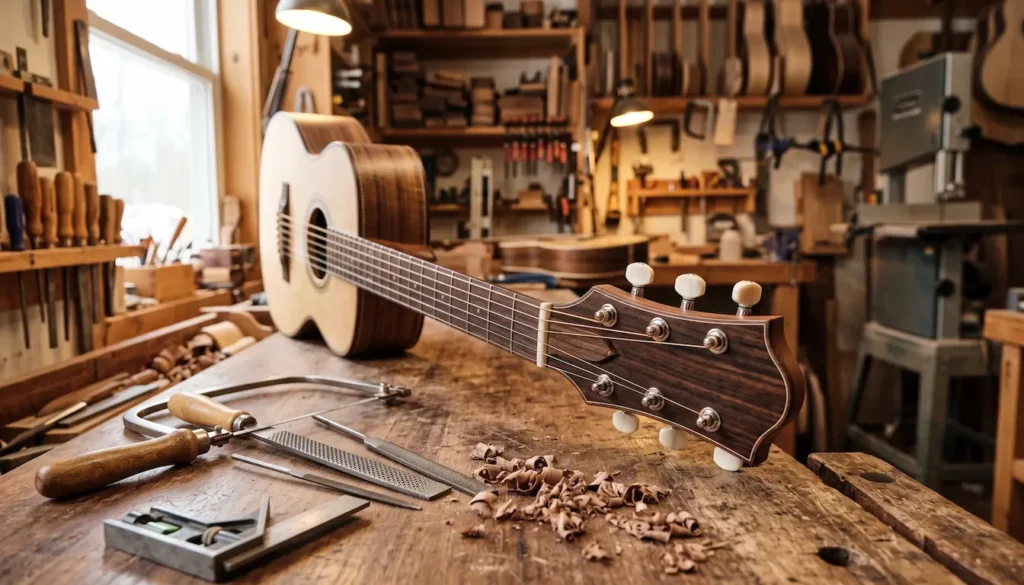
🎸 A Headstock With Character
🏁 Final Thoughts…
Shaping an acoustic guitar headstock is one of those milestones where your guitar begins developing its own personality.
Until now, it’s been a collection of carefully crafted parts.
The moment the headstock takes shape, it starts looking like your guitar.
- Take your time.
- Trust your layout.
- Make small adjustments instead of aggressive cuts.
Most importantly, don’t settle for a shape that simply looks “good enough.”
Every time you pick up your finished guitar, your eyes will naturally find the headstock first.
Make it something you’re proud to see.
 Your Guitar, Your Build, Your Sound
You don’t need a custom shop or a tech on speed dial.
All you need is a little guidance, some patience, and a place to go that shows you what to do next.
Come on man… You got this.