
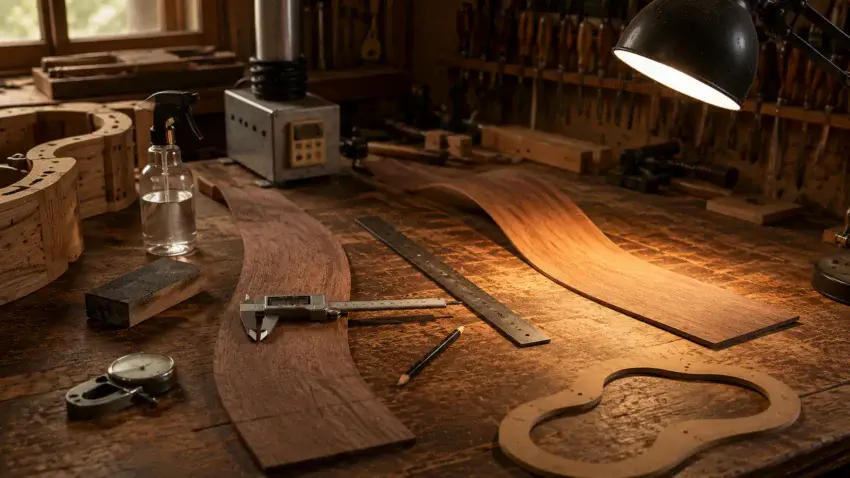
A successful side bend begins long before the wood ever touches a hot bending iron.
If the sides are too thick, uneven, damaged, poorly marked, or not properly inspected, even good bending technique may not be enough to prevent trouble.
Preparing guitar sides is about removing as many surprises as possible before heat and pressure enter the picture.
Take the time to inspect the wood, create a consistent thickness, smooth the surfaces, mark the important locations, and organize the bending setup.
The better the preparation, the more predictable the bend.
👉 Want to know what can go wrong when guitar sides are bent?
Follow How to Avoid Cracks When Bending Guitar Sides to learn what causes side-bending cracks and how careful preparation can help prevent them.
🪵 Start With the Best Side Wood You Have
Before sanding, measuring, or marking anything, look carefully at the two pieces of wood in front of you.
These sides will eventually become the outer walls of the acoustic guitar body.
Ideally, the pair should:
- Come from a matching set
- Have similar grain and color
- Be long enough for the body shape
- Be wide enough for the finished body depth
- Have enough extra material for trimming
- Be free from serious cracks or damage
Do not assume every piece in a tonewood set is automatically ready to use.
Wood is a natural material, and every piece deserves a closer look before the work begins.
🔍 Inspect Every Inch of the Wood
Good lighting is one of the best tools you can use during side preparation.
Hold each side under a bright light and inspect both surfaces from end to end.
Be sure to look for:
- Hairline cracks
- Small splits near the ends
- Knots
- Grain runout
- Lifted fibers
- Deep scratches
- Damage from storage or shipping
- Areas that look unusually weak
Change the angle of the wood as you inspect it.
Some problems are almost invisible under flat overhead lighting but become obvious when light travels across the surface at a low angle.
A weakness that seems harmless while the wood is flat may become a serious problem during bending.
🌳 Learn to Read the Grain
The grain can tell you a lot about how a guitar side may behave.
Ideally, the grain should travel cleanly along the length of the side.
When the grain runs sharply toward the surface, the wood may be more likely to split along that direction under bending stress.
This is often called grain runout.
A small amount of runout does not automatically make a side unusable, but it does tell you where extra care may be needed.
If you find a questionable area:
- Inspect it closely
- Mark it lightly with a pencil
- Remember where it will fall in the body shape
- Slow down when bending that area
The goal is not to find perfect wood.
The goal is to understand the wood you have.
📏 Check the Thickness Before Removing More Wood
Never start sanding or thicknessing guitar sides without knowing where you are beginning.
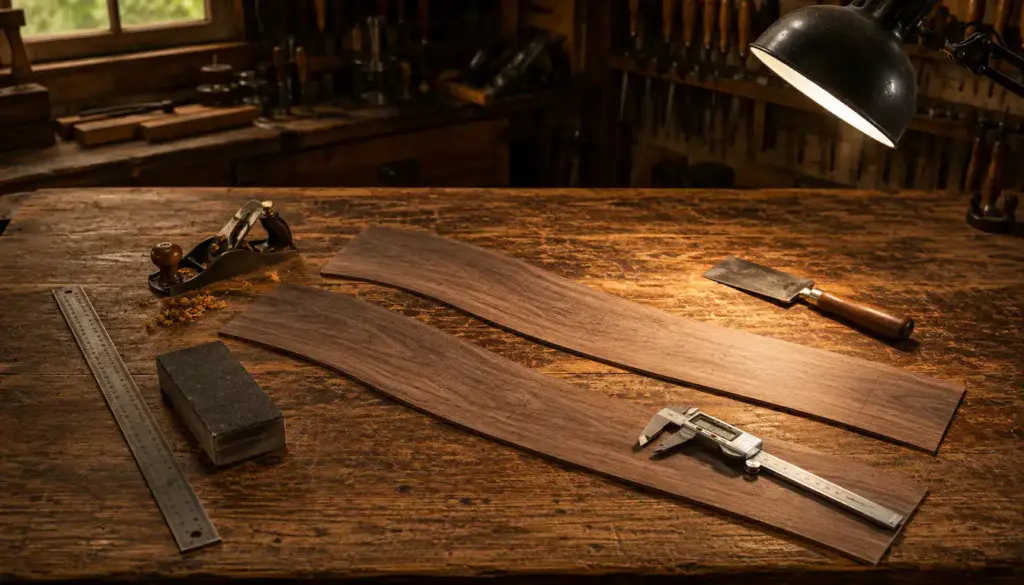
Use digital calipers or another reliable thickness gauge to measure each side in several locations.
Make sure to check:
- Near the neck end
- Around the future upper bout
- Near the waist
- Around the future lower bout
- Near the tail end
- Along both edges
- Through the center of the side
Write down the measurements if necessary.
You are looking for thick spots, thin spots, and sudden changes from one area to another.
- Measure first.
- Remove wood second.
That simple habit can save you from creating a thin area that cannot be put back.
📐 Consistent Thickness Matters More Than a Perfect Number
Builders often want one exact thickness measurement that works for every guitar side.
Wood does not make things that simple.
The ideal thickness can vary depending on:
- Wood species
- Grain orientation
- Figure
- Body shape
- Tightness of the waist
- Bending method
- The individual piece of wood
What matters most during preparation is consistency.
A thick area may resist the bend while a thinner section nearby moves too quickly.
The builder adds more pressure to overcome the stiff spot, and the weaker area becomes vulnerable.
A consistently prepared side is easier to understand and easier to control.
 Checking Guitar Side Thickness
🪚 Remove Thickness Gradually
Whether you use a thickness sander, hand plane, scraper, or sanding block, remove material gradually.
Do not rush toward the final thickness.
Work across the entire side and check your progress often.
A good routine is:
- Remove a small amount of material
- Clean the surface
- Measure several locations
- Mark high spots
- Continue gradually
- Measure again
The closer you get to the final thickness, the more careful you should become.
It is easy to remove another small amount of wood.
It is impossible to sand it back on.
↔️ Keep Both Sides Consistent With Each Other
The two sides do not have to match down to an impossible microscopic measurement.
But they should behave like a pair.
If one side is noticeably thicker than the other, the bending experience may be completely different from one piece to the next.
After preparing the first side, use its measurements as a reference for the second.
Compare:
- Overall thickness
- Flexibility
- Surface condition
- Grain behavior
- Problem areas
You want both sides to enter the bending process under similar conditions.
The first side should teach you something about the second one.
✨ Smooth the Surfaces Before Bending
Deep scratches and rough tool marks can create problems.
A scratch running across the grain may act like a tiny starting point for a split when the wood is placed under stress.
Inspect both surfaces and remove obvious defects.
Pay special attention to:
- Cross-grain scratches
- Gouges
- Sharp ridges
- Torn fibers
- Rough edges
The sides do not need their final finished surface at this stage.
They do need to be smooth enough that obvious damage is not waiting to become a crack.
You are preparing the wood for bending — not polishing the finished guitar.
🧱 Check the Edges Too
The broad surfaces get most of the attention, but do not ignore the edges.
Look for:
- Small chips
- Splits
- Rough saw marks
- Uneven areas
- Damage near the ends
A small edge split can continue farther into the side once the wood begins to bend.
Clean up damaged areas carefully, but do not remove unnecessary material just to make the edges look pretty.
The final body depth and edge work will come later.
Right now, the goal is simply to remove obvious trouble before it reaches the bending iron.
🎸 Know Which Side Faces In and Which Faces Out
Before marking the wood, decide which surface will face the outside of the finished guitar.
This decision may depend on:
- Grain appearance
- Color
- Figure
- Bookmatching
- Small cosmetic defects
- The way the pair was cut
Once you decide, mark the sides clearly.
Use simple pencil notes such as:
- Inside
- Outside
- Left
- Right
- Neck
- Tail
You do not want to make these decisions while the wood is hot and damp.
Good labels prevent stupid mistakes.
And every guitar builder is capable of a stupid mistake. 😂
✏️ Mark the Waist Location Clearly
The waist is usually the most important reference point during side bending.
Use your full-size body template or bending plan to locate it accurately on both sides.
Mark it clearly enough to see during the bending process.
The waist tells you how the rest of the side relates to the body shape.
From there, you can identify:
- The upper bout
- The lower bout
- The neck end
- The tail end
If the waist is marked incorrectly, every other curve may end up in the wrong place.
Measure the location carefully before drawing the line.
🎸 Mark the Upper and Lower Bouts
Once the waist is established, identify the broader curves on each side.
- The upper bout is the smaller rounded section closest to the neck.
- The lower bout is the larger rounded section near the bottom of the guitar.
These marks do not need to cover the wood with a complicated roadmap.
They simply help you understand where each major part of the body shape belongs before bending begins.
When the side becomes hot and starts moving, those reference points make the process much easier to follow.
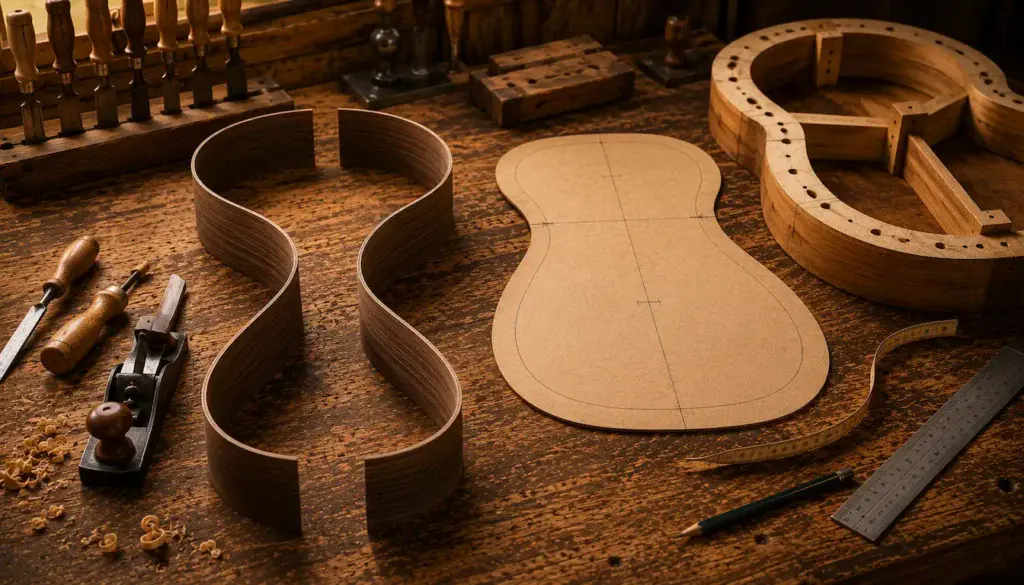
🧩 Compare the Sides With the Body Template
Before bending, lay each side beside the full-size body template.
Confirm that:
- The waist mark is correct
- The neck end has enough extra material
- The tail end has enough extra material
- The side is wide enough for the body depth
- Any questionable grain areas are understood
- Both sides are oriented correctly
This is also a good time to think ahead.
- Where will the tightest bend occur?
- Does a weak-looking grain area fall directly at the waist?
- Is there a small defect that may later be trimmed away?
The template helps you see the future guitar inside two flat pieces of wood.
Preparing Acoustic Guitar Sides for Bending
💧 Should You Wet Guitar Sides Before Bending?
This is where builders sometimes overcomplicate the process.
Moisture can help heat transfer into the wood and may make the fibers more willing to move.
But the sides do not necessarily need to be soaked.
Too much water can create problems such as:
- Staining
- Raised grain
- Uneven heating
- Excessive steam
- Difficulty controlling the wood
For many bending methods, a light and controlled application of moisture is enough.
The exact approach may depend on the wood species and the bending system.
Moisture is a tool — not a magic ingredient.
🌡️ Let the Wood Reach Workshop Conditions
Wood that has just arrived from a dramatically different environment may need time to settle before you work with it.
Large changes in temperature and humidity can affect the way wood behaves.
Whenever possible, store the side wood in the workshop long enough for it to adjust to the conditions where the guitar will be built.
Avoid preparing sides immediately after they have been:
- Stored in a cold vehicle
- Delivered from extreme heat
- Kept in a damp location
- Moved from a very different climate
You do not need to turn the workshop into a laboratory.
But you do want the wood to be reasonably stable before making it thinner and applying heat.
🧪 Should You Practice on Scrap Wood First?
If you have never bent wood before, practice can be worth far more than another expensive tool.
A scrap piece will not behave exactly like your guitar side, but it can help you learn:
- How the bending iron feels
- How quickly heat builds
- How moisture behaves
- How much pressure is reasonable
- What softened wood feels like
- How easy it is to scorch one spot
Practice is especially useful if you are using a new bending setup for the first time.
Your carefully matched tonewood sides do not have to be the first thin pieces of wood you ever put against a hot iron.
🔥 Prepare the Bending Setup Before You Start
Once the wood is hot, that is not the time to discover the spray bottle is empty.
Before bending, make sure the entire work area is ready.
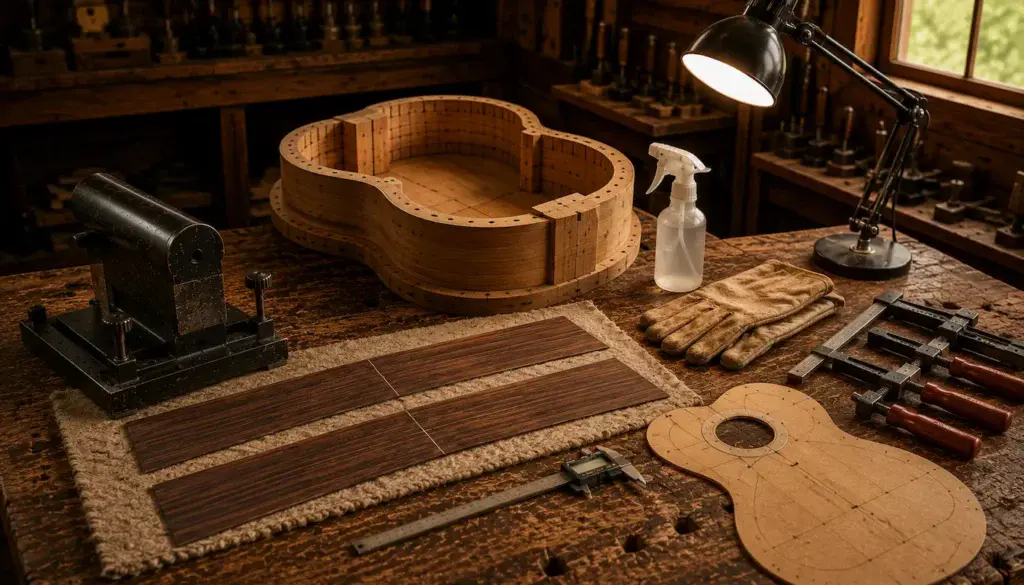
Have these items within reach:
- Prepared guitar sides
- Bending iron or side-bending machine
- Body template
- Body mold
- Fine-mist spray bottle
- Heat-resistant gloves
- Clamps
- Measuring tools
- Good lighting
Secure the bending iron or machine properly.
Clear away unnecessary clutter.
Know where the hot wood will go when you need to stop.
A prepared workbench lets you concentrate on the bend instead of searching for tools.
👉 Need help building the right side-bending setup?
See Best Tools for Bending Guitar Sides for the tools that help control thickness, heat, moisture, pressure, shape, and alignment.
Acoustic Guitar Side-Bending Station Ready to Go
🛑 Do One Final Inspection Before Applying Heat
The bending iron is hot.
The tools are ready.
You are tempted to start.
Check the sides one more time.
Confirm:
- The thickness is consistent
- The surfaces are smooth
- The edges are sound
- The grain has been inspected
- The inside and outside are marked
- The neck and tail ends are identified
- The waist location is correct
- Both sides match the intended body shape
This final check takes only a few minutes.
A preventable mistake can cost much more time than that.
Once the heat goes on, preparation time is over.
⚠️ Common Guitar Side Preparation Mistakes
Most preparation mistakes seem small at first.
They become bigger when the wood is hot and under pressure.
Common mistakes include:
- Assuming the sides are already the correct thickness
- Measuring in only one location
- Ignoring grain runout
- Leaving deep scratches in the surface
- Forgetting to mark the waist
- Mixing up the neck and tail ends
- Failing to identify the inside and outside surfaces
- Soaking the wood without a reason
- Starting before the bending setup is ready
- Rushing because the actual bending seems more exciting
The last one is especially common.
Preparation does not look as dramatic as wood curling around a hot iron.
But boring preparation prevents exciting disasters.
🚨 What If You Find a Small Crack Before Bending?
Do not ignore it.
A small crack in a flat side may grow quickly when the wood is heated and bent.
Stop and inspect:
- Where the crack begins
- Where it ends
- Whether it follows the grain
- Whether it is near the waist
- Whether the damaged area may eventually be trimmed away
The correct response depends on the location and severity of the damage.
What matters most is recognizing the problem before adding heat and pressure.
🎯 A Simple Guitar Side Preparation Checklist
Before the first side touches heat,
you should be able to answer yes to these questions:
- Have I inspected both sides carefully?
- Do I understand the grain direction?
- Is the thickness consistent?
- Do both sides feel like a matched pair?
- Are the surfaces free from deep scratches?
- Are the edges free from obvious splits?
- Have I marked the inside and outside?
- Have I marked the neck and tail ends?
- Is the waist location correct?
- Does the wood match the body template?
- Is the bending setup ready?
- Are the mold and tools within reach?
If something is missing, fix it now.
The best time to solve a bending problem is before the bending starts.
🎸 What Comes After the Preparation Is Finished?
Once the sides are inspected, thicknessed, smoothed, marked, and ready, the real transformation can begin.
The next step is applying controlled heat and gradually shaping:
- The waist
- The upper bout
- The lower bout
- The neck end
- The tail end
Two flat pieces of prepared wood will slowly begin taking on the unmistakable outline of an acoustic guitar.
🎸 The Guitar Hiding Inside the Wood
At the preparation stage, the sides may not look like much.
- They are still flat.
- There is no waist.
- No upper bout.
- No lower bout.
- No polished body reflecting the light.
But the curves are already waiting inside those pieces of wood.
Every careful measurement, pencil mark, inspection, and pass with a sanding block protects the instrument they may eventually become.
Preparation is where you give that guitar its best chance to happen.
👉 Ready to turn those prepared sides into the curves of a guitar?
Follow How to Bend Acoustic Guitar Sides and see how controlled heat, moisture, and patience transform flat wood into the shape of an acoustic guitar body.
🎸 From Flat Wood to Finished Guitar

🏁 Final Thoughts…
Preparing guitar sides for bending is not the most dramatic part of building an acoustic guitar.
There is no steam rising from the wood.
- No tight waist taking shape.
- No moment when a flat board suddenly begins looking like part of a guitar.
But this quieter stage may determine how smoothly all of those moments happen.
- Inspect the wood carefully.
- Create a consistent thickness.
- Smooth away obvious trouble.
- Mark the waist and body locations.
- Prepare the bending setup before the heat comes on.
The goal is simple: remove as many surprises as possible.
Once the side touches the bending iron, you want your full attention on how the wood is responding.
Good preparation gives you that chance.
Your Guitar, Your Build, Your Sound
Every successful guitar build is made from a long series of small decisions that most people will never see.
- Take your time with the steps that happen before the exciting part.
- They are often the reason the exciting part goes right.
Come on, man… You got this.
GuitarCrafts is here to help you along the way.