
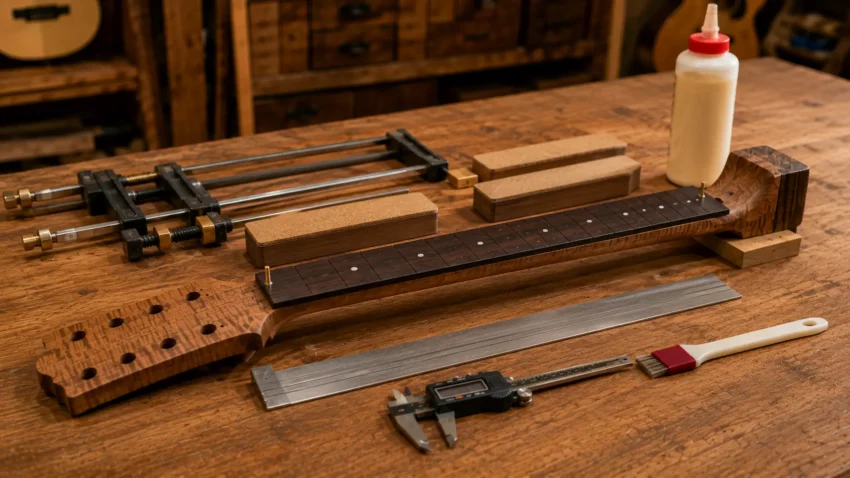
Gluing a guitar fretboard to the neck is one of the most important steps in building an acoustic guitar.
Once the glue is applied and the clamps go on, there’s very little room for error.
A fretboard that’s even slightly out of alignment can create problems later when shaping the neck, installing frets, and setting up the finished guitar.
Fortunately, this isn’t a difficult process if you take your time and prepare properly.
The secret isn’t working fast — it’s making sure everything fits perfectly before the glue bottle is opened.
A careful dry fit, the right adhesive, and even clamping pressure will help you create a strong, accurate bond that should last for decades.
In this guide, you’ll learn how to:
- prepare the neck and fretboard,
- choose the best glue,
- align everything correctly,
- clamp it securely
and avoid the common mistakes that can turn a simple glue-up into a frustrating repair.
👉 Before you glue anything, make sure your neck is ready. Read our guide on
How to Build an Acoustic Guitar Neck to prepare a neck that’s ready for this critical step.

🧰 Tools and Materials You’ll Need
This isn’t the time to discover you’re missing a clamp or forgot to grab the glue.
Have everything laid out and within easy reach before opening the bottle.
You’ll typically need:
- Titebond Original wood glue
- Deep-reach clamps
- Wooden neck and fretboard cauls
- Silicone glue brush or small roller
- Wax paper
- Damp shop rag
- Straightedge
- Digital calipers
- Masking tape
When the glue is spread, you’ll have only a few minutes of working time.
Being organized keeps the process calm and controlled.
🪵 Prepare the Neck and Fretboard
Before glue ever touches wood, both surfaces should fit together perfectly.
Lay the fretboard onto the neck without glue and inspect the joint from every angle.
The fretboard should sit flat from end to end with no rocking or visible gaps.
If you notice high spots, now is the time to correct them — not after the glue is applied.
Also be sure to inspect:
- Neck straightness
- Truss rod operation
- Centerline alignment
- Headstock transition
- Heel transition
Taking five extra minutes here can save hours of frustration later.
📏 Dry-Fit Everything First
One of the biggest mistakes beginners make is performing their first test fit after the glue has already been spread.
Instead, perform the entire clamping process once without glue.
Practice:
- Positioning the fretboard
- Installing the cauls
- Tightening every clamp
- Checking alignment
- Removing everything again
This rehearsal lets you discover problems while there’s still time to fix them.
🧴 What Is the Best Glue for a Guitar Fretboard?
For most acoustic guitar builders, the answer is simple:
Titebond Original.
It has been the standard woodworking adhesive in guitar shops for decades because it offers:
- Excellent bond strength
- Predictable working time
- Easy cleanup
- Repairability with heat and moisture
Avoid construction adhesives, polyurethane glues, and most epoxies for normal fretboard installation.
While they certainly have their place in woodworking, they make future repairs far more difficult than necessary.
Titebond Original Wood Glue
When it comes to building acoustic guitars, Titebond Original has earned its reputation for a reason.
It provides a strong bond, cleans up easily with water, and can be reversed with heat and moisture if a repair is ever needed.
 Amazon Product Suggestion:
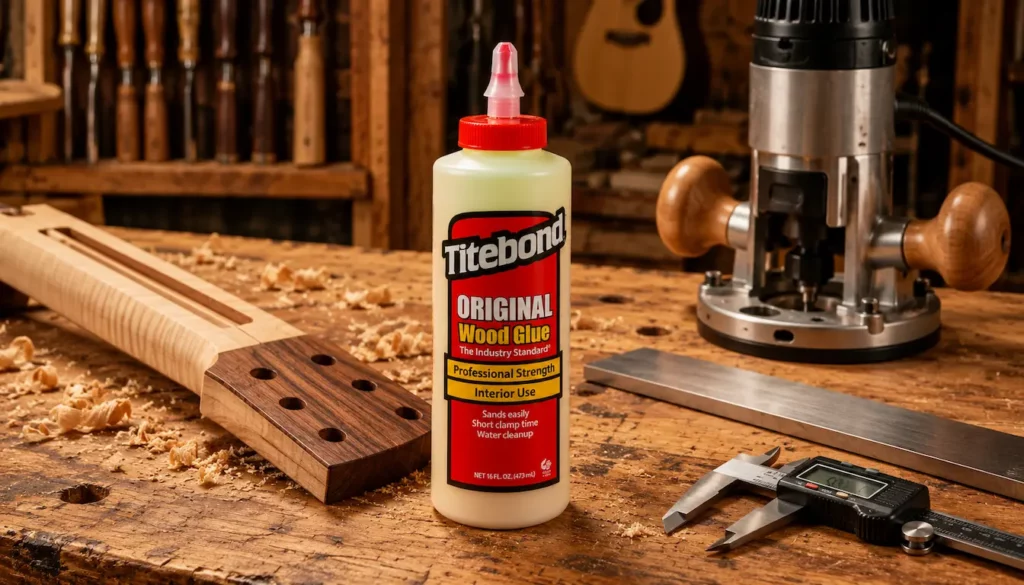
✔ Titebond Original Wood Glue
Unlike many modern adhesives, Titebond Original gives you
enough open time to position the fretboard without feeling rushed.
It cures into a durable joint trusted by
professional luthiers and hobby builders alike.
Why It’s Great
✔ Strong, reliable bond
✔ Easy water cleanup
✔ Plenty of working time
✔ Trusted by professional luthiers
📍 Align the Fretboard Carefully
Alignment determines whether your strings will eventually run straight over the neck and line up correctly with the bridge.
Take your time.
Check that:
- The fretboard follows the neck centerline.
- Both edges are evenly spaced.
- The nut slot sits square to the neck.
- The heel remains centered.
Remember that wood glue acts like a lubricant until it dries.
A fretboard that looked perfectly aligned a few seconds ago can shift as pressure is applied.
Slow, careful positioning almost always produces better results than trying to rush before the glue begins to set.
🗜️ Clamp the Fretboard Evenly
Once you’re confident in the alignment, begin applying clamps.
Rather than overtightening a few clamps, apply moderate pressure across the entire length of the fretboard.
Good clamping pressure should:
- Close every joint
- Produce a small amount of glue squeeze-out
- Keep the fretboard flat
- Maintain even pressure from nut to heel
Too much pressure can actually force too much glue out of the joint.
Too little pressure leaves gaps.
You’re looking for consistent pressure — not maximum pressure.
IRWIN Quick-Grip Clamps
A good set of clamps can make the difference between a smooth, stress-free glue-up and a frustrating one.
IRWIN Quick-Grip Clamps apply fast, even pressure, making them a favorite in workshops of every size.
Amazon Product Suggestion:
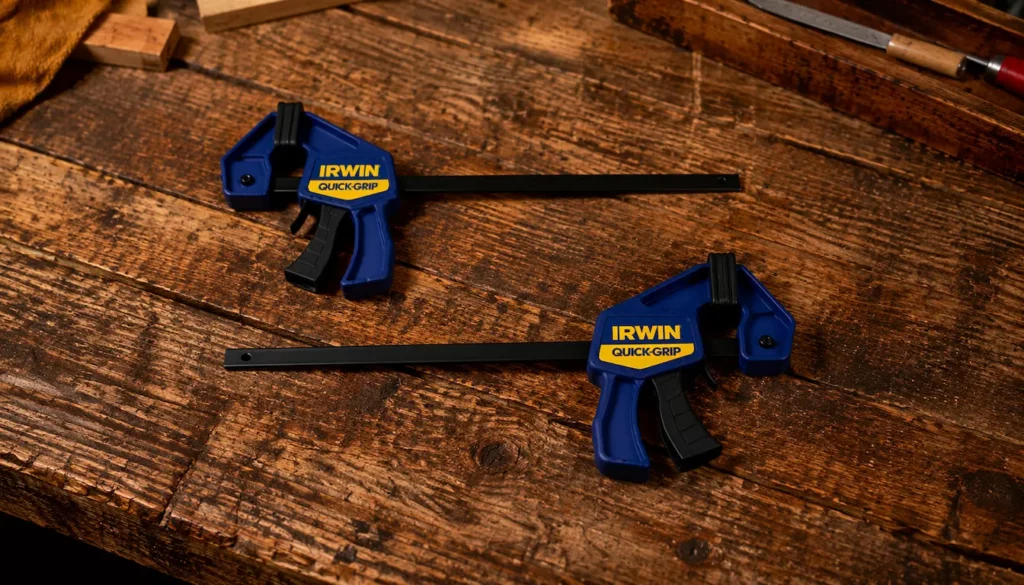
✔ IRWIN Quick-Grip Clamps
Whether you’re gluing a fretboard, installing braces,
or holding parts during a dry fit, these clamps are incredibly versatile.
Their one-handed operation lets you position your work with one hand
while tightening the clamp with the other, making them
especially useful during critical glue-ups.
Why It’s Great
✔ One-handed operation
✔ Fast, even clamping pressure
✔ Strong, durable construction
✔ Perfect for guitar building and woodworking
⏳ Let the Glue Cure
Patience pays off.
Although Titebond begins setting fairly quickly, allow the assembly to remain clamped according to the manufacturer’s recommendations before removing the clamps.
Many builders also wait until the following day before beginning neck shaping or fret installation.
Giving the glue plenty of time to cure helps ensure the strongest possible joint.
🧽 Clean Up Glue Squeeze-Out
As the clamps are tightened, you’ll notice glue squeezing out around the edges of the fretboard.
Remove the excess while it’s still wet using a damp cloth, being careful not to flood the wood with water.
Any glue left behind can interfere with staining, finishing, or simply create extra sanding later.
A few minutes spent cleaning now saves much more work later.
🔍 Inspect the Joint
Once the clamps come off, don’t immediately reach for the rasp.
Inspect the entire glue line.
Look for:
- Even glue line
- No visible gaps
- Straight centerline
- Flat fretboard surface
- Clean edges
If everything looks good, you’re ready for one of the most satisfying stages of the build—carving the neck into its final shape.
⚠️ Common Mistakes to Avoid
Even experienced woodworkers occasionally make mistakes during glue-ups.
Watch out for:
- Forgetting a dry fit
- Uneven clamp pressure
- Rushing alignment
- Using too much glue
- Using too little glue
- Starting neck carving before the glue has cured
Most of these problems are completely avoidable with careful preparation.
👉 Every careful step brings you closer to hearing your guitar for the very first time.
Read How to Build an Acoustic Guitar Fretboard to learn how to choose the right wood, cut accurate fret slots, radius the board, and prepare it for years of reliable performance.
 One Step Closer to a Finished Guitar
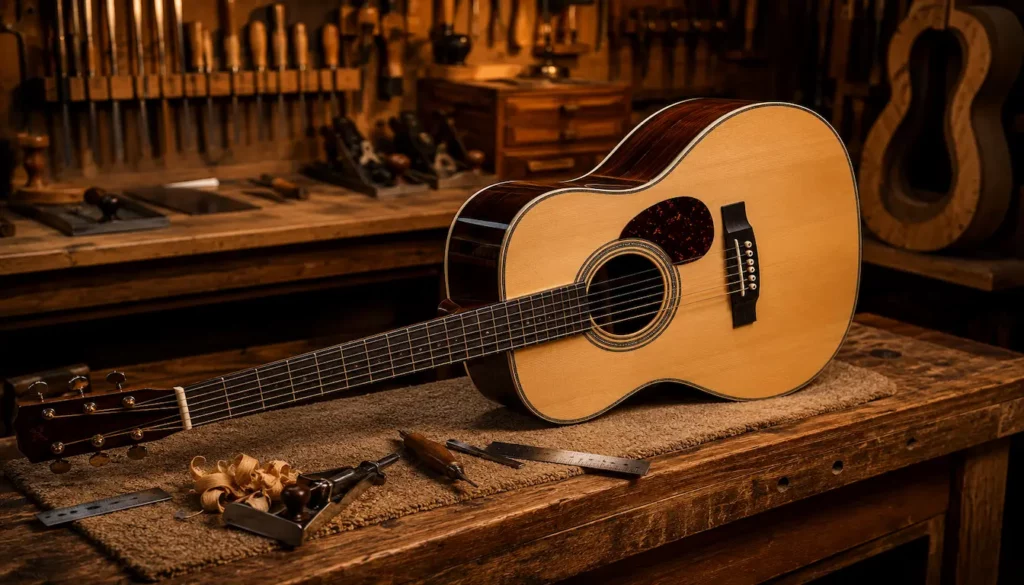
🏁 Final Thoughts…
Gluing a guitar fretboard to the neck isn’t difficult, but it does reward careful planning and patience.
A few extra minutes spent checking alignment, rehearsing the clamp-up, and allowing the glue to cure properly will pay dividends throughout the rest of your build.
Every acoustic guitar is built one careful step at a time.
Taking the time to glue your fretboard correctly now will make every step that follows easier — from shaping the neck to installing frets and completing the final setup.
Patience and precision always pay off in the finished instrument.
Your Guitar, Your Build, Your Sound
You don’t need a custom shop or a tech on speed dial.
All you need is a little guidance, some patience, and a place to go that shows you what to do next.
Come on man… You got this.