
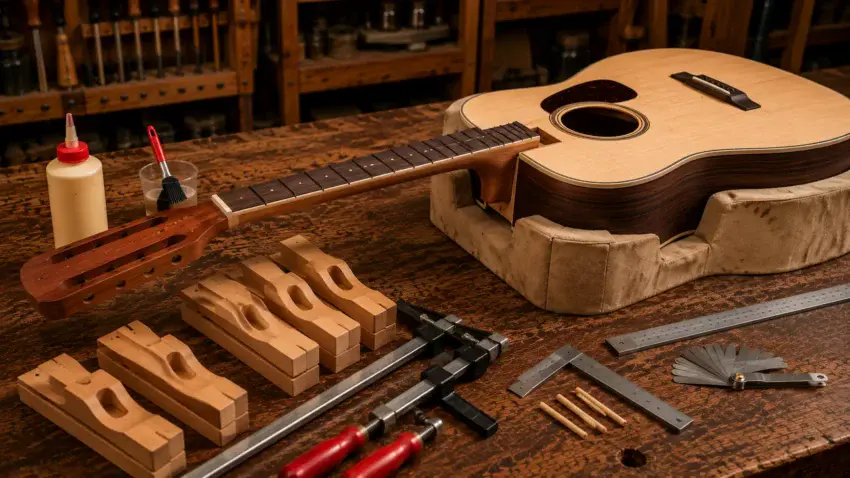
Attaching the neck is one of the most important milestones in an acoustic guitar build.
Once the glue cures, the neck angle, centerline, and alignment are permanently established, so taking your time here will reward you with a guitar that plays beautifully for years.
Before attaching the neck, make sure you’ve completed the neck itself by following our guide on How to Build an Acoustic Guitar Neck.
A properly shaped neck makes final fitting much easier.

🎸 Why Neck Attachment Matters
The neck and body must become one perfectly aligned structure.
Even a slight error in alignment can cause poor action, intonation problems, or strings that don’t sit evenly across the fretboard.
A proper neck joint should:
- Hold the neck securely for decades.
- Maintain the correct neck angle.
- Keep the centerline perfectly aligned.
- Transfer vibration efficiently for better tone.
Patience during this stage is far easier than trying to correct mistakes after the glue has cured.
🧰 Tools You’ll Need
- Neck clamping cauls
- Deep-throat clamps
- Titebond Original Wood Glue
- Silicone glue brush
- Engineer’s square
- Precision straightedge
- Feeler gauges
- Masking tape
- Alignment pins
- Damp cloth
- Flashlight or inspection mirror
📏 Step 1: Dry-Fit the Neck
Never reach for the glue first.
Install the neck into the body exactly as it will be assembled and inspect every contact surface.
The neck should slide into place firmly without excessive force while making full contact throughout the joint.
Use this opportunity to check:
- Neck angle
- Side-to-side alignment
- Neck centerline
- Shoulder fit
- Heel fit
If anything feels forced or uneven, continue fitting until everything seats naturally.
📐 Step 2: Verify the Centerline
The guitar’s centerline should run directly through the center of the neck, soundhole, bridge location, and tail block.
Lay a long straightedge down the fretboard.
The straightedge should point directly toward the center of the bridge position.
If it favors either side, make small adjustments before proceeding.
This is one of the easiest mistakes to catch before glue — and one of the hardest to fix afterward.
MusicNomad Tri-Beam 3 ‘n 1 Straightedge
A straightedge is one of the most important measuring tools you’ll use when attaching an acoustic guitar neck.
It helps you verify the neck angle and alignment before glue turns your careful work into a permanent joint.
 Amazon Product Suggestion:
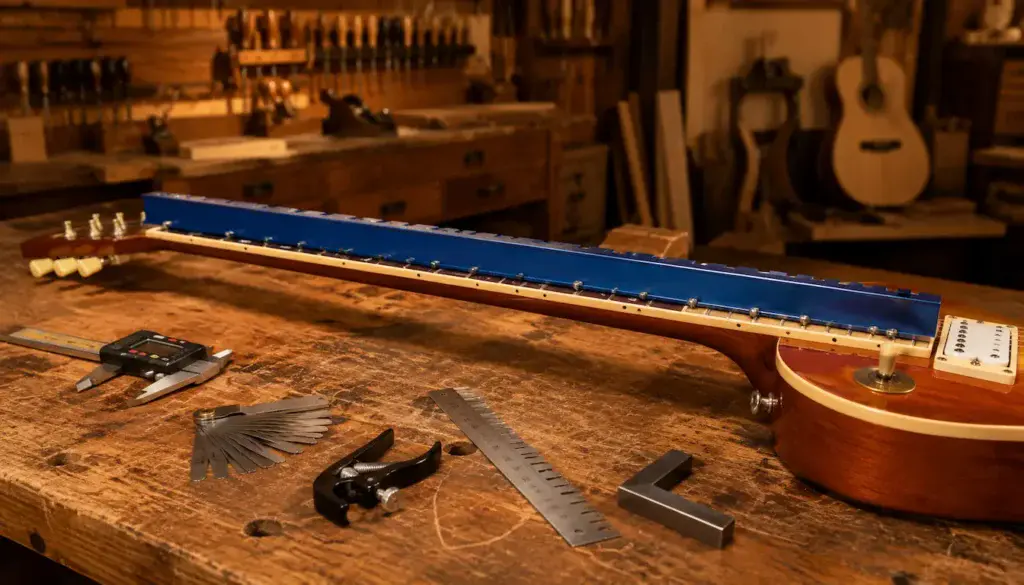
✔ MusicNomad Tri-Beam 3 ‘n 1 Dual Notched Straightedge
📏 Step 3: Check the Neck Angle
Neck angle determines your future string action.
Place the straightedge on top of the fretboard and extend it toward the bridge location.
Ideally, the straightedge should land at or just slightly above the top of the bridge before the saddle is installed.
If the straightedge falls well below or far above the bridge position, continue adjusting the neck joint until the angle is correct.
Taking a few extra minutes now can prevent hours of setup work later.
🛠️ Wayne’s Workshop Tip
I always verify the neck angle at least three separate times before applying glue.
Once the clamps go on, you’re committed.
Those extra few minutes of checking are cheap insurance against expensive mistakes later.
🧪 Step 4: Perform a Complete Dry Clamp Test
Before opening the glue, assemble the neck exactly as you plan to during the final glue-up.
Install every clamp and caul, then tighten them just enough to hold the neck securely.
Watch carefully for any movement as pressure is applied.
Verify the neck angle, centerline, and heel fit one last time, and make sure every clamp has a clear place before glue is involved.
A successful glue-up shouldn’t be the first time you’ve assembled the joint — it should feel like a routine you’ve already mastered.
Heavy Duty Deep Throat U-Clamp
A good clamp is one of the most important tools you’ll own when building an acoustic guitar.
From gluing the neck and bridge to securing jigs and cauls, a dependable clamp provides the even pressure needed for strong, accurate joints.
Amazon Product Suggestion:
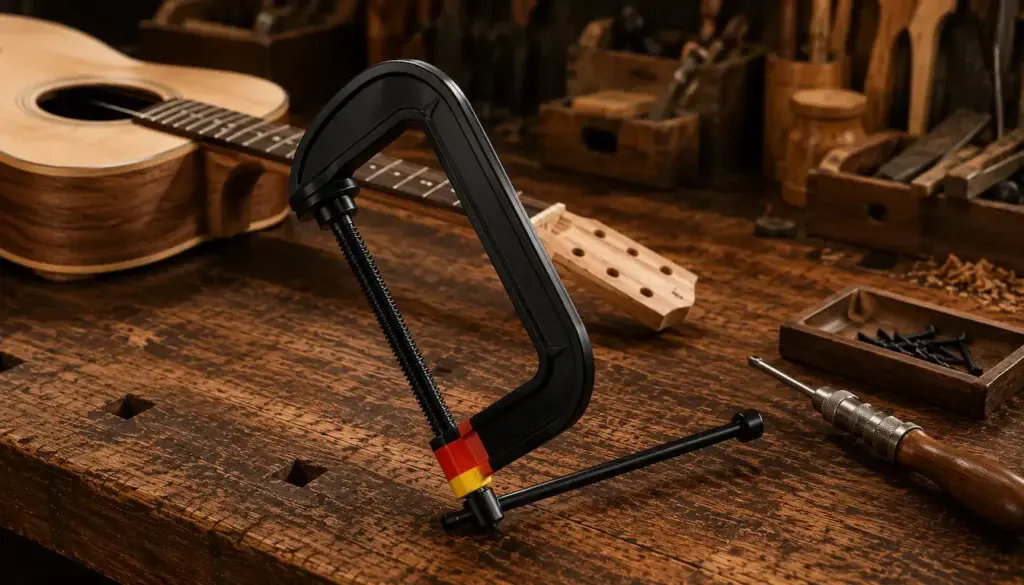
✔ Heavy Duty Deep Throat U-Clamp
A quality C-clamp is a versatile addition to any luthier’s workshop.
Its rigid frame and adjustable screw make it ideal for holding
workpieces securely during glue-ups, keeping necks, bridges,
and shop jigs firmly in place while the adhesive cures.
Why It’s Great
✔ Even, consistent clamping pressure
✔ Heavy-duty cast construction
✔ Perfect for neck and bridge glue-ups
✔ Built to last for years of shop use
🪵 Step 5: Apply the Glue
Apply a thin, even coat of Titebond Original to every mating surface.
Avoid excessive glue.
Too much glue simply creates squeeze-out and cleanup without improving joint strength.
A silicone glue brush helps spread an even film across the entire joint.
Work efficiently, but don’t rush.
🗜️ Step 6: Clamp the Neck
Install your clamping cauls and apply pressure gradually.
Alternate between clamps so pressure remains even across the joint.
As the clamps tighten:
- Watch for movement.
- Verify alignment.
- Confirm the neck remains seated.
- Remove squeeze-out with a damp cloth.
Once everything is secure, resist the temptation to “just tweak it.”
Leave the clamps undisturbed until the glue has fully cured according to the manufacturer’s recommendations.
⚠️ Common Mistakes to Avoid
- Skipping the dry fit
- Ignoring the neck angle
- Applying too much glue
- Over-tightening clamps
- Forgetting alignment pins
- Rushing the glue-up
- Removing clamps too early
🚀 What Comes Next?
With the neck permanently attached, you’re ready to continue transforming individual parts into a complete instrument.
Your next major milestone is installing the tuning machines that will eventually hold your strings and bring the guitar to life.
🏁 Final Thoughts…
Attaching an acoustic guitar neck isn’t difficult — but it demands patience, precision, and confidence in every measurement.
Taking the time to verify the fit, alignment, and neck angle before reaching for the glue will pay off every time you pick up the finished instrument.
A well-fitted neck doesn’t just make the guitar easier to play — it becomes the foundation for great action, stable tuning, and a lifetime of music.
 Your Guitar, Your Build, Your Sound
You don’t need a custom shop or a tech on speed dial.
All you need is a little guidance, some patience, and a place to go that shows you what to do next.
Come on man… You got this.