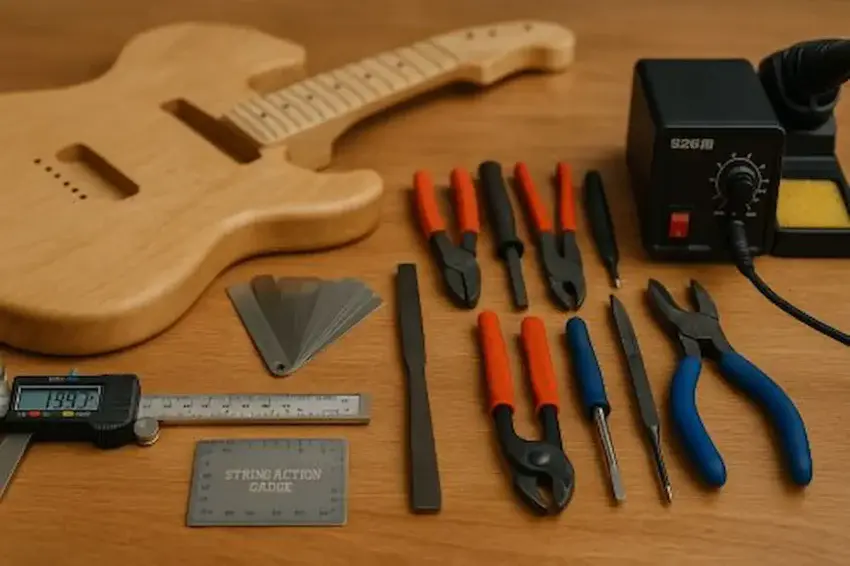
Building your first guitar kit goes
a lot smoother when you have the right
tools needed for building an electric guitar kit
already laid out on your bench.
From shaping and measuring to
wiring and final setup, the proper gear helps you
work faster, avoid mistakes, and get a clean,
professional-looking build.

🔧 Gear Up:
The Tools That Keep Your Build
From Turning Into a Hot Mess
Before you start sanding, shaping, drilling, or melting solder all over the place,
you need the right tools in arm’s reach.
These are the tools that keep your:
-
Build smooth,
-
Your shop clean,
-
And your mind from going insane…
Instead of a frustrating “why the hell is this happening” kind of day.
🎯 MusicNomad Precision
String Action Gauge Ruler
If you want your guitar to play low, clean, and mean,
this little ruler is the difference between pro-level setup
and “why does my guitar feel like a cheese grater?”
🌟 Amazon Product Suggestion:
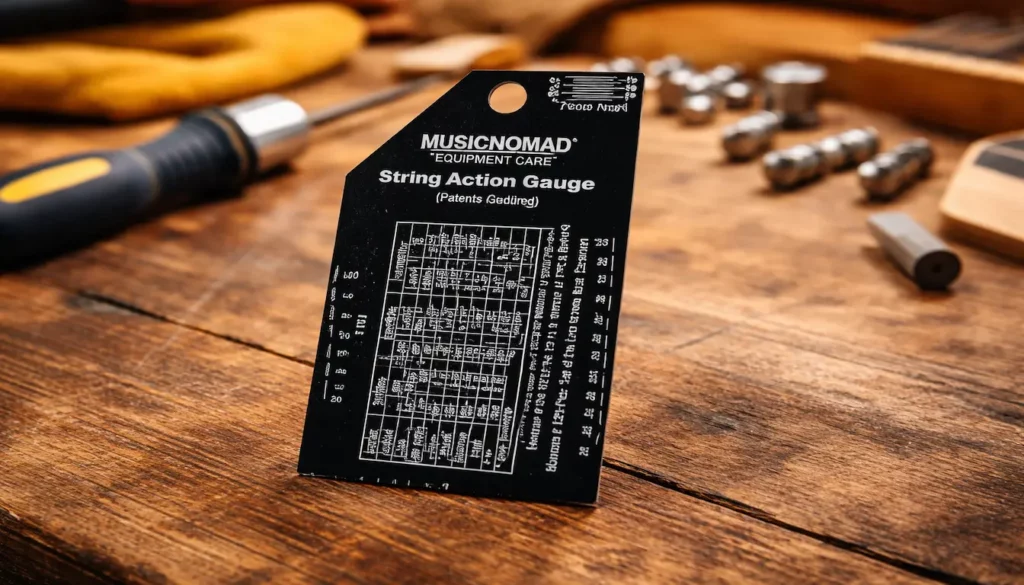
✔️MusicNomad Precision
String Action Gauge Ruler
for String Height- Metric, SAE, 64ths
(MN602)
This precision-cut stainless-steel ruler makes
dialing in string height stupid-easy.
Whether you want buttery-low action
or something a little higher for
heavy picking, this gauge gets your setup
tightened up with zero guesswork.
Why It’s Great:
✔ Super accurate laser-etched measurements
✔ Perfect for dialing in bridge and saddle height
✔ Helps prevent buzzing and uneven action
✔ A must-have for pro-level playability
🧰 25Pcs Guitar Repairing
Tool Kit For Setup
This kit is packed with all the little tools you never think about until you need them —
then suddenly they’re the only thing standing between you and a full-blown meltdown.
🌟 Amazon Product Suggestion:
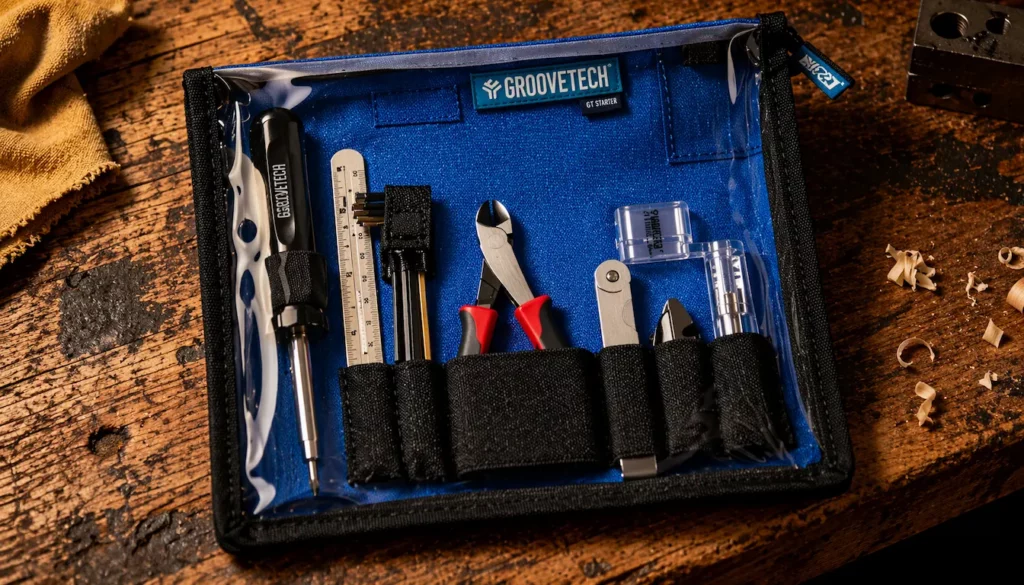
✔️25Pcs Guitar Repairing
Tool Kit Setup Kit
(with Carry Bag)
Packed with all the tiny tools you always end up needing mid-build,
this kit saves you from digging around the shop or making
emergency hardware-store runs.
Files, wrenches, screwdrivers, spacers —
It’s got everything.
Why It’s Great:
✔ Full set of fret and nut files for tight spots
✔ Includes screwdrivers, hex keys, and spacers
✔ Great all-in-one kit for beginners
✔ Perfect backup tools for pros
📐 Jivarrry Digital Caliper
When you need dead-on measurements
and zero guesswork, this caliper keeps you
from eyeballing things like a
caveman and praying it lines up.
🌟 Amazon Product Suggestion:
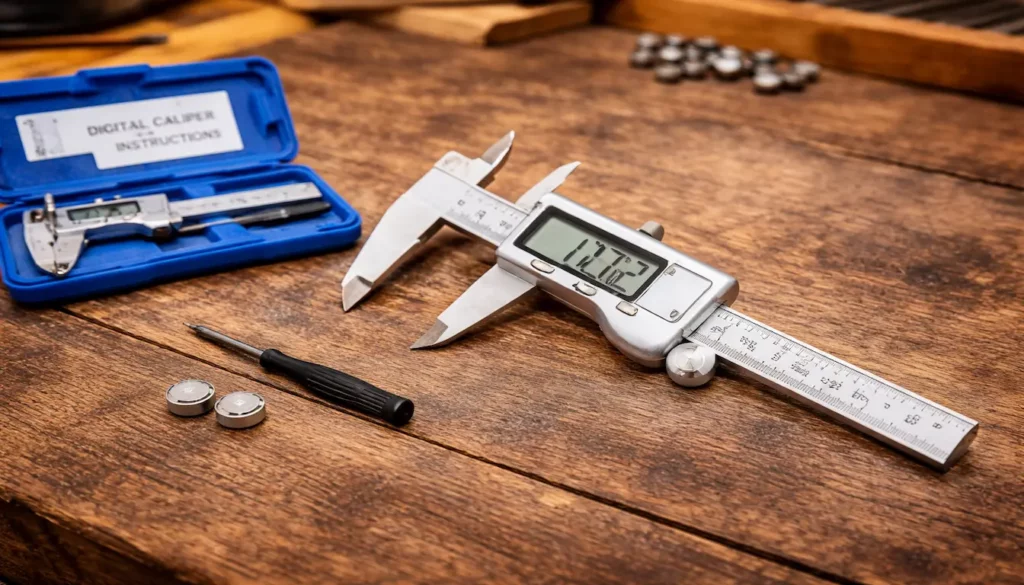
✔️ Jivarry Digital Caliper
(Stainless Steel, Large LCD, 6-Inch)
When accuracy matters —
and it always does when building guitars —
this digital caliper is your go-to.
Perfect for neck pocket depth,
tuner spacing, bridge alignment,
and hardware fit.
Why It’s Great:
✔ Ultra-precise readings down to 0.01mm
✔ Makes neck and hardware alignment easy
✔ Great for measuring nut slots and shim thickness
✔ Clear digital display you can read with tired eyes
⚡ KAIWEETS 6000-Count
Digital Multimeter
If your wiring starts acting funky,
this multimeter saves your sanity by telling you
exactly what’s wrong instead of letting you
chase ghosts for an hour.
🌟 Amazon Product Suggestion:
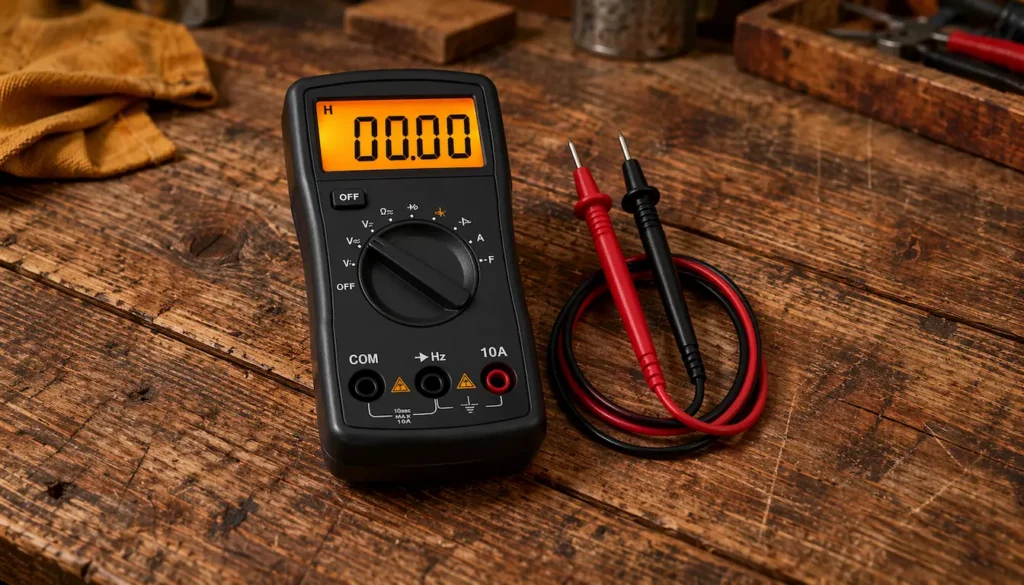
✔️ KAIWEETS 6000-Count
Digital Multimeter
Electrical gremlins don’t stand a chance.
This multimeter helps you test continuity,
check pickup output, verify grounds,
and catch wiring mistakes before you
screw the pickguard back on.
Why It’s Great:
✔ Checks continuity with an instant beep
✔ Helps diagnose wiring faults fast
✔ Great for verifying ground connections
✔ Clear backlit display for shop lighting
🔥 YIHUA 926 III
Soldering Station
A solid soldering station keeps your wiring
clean and controlled, so you’re not out here
burning your fingertips off like a rookie pyro.
(yes, I’ve done that)
🌟 Amazon Product Suggestion:
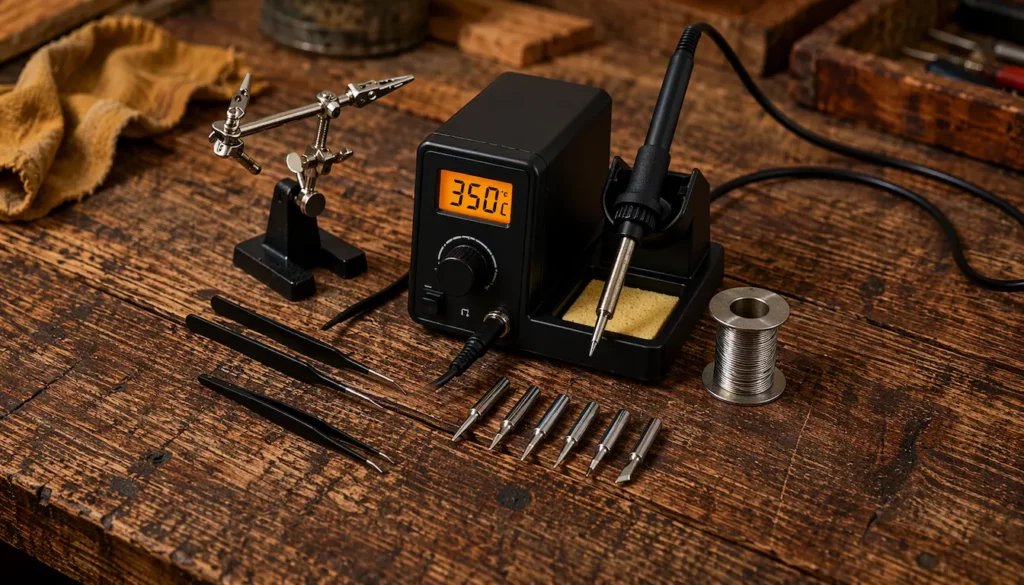
✔️ YIHUA 926 III
Digital Soldering Station
(60W)
A stable, reliable soldering station makes wiring clean, safe, and consistent.
Steady heat, comfortable grip, and a stand that won’t melt your bench.
Everything a kit builder needs.
Why It’s Great:
✔ Fast heat-up with steady temperature control
✔ Perfect for pickups, pots, and switches
✔ Comfortable iron for long wiring session
✔ Comes with a safe stand and sponge tray
🪚 Step-By-Step:
How These Tools Keep
Your Build On Track
Having the right tools is one thing.
Knowing when to grab them is what keeps your build from turning into a train wreck.
Here’s how these tools earn their keep from the moment you crack the box open.
🎸 Final Thoughts…
Building an electric guitar kit isn’t just about following instructions —
It’s about having the right tools to keep your build under control.
When you’ve got good measuring gear,
reliable soldering equipment,
and the basic setup tools within reach,
the entire process goes smoother, cleaner,
and a whole lot less stressful.
Take your time
Trust your tools
And enjoy the build
By the time you’re done, you won’t just have a guitar —
You’ll have a custom instrument you built
with your own two hands,
and that hits different every time you plug it in.
 Ready to Start?
Here’s your next step —
pick one and go:
 New to guitar kits?
Start with
Step-by-Step Guide To Building
Your First Electric Guitar Kit
and
Essential Tools Every Electric Guitar Kit
Builder Should Have.
Already built a kit?
Jump into
How To Properly Set Up Your
Electric Guitar Kit For Intonation
or
Fixing Common Problems:
Buzzing And Dead Frets.
Chasing better tone?
Head to
Understanding Humbucker
Vs Single Coil Pickups In Kits
or
Playing With Tone Controls:
Tips For Electric Guitar Kits
and start experimenting.
 Your Guitar, Your Build,
Your Sound
You don’t need a custom shop or a tech on speed dial.
All you need is a little guidance, some patience,
and a place to go that shows you what to do next.
Come on man… You got this.
GuitarCrafts
is here to help you along the way.
Craft it. Play it. Own it!
This is such a clear and practical guide to assembling the essential toolkit for building an electric guitar from a kit. What stands out most is how you strike a balance between must-have basics—like a soldering iron, drill or screwdriver, clamps, and a saw—and the optional upgrades that can streamline the build, such as precision rulers, steel straightedges, or cozy workspace setups. I especially liked how you emphasize the value of accuracy and protecting the hardware during installation—those small touches can make setup smoother and the final product feel truly polished. Your tips feel approachable for anyone taking on their first build. I’d be curious—what tool have you found newcomers tend to underestimate in its importance, only to wish they’d had it on hand later?
Thanks so much! I’m really glad the guide came across as approachable. Getting the right tools from the start can make the whole process feel a lot less intimidating.
One tool I’ve seen many first-time builders underestimate is a good set of feeler gauges. They’re inexpensive, but they make a world of difference when it comes to dialing in neck relief, string height, and even pickup clearance. Without them, you’re mostly eyeballing adjustments—and that can lead to chasing your tail trying to fix action or buzzing issues later. Once builders try them, they usually say, “I can’t believe I didn’t get these sooner!”
The article “Essential Tools Needed For Building An Electric Guitar Kit” is a highly practical and useful guide for beginners. It goes beyond simply listing tools and provides a logical breakdown of what is needed for each stage of the build, from basic assembly to the final setup. The explanations of key terms like “action” and “intonation” are especially helpful, as they empower the reader with the knowledge required to not just build, but also properly set up their instrument. The guide successfully manages to be both comprehensive and encouraging, which is crucial for a project that can seem daunting to a first-timer.
Beyond the tools, are there any specific types of glue, clamps, or finishes that you have found to be particularly effective for working with guitar kit materials, and why?
Thank you so much! I’m glad the guide came across as both practical and encouraging. Building a guitar kit for the first time can definitely feel intimidating. Regarding glue, clamps, and finishes: for most kit builds, Titebond Original wood glue works great for assembling wood components because it’s strong, dries clear, and is easy to clean up. Spring clamps and small bar clamps are ideal for holding parts together without crushing delicate pieces. For finishes, nitrocellulose lacquer gives that classic look and feel, while water-based poly is easier for beginners and less fussy to apply.
Each choice balances ease of use with professional results, depending on your comfort level and desired final look.
Thanks again,
~Wayne