
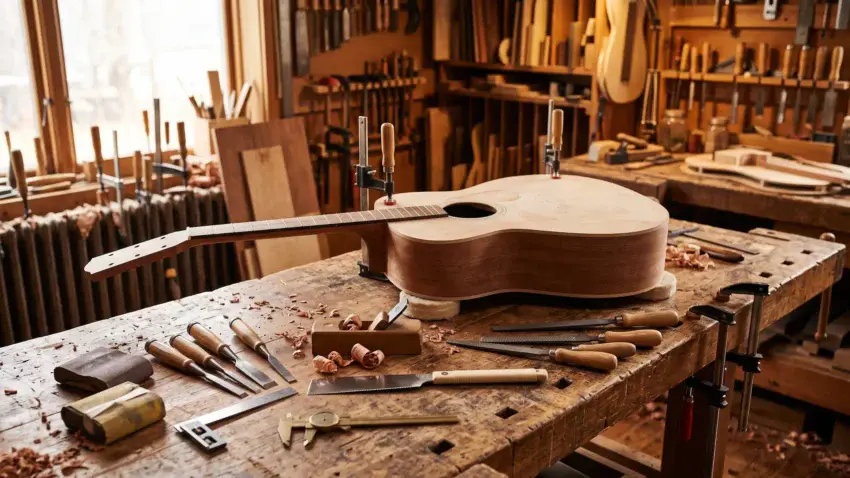
Building an acoustic guitar doesn’t start with a shop full of expensive machines.
It starts with a few good hand tools and learning how to use them.
- Chisels shape braces and clean up joints.
- Planes remove thin shavings of wood.
- Files and rasps help bring parts into shape.
- Saws make the careful cuts that slowly turn raw material into pieces of a guitar.
You don’t need every hand tool ever made.
But the right ones will follow you through almost every stage of the build — and probably through every guitar you build after the first one.
Let’s look at the hand tools that deserve a place on your workbench.
👉 Before you start filling the workbench:
See What Tools Do You Need to Build an Acoustic Guitar? and get the bigger picture of how your tool collection will grow with your skills.

🪚 A Good Saw Makes the First Cut Easier
You don’t need a wall full of saws to build an acoustic guitar.
But you do need a few that can make clean, controlled cuts:
- A fine-tooth hand saw can handle many of the small jobs around the build.
- A fret saw is made for cutting the narrow slots that hold the frets.
- A small coping or jeweler’s saw can help with curves and delicate work.
The goal isn’t to cut fast.
It’s to remove exactly what you intend to remove without damaging the wood around it.
A sharp, well-controlled saw can save you a lot of sanding and cleanup later.
The cleaner the cut, the less work you have to do afterward.
🪵 Chisels Do More Than You Think
A good set of sharp chisels will earn its place on the workbench quickly.
You’ll use them to:
- shape braces
- clean up joints
- trim small pieces
- remove glue squeeze-out
- fit parts that need just a little more room
You don’t need a huge collection.
A few useful sizes can handle a surprising amount of work.
But they need to be sharp.
A sharp chisel gives you control and lets you make careful, precise cuts.
A dull one takes more force, creates more frustration, and can be very dangerous.
Keep them sharp and let the tool do the work.
JORGENSEN No.102 Wood Planer
A sharp hand plane gives you control when a saw would remove too much and sanding would take too long.
The JORGENSEN No. 102 Low-Angle Block Plane makes it easier to shape, trim, and refine small wooden parts one thin shaving at a time.
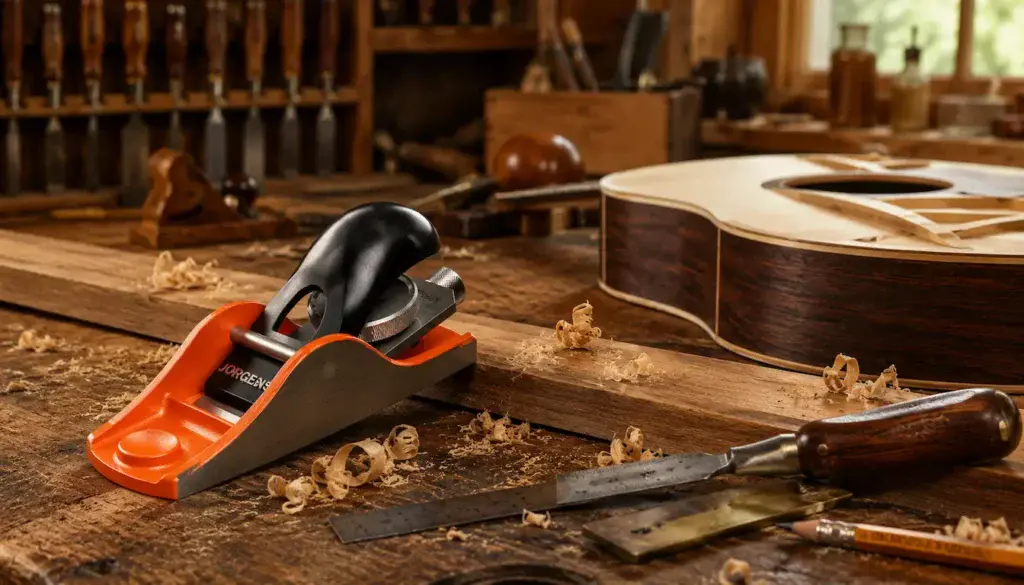
🎸 One Thin Shaving at a Time
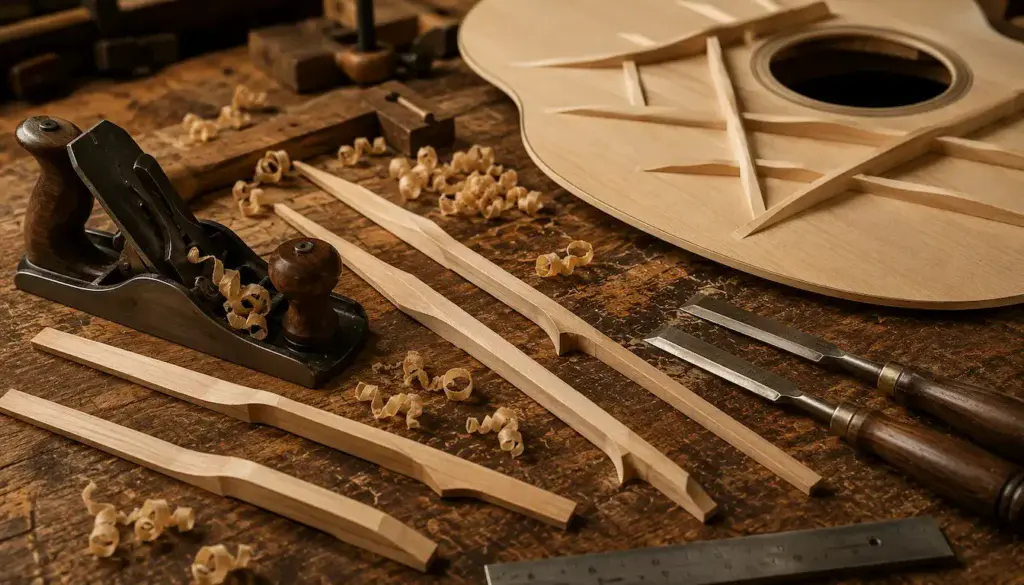
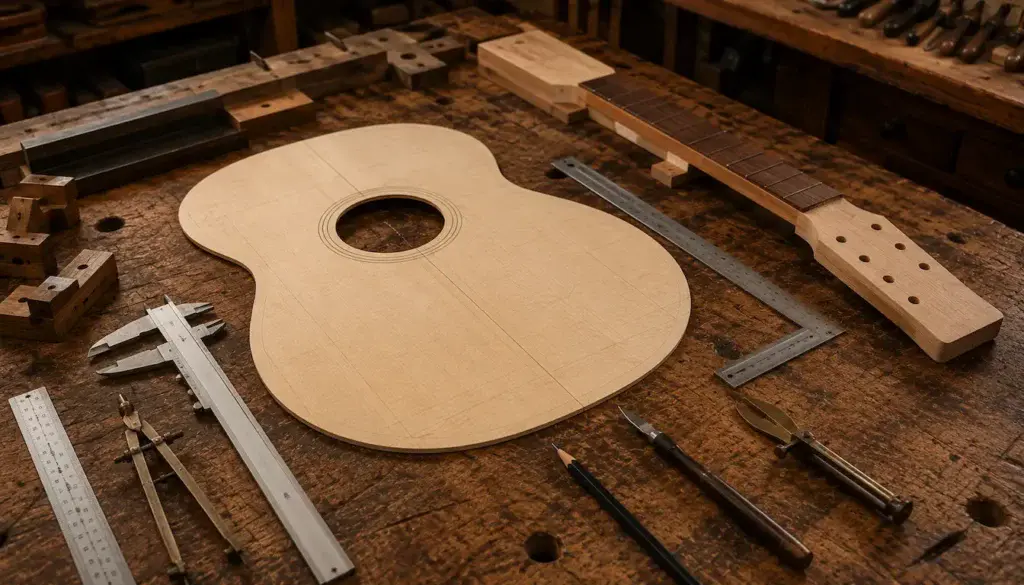
🧱 Sanding Blocks Give You More Control
Sandpaper by itself can follow every bump and curve under your fingers.
Sometimes that’s useful.
But when a surface needs to stay flat, a sanding block gives the paper something solid to work against.
You’ll use sanding blocks to:
- flatten small surfaces
- smooth edges
- refine fitted parts
- remove tool marks
- prepare wood for finishing
Different shapes can help with different jobs, and some of the most useful sanding blocks may be ones you make yourself.
The sandpaper does the cutting.
The block helps you control where it cuts.
🔨 A Small Hammer Has a Place on the Bench
You probably won’t use a hammer as often as a chisel or sanding block.
But there are times when you need a little controlled force.
A small hammer can help with:
- seating frets
- tapping parts into position
- working with small jigs
- making careful adjustments
The key word is “small”.
This isn’t about framing a house.
You’re working with thin wood, delicate parts, and pieces you may have already spent hours shaping.
Use the lightest touch that gets the job done.
On a guitar workbench, a gentle tap usually beats a hard swing.
🔧 Screwdrivers and Small Tools Handle the Details
Not every job on an acoustic guitar needs a chisel, saw, or plane.
Sometimes you just need the right small tool.
A basic collection might include:
- screwdrivers
- pliers
- wire cutters
- an awl
- a marking knife
- a utility knife
You’ll use them for small adjustments, hardware, layout work, trimming, and all the little jobs that show up along the way.
You probably already own several of them.
Keep the ones you use most close to the bench and add the others when the build gives you a reason.
The smallest tools often solve the problems you didn’t see coming.
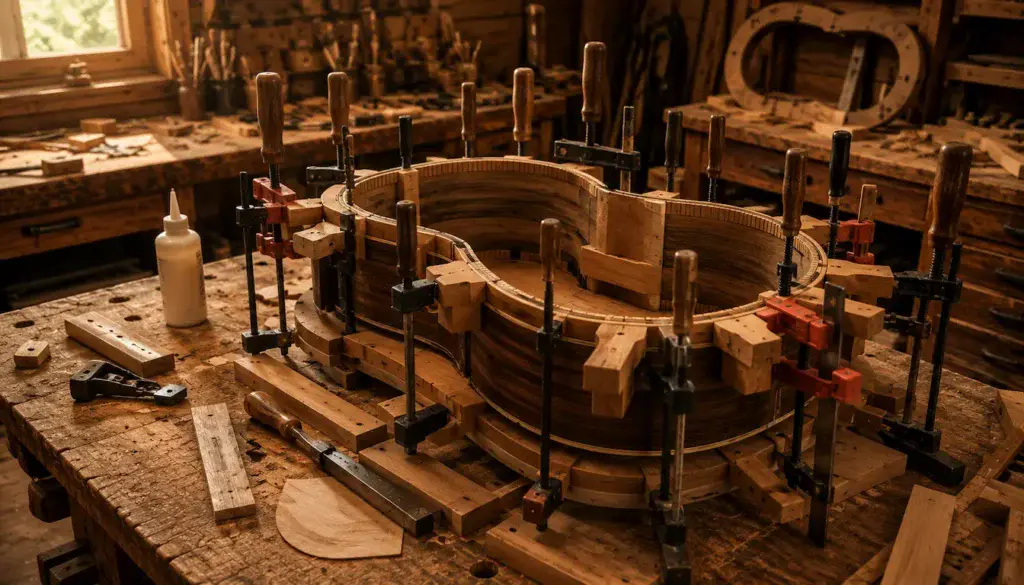
🗜️ Clamps Are Hand Tools Too
Clamps may not cut or shape the wood, but they’re still some of the hardest-working tools in the shop.
You’ll use them to:
- hold parts while glue dries
- keep joints tight
- secure work to the bench
- hold small pieces while you shape them
- keep parts from moving when accuracy matters
And you’ll probably need more than one kind.
Small clamps work well for delicate jobs.
Longer clamps can handle larger assemblies.
Some parts of the guitar may even need simple homemade clamping setups.
You don’t need every clamp before you start.
But once the glue is spread, you’ll wish you had figured out the clamping first.
👉 Pro Tip: Always try to plan ahead, dry fit your parts, and make sure you have plenty of clamps before spreading any glue.
🎸 Plan the Clamping Before the Glue
🪨 Sharpening Tools Belong on the Bench Too
Sharp tools don’t stay sharp forever.
Chisels and plane blades will eventually need attention, especially when they’re doing regular work around the shop.
A simple sharpening setup might include:
- sharpening stones
- a honing guide
- a flattening plate
- a leather strop
You don’t need an elaborate system.
You need one you understand and will actually use.
A sharp edge gives you more control, cleaner cuts, and less frustration at the workbench.
Learning to sharpen your tools is part of learning to use them.
YIDAZLE Chisel Sharpening Kit
Sharp chisels and plane irons give you more control and leave cleaner surfaces behind.
The YIDAZLE Chisel Sharpening Kit gives you the grits and guidance you need to keep those important cutting edges ready for the work ahead.
 Amazon Product Suggestion:
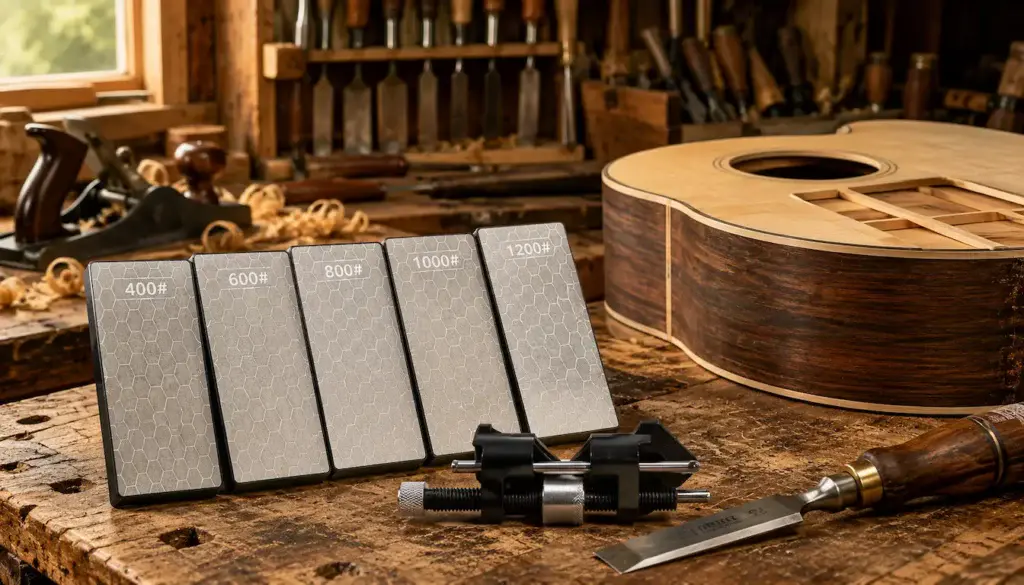
✓ YIDAZLE Chisel Sharpening Kit
The YIDAZLE Chisel Sharpening Kit includes five
diamond sharpening stones from 400 to 1200 grit,
along with an adjustable honing guide for
maintaining a consistent angle.
It gives you one compact system for sharpening
chisels, plane irons, and other workshop blades.
Why It’s Great
✓ Five sharpening grits
✓ Adjustable honing guide
✓ Works with chisels and plane irons
✓ Keeps cutting tools ready to work
🏁 Final Thoughts…
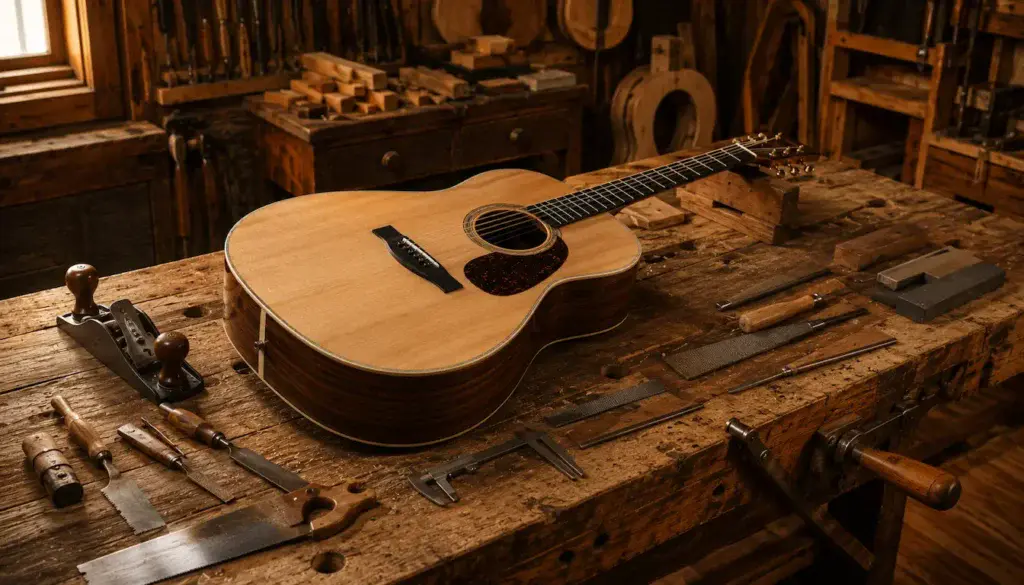
You don’t need a wall full of hand tools to build your first acoustic guitar.
You need a few good ones, kept sharp and used with care.
- A saw makes the cut.
- A chisel cleans the joint.
- A plane removes one thin shaving at a time.
Files, rasps, sanding blocks, and measuring tools help you slowly bring each part where it needs to be.
And the more you use them, the better you’ll understand what each tool can do.
Start with the essentials.
Learn how they feel in your hands.
Take care of them.
Then add the next tool when the build gives you a reason.
A good hand tool can help you build your first guitar.
Learning how to use it can help you build every guitar after that.
Your Guitar, Your Build, Your Sound
You don’t need a custom shop or a tech on speed dial.
All you need is a little guidance, some patience, and a place to go that shows you what to do next.
Come on man… You got this.
 Craft it. Play it. Own it!