
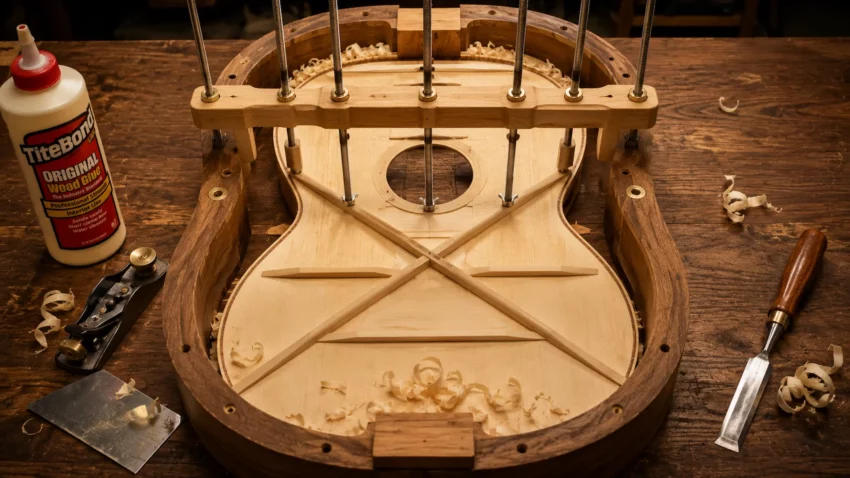
If the soundboard is the voice of an acoustic guitar, its bracing is the hidden framework that gives that voice strength, balance, and character.
Properly designed braces allow the top to withstand hundreds of pounds of string tension while still vibrating freely enough to produce the rich tone every builder hopes to achieve.
In this guide, you’ll learn how to brace an acoustic guitar from start to finish.
We’ll cover common bracing patterns, brace layout, shaping, gluing, and carving techniques so you can build an instrument that’s both structurally sound and beautifully responsive.
👉 Before installing braces, make sure your guitar body is ready.
If you haven’t completed the shell yet, read How to Build an Acoustic Guitar Body first.

🎯 Why Bracing Is So Important
Bracing is one of the most critical parts of acoustic guitar construction.
While it’s hidden inside the instrument after assembly, it has an enormous impact on both durability and tone.
Without braces, the thin spruce or cedar soundboard would quickly deform or collapse under string tension.
On the other hand, braces that are too large or poorly shaped can choke the guitar’s natural resonance and leave it sounding lifeless.
The goal is finding the perfect balance between strength and flexibility.
Well-designed bracing helps:
- Support the soundboard under string tension
- Transfer vibrations throughout the top
- Control resonance and sustain
- Prevent structural failure
- Shape the instrument’s overall tonal character
Every brace you install becomes part of the guitar’s voice.
🔊 What Acoustic Guitar Bracing Actually Does
Many first-time builders assume braces simply reinforce the guitar.
They certainly do that — but they also influence how every note is produced.
When a string vibrates, its energy travels through the bridge into the soundboard.
The braces distribute that energy across the top, allowing different frequencies to resonate while controlling unwanted movement.
The result affects:
- Volume
- Sustain
- Bass response
- Treble clarity
- Dynamic range
- Overall responsiveness
Tiny changes in brace height or shaping can noticeably alter how an acoustic guitar sounds.
🧩 Common Acoustic Guitar Bracing Patterns
Over the years, luthiers have developed numerous bracing designs, each offering its own balance of strength and tonal characteristics.
X-Bracing
X-bracing is by far the most common pattern found in steel-string acoustic guitars.
Two large braces cross beneath the bridge, forming a strong “X” that distributes string tension across the soundboard.
Advantages include:
- Excellent structural strength
- Rich balanced tone
- Strong bass response
- Outstanding versatility
For most first-time builders, X-bracing is the best choice.
Fan Bracing
Fan bracing is traditionally used on classical guitars.
Instead of crossing beneath the bridge, several braces fan outward toward the lower bout.
This produces:
- Warm tone
- Excellent note separation
- Quick response
- Lighter overall construction
Ladder Bracing
Ladder bracing uses several straight braces running across the guitar top.
Although less common today, it still appears on vintage-style instruments where builders want a more direct, woody sound.
Lattice Bracing
Modern luthiers sometimes use lattice bracing to maximize stiffness while reducing overall weight.
This advanced technique creates an intricate web of braces beneath the soundboard.
While highly effective, lattice bracing requires considerably more experience and precision than traditional X-bracing.
Wayne’s Workshop Tip
For your first acoustic guitar, stick with a proven X-bracing pattern.
Master the fundamentals before experimenting with more advanced designs.
The tools featured below are products I personally use or would confidently add to my own luthier’s shop. I hope they help you enjoy building acoustic guitars as much as I’ve enjoyed learning the craft and working with them.
JORGENSEN No.101 Mini Wood Planer
A finger plane is one of the most important tools for shaping and tuning acoustic guitar braces by hand.
Its compact size gives you exceptional control, allowing you to remove fine shavings and carve braces to their final profile with precision.
 Amazon Product Suggestion:
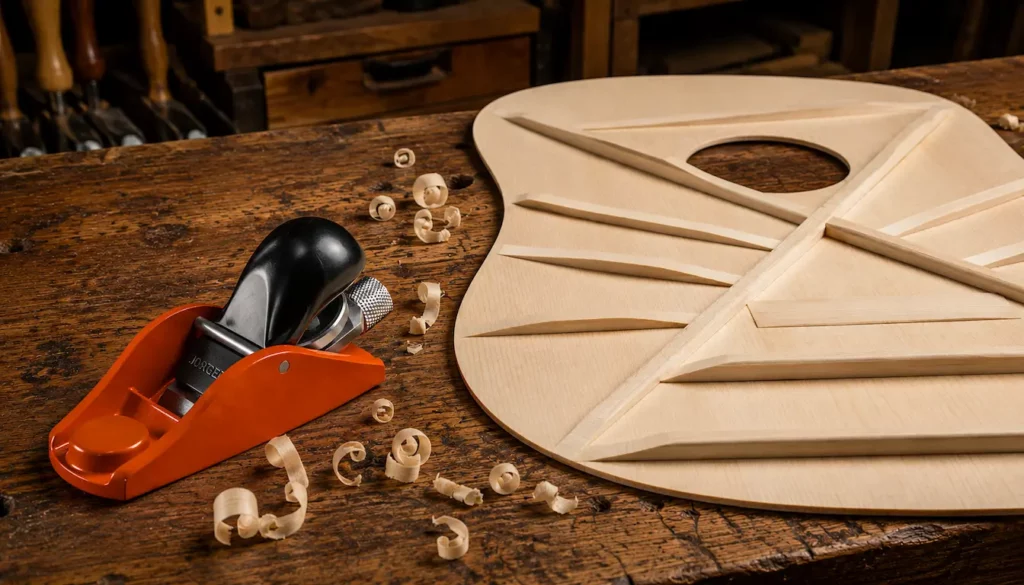
✔ JORGENSEN No.101 Mini Wood Planer
If you plan to hand-carve acoustic guitar braces,
a quality finger plane is one of the most rewarding tools you’ll own.
The JORGENSEN No. 101 Mini Wood Planer gives you precise control
for removing whisper-thin shavings, making it easy to
shape braces accurately without relying on sandpaper.
Why It’s Great
✔ Perfect size for carving X-braces, tone bars, and finger braces
✔ Adjustable blade depth for precise, controlled cuts
✔ Durable ductile iron body built for years of woodworking
✔ Excellent value for beginner and experienced luthiers alike
🪵 Choosing the Right Wood for Braces
Not all wood is suitable for acoustic guitar bracing.
Since braces are responsible for supporting the soundboard while allowing it to vibrate freely, they need to be both lightweight and exceptionally stiff.
For that reason, quartersawn spruce has become the industry standard.
Sitka spruce is the most common choice, but Adirondack and European spruce are also popular among custom builders.
When selecting brace stock, look for:
- Straight, vertical grain
- Tight, even growth rings
- No knots or pitch pockets
- Lightweight but stiff pieces
- Quarter-sawn orientation
The better your brace material, the easier it will be to shape and the better your finished guitar will perform.
📐 Laying Out the Bracing Pattern
Before a single brace is glued into place, every piece should be dry-fitted and carefully marked.
Most builders begin by transferring their chosen bracing pattern onto the underside of the soundboard using a full-size template.
Accurate layout is essential because even small alignment errors can affect both structural integrity and tonal balance.
As you position each brace, pay close attention to:
- Centerline alignment
- Bridge location
- Soundhole clearance
- Brace orientation
- Symmetry from side to side
Taking your time during layout helps prevent frustrating corrections later.
✂️ Shaping and Carving the Braces
Once the braces have been cut to length, they can be shaped into their final profiles.
Most luthiers begin by creating a tall triangular profile before gradually carving and tapering each brace.
The objective isn’t simply to remove material — it’s to strike the perfect balance between stiffness and flexibility.
A properly carved brace is strongest where support is needed while becoming lighter toward the ends to encourage better vibration across the soundboard.
Common shaping tools include:
- Finger plane
- Sharp chisel
- Small block plane
- Cabinet scraper
- Sanding blocks
Work slowly and remove small amounts of material at a time.
You can always take more wood away, but you can’t put it back.
🧴 Gluing the Braces
Once you’re satisfied with the fit and shaping, it’s time for glue-up.
Most builders use Titebond Original Wood Glue because it offers an excellent combination of strength, working time, and reliability.
Apply a thin, even coat of glue across the entire mating surface of each brace.
Too much glue creates unnecessary squeeze-out, while too little can leave weak spots in the joint.
Before tightening your clamps or go-bars, double-check that every brace remains perfectly aligned with your layout marks.
A careful glue-up now saves a great deal of frustration later.
🏹 Clamping with a Go-Bar Deck
A go-bar deck is one of the most effective ways to clamp acoustic guitar braces.
Flexible fiberglass or wooden rods are compressed between the work surface and an upper deck, applying even downward pressure across every brace while the glue cures.
This system offers several advantages over traditional clamps:
- Even pressure across the entire brace
- Quick setup
- Excellent visibility during glue-up
- Ideal for complex brace layouts
Many builders eventually construct their own go-bar deck because it’s inexpensive, easy to customize, and incredibly effective.
Before applying glue, perform a complete dry run with every brace and every go-bar in place.
Once the glue is spread, you’ll have limited time to make adjustments, and practicing the entire clamping sequence beforehand makes the actual glue-up far less stressful.
Go-Bars for Acoustic Guitar Building
A go-bar deck is one of the fastest and most effective ways to glue acoustic guitar braces with even, consistent pressure.
Combined with quality fiberglass go-bars, it helps create strong glue joints while keeping every brace securely in place during assembly.
Amazon Product Suggestion:
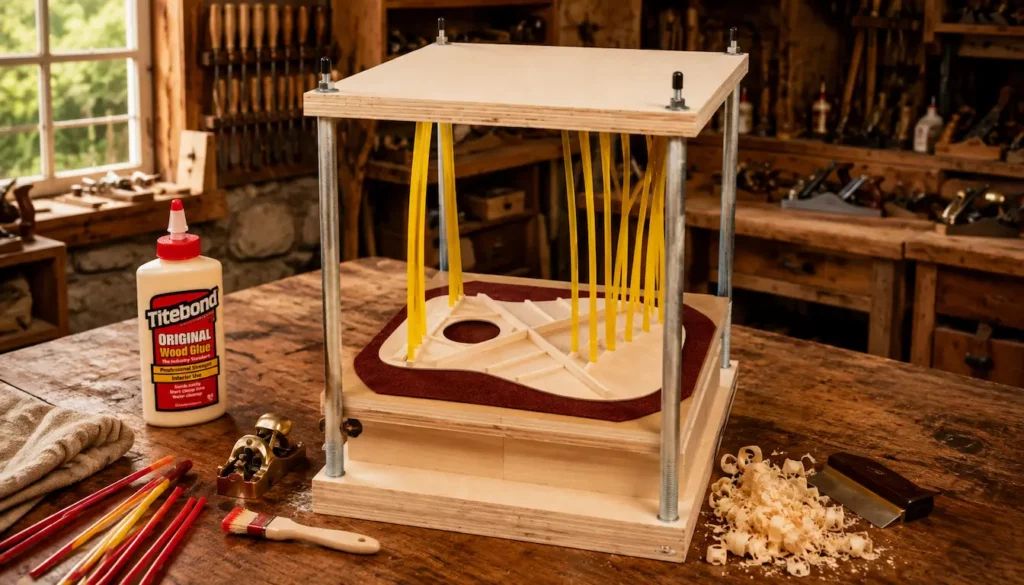
✔ Go-Bar Rod Set
Whether you’re gluing X-braces, tone bars, finger braces, or bridge plates,
fiberglass go-bars provide reliable spring pressure across the entire soundboard.
They’re lightweight, durable, reusable, and an essential part
of any traditional luthier’s workshop.
Why It’s Great
✔ Applies consistent pressure without clamps
✔ Ideal for gluing braces and bridge plates
✔ Durable fiberglass construction for years of use
✔ Works with virtually any homemade go-bar deck
⚠️ Common Mistakes to Avoid
Bracing mistakes can affect both the structural integrity and tonal quality of your guitar.
Fortunately, most are easy to avoid with careful planning.
Watch out for these common errors:
- Using braces with grain running in the wrong direction.
- Removing too much material during carving.
- Leaving braces too heavy and overly stiff.
- Misaligning braces during glue-up.
- Applying uneven clamping pressure.
- Rushing the carving process before the glue has fully cured.
Remember that bracing isn’t a race.
Small, thoughtful adjustments almost always produce better results than aggressive carving.
🎵 How Bracing Affects Tone
Bracing doesn’t just hold an acoustic guitar together — it plays a major role in determining how the instrument sounds.
Every brace influences the way the soundboard vibrates.
The height, width, placement, and overall mass of each brace affect how energy moves across the top, shaping everything from bass response to sustain.
Generally speaking:
- Lighter bracing produces a more responsive soundboard.
- Heavier bracing increases structural strength but can reduce volume and resonance.
- Properly shaped braces create a balanced combination of strength and musicality.
This is why experienced luthiers spend so much time carving and refining braces.
Even small adjustments can make a noticeable difference in the guitar’s final voice.
⚖️ Scalloped vs. Non-Scalloped Bracing
Once the braces are glued in place, many builders shape them even further through a process called scalloping.
Scalloped braces have carefully carved valleys along their length, reducing weight while maintaining strength where it’s needed most.
Scalloped Bracing
Benefits include:
- Greater responsiveness
- Richer bass
- Increased volume
- More open tonal character
Non-Scalloped Bracing
Provides:
- Greater structural rigidity
- Balanced tone
- Strong note definition
- Excellent long-term stability
Neither approach is universally better.
The right choice depends on the style of guitar you’re building and the sound you’re trying to achieve.
📍 Forward-Shifted X-Bracing
Many premium acoustic guitars feature forward-shifted X-bracing.
In this design, the main X intersection is positioned slightly closer to the soundhole than in a traditional X-braced guitar.
Moving the braces forward allows more of the lower bout to vibrate freely, often producing:
- Bigger bass response
- Greater projection
- Increased dynamic range
- A more open overall sound
Because the soundboard becomes slightly more flexible, precise brace shaping and careful construction become even more important.
👉 Once the braces are complete, the next major milestone is attaching the neck.
Follow our guide on How to Attach an Acoustic Guitar Neck to keep your build moving forward.
Blue Curved Cabinet Scraper Cards
A sharp cabinet scraper can produce an incredibly smooth surface while removing whisper-thin shavings instead of dust.
These three uniquely shaped scrapers make it easy to refine braces, shape curved surfaces, and put the finishing touches on your acoustic guitar.
Amazon Product Suggestion:
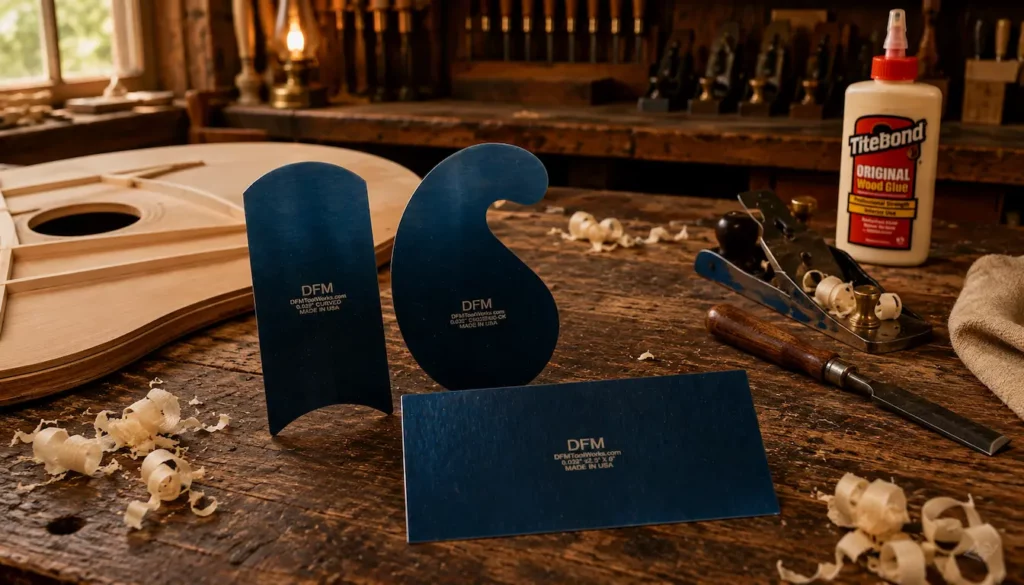
✔ Blue Curved Cabinet Scraper Cards
This DFM Tool Works three-piece cabinet scraper set includes
flat, curved, and gooseneck profiles to tackle virtually every contour
you’ll encounter while building an acoustic guitar.
Made from durable American spring steel, they’re built to hold
a sharp burr and leave a clean, ready-to-finish surface.
Why It’s Great
✔ Three profiles for flat and curved surfaces
✔ Produces fine shavings with minimal sanding
✔ Durable American spring steel construction
✔ Perfect for shaping braces, necks, and guitar bodies
🔍 Final Inspection
Before closing the guitar body, inspect every brace one final time.
Look closely for:
- Complete glue coverage
- Tight joints with no visible gaps
- Smooth brace transitions
- Consistent carving from side to side
- No loose fibers or glue squeeze-out that could interfere with future assembly
A small flashlight and inspection mirror make it much easier to examine areas that are difficult to see.
This is your last opportunity to correct any issues before the soundboard is permanently enclosed.
🔦 Inspect Your Work with Confidence
Once the braces are glued in place, it’s surprisingly difficult to see every glue joint clearly through the soundhole.
A lighted articulating borescope lets you inspect the X-braces, tone bars, finger braces, and bridge plate to confirm everything is securely bonded before moving on to the next stage of the build.
Teslong Articulating Borescope
Being able to inspect the inside of an acoustic guitar without removing the back is a huge advantage during both building and repairs.
An articulating borescope lets you examine braces, glue joints, and hidden areas that are nearly impossible to see with the naked eye.
Amazon Product Suggestion:
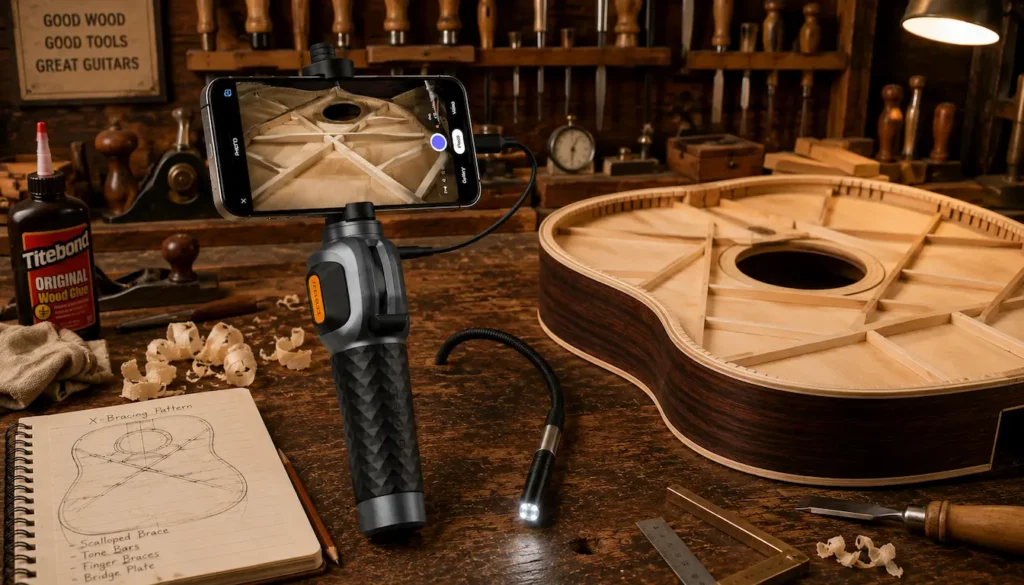
✔ Teslong Articulating Borescope
The Teslong USB-C Two-Way Articulating Borescope features
a flexible probe with a joystick-controlled 180° articulating camera,
making it easy to inspect every corner inside an acoustic guitar.
Bright adjustable LED lighting and high-definition video provide a
clear view of X-braces, tone bars, finger braces, bridge plates, and kerfing
so you can verify your workmanship with confidence.
Why It’s Great
✔ Inspects braces and glue joints with ease
✔ 180° articulating camera reaches hidden areas
✔ Bright LED lighting for dark guitar interiors
✔ Captures HD photos and videos for documentation
🎯 Take Pride in Your Work
Great acoustic guitars aren’t built by rushing to the finish line — they’re built by paying attention to the details.
Every brace you carefully shape, glue, and inspect becomes part of the voice your guitar will carry for years to come.
🎸 The Heart of the Guitar
🏁 Final Thoughts…
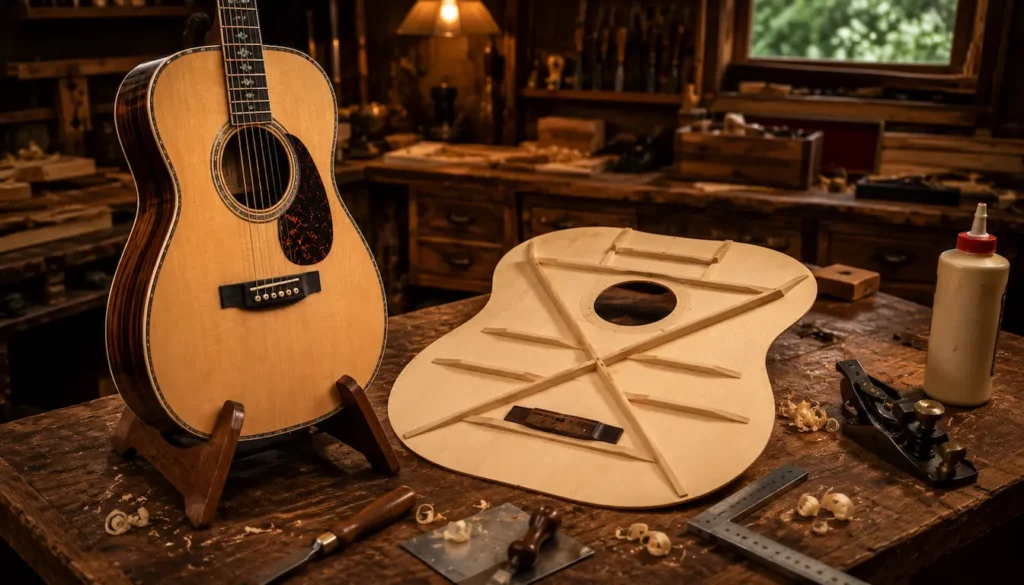
Bracing may be hidden inside an acoustic guitar, but its influence is impossible to ignore.
Every brace you shape, carve, and glue contributes to the instrument’s strength, responsiveness, and unique tonal character.
A carefully braced soundboard lays the foundation for an acoustic guitar that not only survives decades of string tension but rewards every chord with the rich, balanced voice builders strive to create.
Take your time, trust your measurements, and don’t rush the carving process.
 Your Guitar, Your Build, Your Sound
You don’t need a custom shop or a tech on speed dial.
All you need is a little guidance, some patience, and a place to go that shows you what to do next.
Come on man… You got this.