
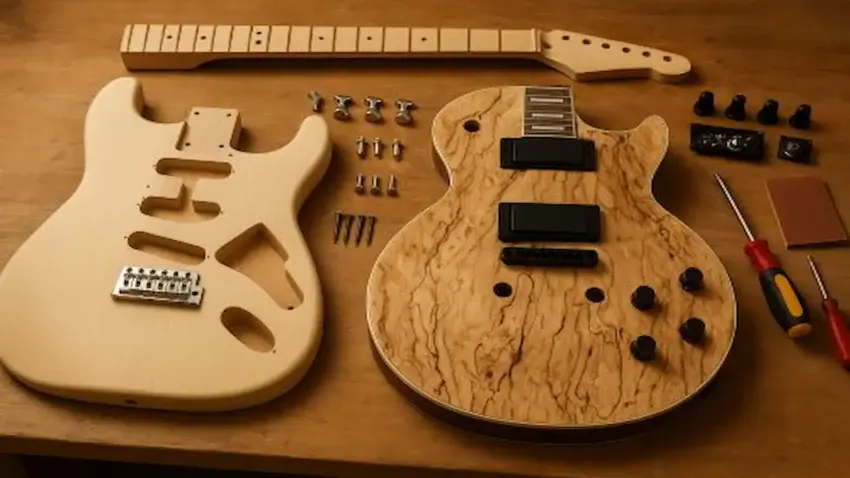
If you’re ready to move beyond entry-level DIY kits and start building something more refined, this guide highlights some of Solo Guitars’ strongest premium-style options.
These kits focus more heavily on upgraded woods, cleaner fitment, improved hardware, and stronger long-term customization potential for builders who want a more polished final instrument.
👉 This guide is part of my Solo Guitar Kits hub, where I collect Solo-exclusive kit guides and comparisons to help builders choose the right kit.

⭐ What Makes These Kits Premium
Premium DIY guitar kits aren’t just about flashy tops or upgraded hardware — they’re about cleaner fitment, better materials, and stronger long-term build quality.
The Solo kits below offer upgraded woods, premium styling, and excellent foundations for builders who want a more refined final instrument.
 Solo Guitars Product:
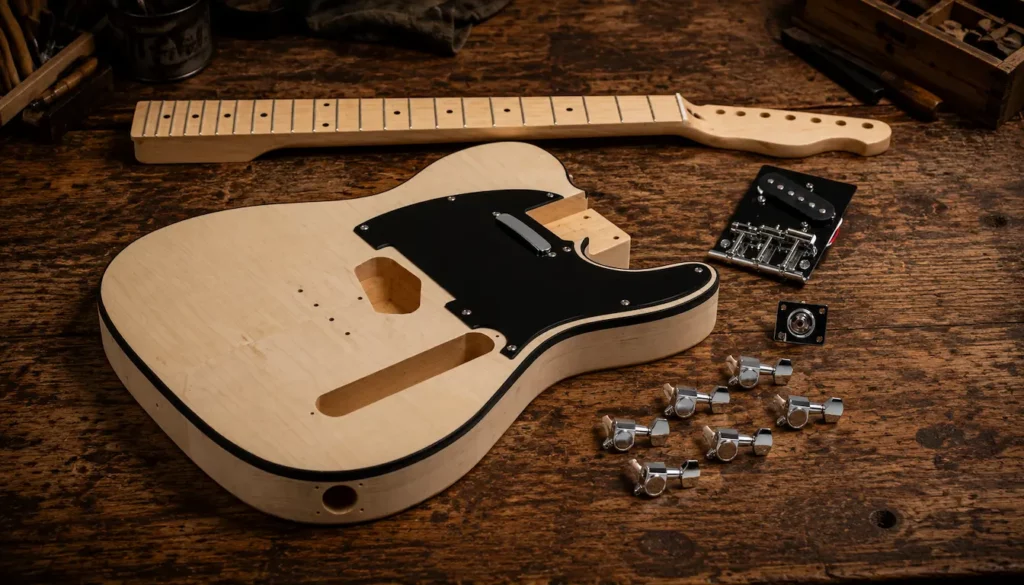
🎸 Solo TCK-1M-FM DIY Electric Guitar Kit
A premium Tele-style build platform with
flame maple styling and excellent upgrade potential.
The flame maple top, clean body lines,
and solid build make this an excellent
platform for upgrades and custom finishes.
Why It’s Great:
✔️ Flame maple top with clean 3-piece body
✔️ Classic Tele bite with upgrade potential
✔️ Smooth maple neck ready for finishing
✔️Pre-routed for easy assembly
Solo Guitars Product:
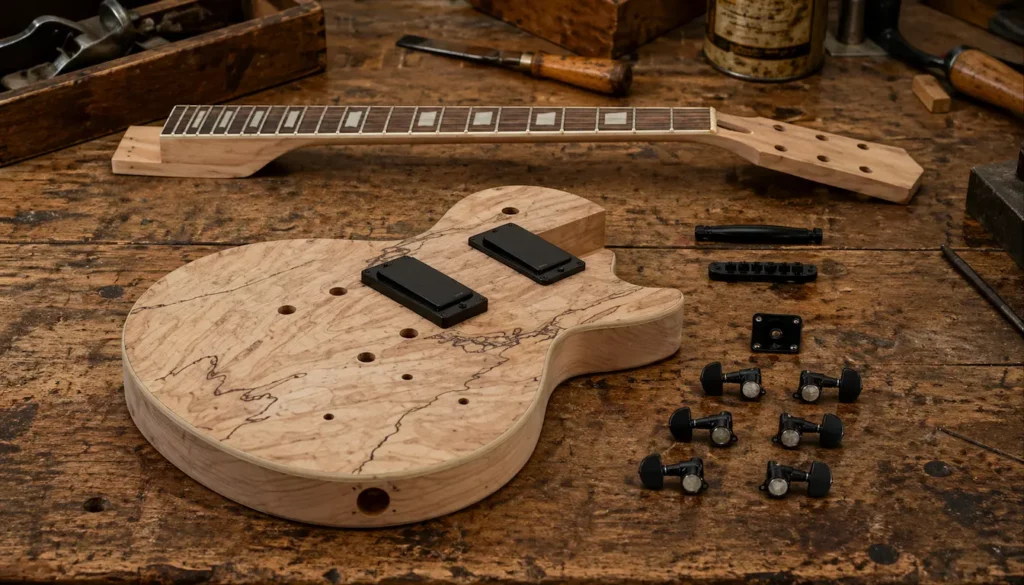
🎸 Solo LPK-75 DIY Electric Guitar Kit
(Spalted Maple Top)
A premium LP-style kit with unique spalted maple
styling and strong long-term upgrade potential.
Why It’s Great:
✔️ Unique spalted maple top on every build
✔️ Carved LP body with solid shaping
✔️ Tight tolerances for a cleaner build
✔️ Ideal for premium upgrades and custom finishes
⭐ Before You Start: Follow These 10 Steps
Now that you’ve seen some of Solo Guitars’ strongest premium kit options, it’s time to focus on the build process itself.
These steps will help you avoid beginner mistakes, improve fit and finish, and get the most out of a premium DIY guitar kit.
🛠️ 10-Step Premium Build Process
1. Unbox Everything & Do a Full Parts Layout
Lay out the body, neck, hardware, electronics, screws, and plastic parts.
Premium kits often feature cleaner routing, upgraded tops, and more detailed body shaping, so take a few minutes to inspect everything before starting assembly.
Pro Tip:
Snap a quick photo of the layout — super handy later.
2. Test-Fit the Neck Joint
Premium-style kits often have tighter neck pocket tolerances for better fit and stability.
Slide the neck in gently and ensure it seats flush on all sides.
If it’s too tight, sand the pocket, not the neck.
3. Level & Smooth the Body
Premium tops like flame maple and spalted maple require careful sanding to preserve the figuring and final appearance.
Work from 220 → 320 → 400 grit depending on finish type.
Don’t sand through figuring — stay consistent and light.
4. Prep the Neck & Frets
Check the frets for high spots, ends, and overall smoothness.
Even premium kits benefit from a quick polish.
Mask the fretboard edges before polishing. Cleaner and faster.
5. Choose Your Finish Style
This is where premium kits shine — literally.
-
Flame maple loves
tigers-eye or amber bursts -
Spalted maple pairs especially well
with natural finishes or light dyes -
Tele-style bodies love
blonde, butterscotch, or transparent colors
Always test dye on scrap wood before hitting your top.
6. Apply Your Finish
(Stain, Dye, or Clear)
Use light coats, let each layer cure properly, and avoid heavy-handed application.
Maple tops blotch easily if rushed.
For spalted maple, use sanding sealer BEFORE dye or clear.
7. Install the Hardware
Premium-style hardware often has tighter tolerances, so take your time aligning bridges, tuners, ferrules, and strap buttons before drilling.
Tape the drill bit to avoid going too deep.
8. Assemble the Electronics
Drop in pickups, wire the harness, and test everything BEFORE installing the pickguard or mounting rings.
Plug into an amp and lightly tap pickups with a screwdriver to check function.
9. Bolt On the Neck
& Set Initial Action
Attach the neck, set the truss rod to neutral, and bring the guitar to basic tune so the neck and hardware can settle naturally under string tension.
Tune → adjust → tune → adjust. Never force it.
10. Final Setup:
Intonation, Action, Pickup Height
Dial in:
-
String height
-
Neck relief
-
Pickup height
-
Saddle intonation
This is where the build starts feeling like a real instrument.
Set pickup height by EAR, not specs. Every guitar is different.
⚡More Pro Tips
(Because There Can Never Have Enough)
👉 Use a straightedge across the frets before doing any neck work.
This keeps your setup perfect right from the start.
👉 Tape the edges of your body when installing hardware.
Prevents accidental scratches during the build.
👉 Polish the flame top or spalted top with microfiber after each step.
You’ll spot imperfections earlier and get a cleaner final finish.
👉 Upgrade pickups last, not first.
Build it, test it, then decide if you want to drop in Seymour Duncans or another premium set.
👉 Let the guitar sit for 24 hours under full string tension.
Premium woods often settle naturally under full string tension, and setups usually improve after the first day.
👉If you’re still deciding between budget and premium kits,
see our budget vs premium guitar kits comparison for a full breakdown.
🏁 Final Thoughts…
Premium Solo Guitar Kits offer cleaner fitment, upgraded woods, tighter tolerances, and stronger long-term customization potential than most entry-level DIY builds.
Whether you choose the flame maple Tele platform or the spalted maple LP-style build, you’re getting a solid foundation for a more refined final instrument.
These kits are ideal for builders who want boutique-inspired looks, better materials, and a guitar that feels far more expensive than the price suggests.
GuitarCrafts is here to guide you toward building the guitar of your dreams.
 Ready to Start?
Here’s your next step — pick one and go:
New to guitar kits?
Start with
Step-by-Step Guide To Building
Your First Electric Guitar Kit
and
Essential Tools Every Electric Guitar Kit
Builder Should Have.
Already built a kit?
Jump into
How To Properly Set Up Your
Electric Guitar Kit For Intonation
or
Fixing Common Problems:
Buzzing And Dead Frets.
Chasing better tone?
Head to
Understanding Humbucker
Vs Single Coil Pickups In Kits
or
Playing With Tone Controls:
Tips For Electric Guitar Kits
and start experimenting.
 Your Guitar, Your Build,
Your Sound
You don’t need a custom shop or a tech on speed dial.
All you need is a little guidance, some patience,
and a place to go that shows you what to do next.
Come on man… You got this.