If your guitar sounds completely different depending on the pickup you use…
you’re not imagining it.
The neck and bridge pickups each have their own tone —
and understanding the difference is one of the fastest ways to dial in your sound.
👉 Not sure whether you’re working with a Strat or Tele build?
This quick breakdown will help you decide:
Strat vs Tele: Which DIY Guitar Kit Should You Build First?
👉 Pickup Position Quick Guide
Not sure what each pickup position does?
Here’s a quick breakdown:
- Bridge pickup: Bright, aggressive, great for leads and cutting through a mix
- Neck pickup: Warm, smooth, ideal for blues, jazz, and clean tones
- Middle pickup: Balanced tone, often used for rhythm and blended sounds
Each position gives your guitar a completely different voice —
even with the same pickups.
If you like the idea of shaping your tone through pickup position,
the right pickups make an even bigger difference:

👉 If you’re still deciding which pickups to install, check out:
Best Pickups For Your Electric Guitar Kit: Choosing The Right Tone
to find the right set for your build.
🔧 Suggested Tools For Understanding Pickup Position
Before we dive into how each pickup position shapes your tone,
it helps to have a few simple tools on hand.
These will make it easier to examine your pickups, measure their spacing,
and make small adjustments as you go.
Even if you’re just learning,
having the right tools nearby keeps everything precise and frustration-free.
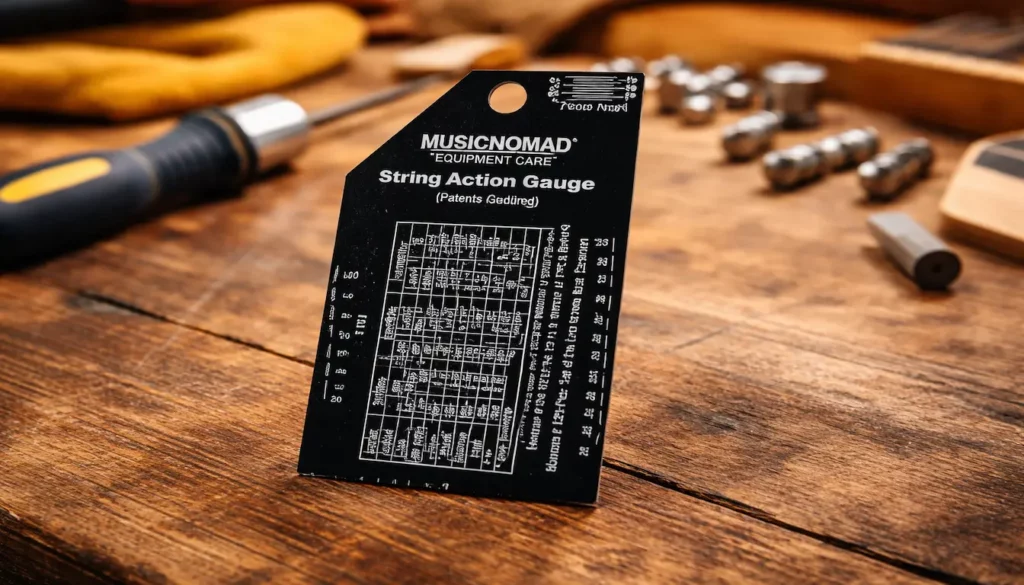
🎵 MusicNomad Precision String Action Gauge Ruler
The MusicNomad MN602 String Action Gauge is a must-have tool
for dialing in pickup height with accuracy.
Even though it’s traditionally used for setting string action,
its etched markings make it perfect for measuring
the space between your strings and pickup poles —
The exact distance that determines clarity, volume, and tonal character.
This little stainless-steel ruler removes the guesswork
and keeps your adjustments consistent every time.
🌟 Amazon Product Suggestion:
✔️MusicNomad Precision String Action Gauge Ruler
for String Height- Metric, SAE, 64ths
(MN602)
The MusicNomad MN602 String Action Gauge is a precision stainless-steel ruler
designed to help you dial in perfect string height on electric, acoustic, and bass guitars.
With easy-to-read etched markings in metric, SAE, and 64ths,
it takes the guesswork out of action setup and ensures
repeatable, pro-level results every time.
Why It’s Great:
✔️Ultra-precise etched measurements for accurate setups
✔️Works for electric, acoustic, and bass guitars
✔️High-contrast markings for easy reading in any lighting
✔️Durable stainless steel design for long-term use
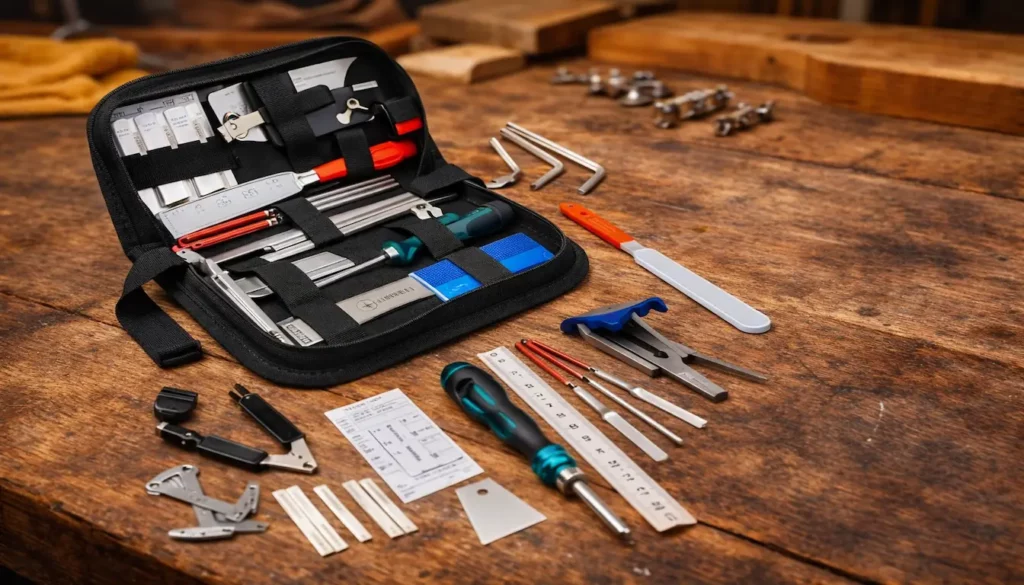
🎵 25Pcs Guitar Repairing Tools Kit Setup Kit (with Carry Bag)
This 25-piece guitar repair and setup kit includes everything you need to
fine-tune your pickup height, adjust screws, file frets, and dial in your overall setup.
Whether you’re working on electric guitar kits, assembling your first build,
or maintaining your favorite player,
this compact tool set keeps everything you need organized and ready to go.
🌟 Amazon Product Suggestion:
✔️25Pcs Guitar Repairing
Tools Kit Setup Kit
(with Carry Bag)
This 25-Piece Guitar Repair And Setup Kit gives you all the essential tools needed
for adjusting action, filing frets, setting intonation, and performing basic maintenance on
electric, acoustic, bass, or ukulele.
Compact, organized, and ideal for beginners
or experienced DIY guitar techs.
Why It’s Great:
✔️ All-in-one kit with essential setup tools
✔️ Ideal for pickup, nut, and bridge adjustments
✔️Great for electric and acoustic guitar maintenance
✔️ Compact case with affordable, beginner-friendly value
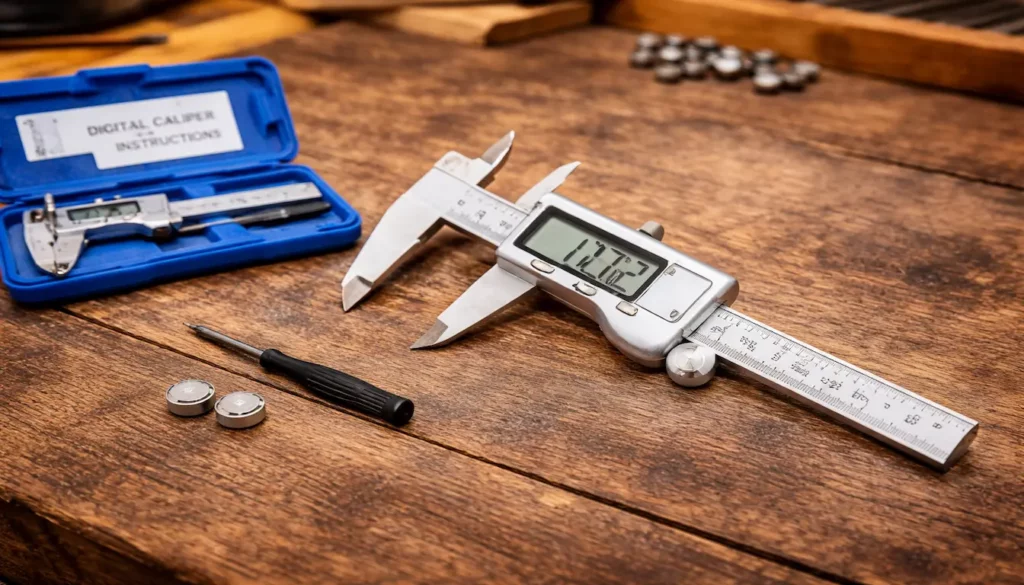
🎵 Jivarrry Digital Caliper, Large LCD, 6-Inch
The Jivarrry Digital Caliper gives you lab-grade accuracy
for setting your pickup height, comparing pole-piece distance,
or measuring tiny adjustments with total confidence.
With a smooth stainless-steel slide, large easy-to-read LCD,
and instant switching between inch/mm/fractions,
it makes dialing in precise tone adjustments quick and frustration-free.
🌟 Amazon Product Suggestion:
✔️ Jivarry Digital Caliper
(6-Inch)
The Jivarry Digital Caliper is an
essential tool for guitar builders who
want precise, repeatable setups.
With a smooth stainless-steel slide, a large easy-to-read display,
and quick switching between units,
it makes measuring pickup height, string action,
and hardware spacing fast and accurate.
Why it’s great:
✔️Large, clear digital display for precise setup work
✔️Switch between inch, mm, and fractions instantly
✔️ Measures pickup height, action, and hardware spacing
✔️ Durable, accurate tool for consistent guitar setups
🎸 How Pickup Position Shapes Your Tone
Now that you’ve got the right tools on hand, it’s time to dig into why pickup position makes such a
massive difference in your guitar’s sound.
Even if two pickups are identical, their location under the strings completely changes the frequencies
they capture.
Moving just a few inches along the string path shifts the balance between warmth, brightness, clarity,
and punch.
Understanding these differences will help you dial in the exact tone you want from your
electric guitar kit —
Whether you’re chasing smooth blues, crisp funk, crunchy rock, or high-gain bite.
🎸 Step-By-Step: How to Understand Pickup Position & Tone
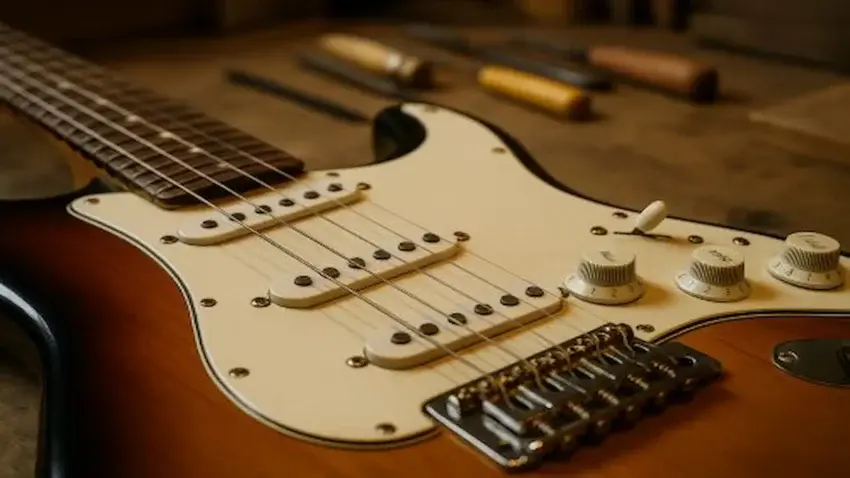
1. Identify Each Pickup on Your Guitar
Start by locating the neck pickup, middle pickup (if you have one), and bridge pickup.
Each one sits under a different part of the string, which is why they all sound completely different.
🤘 PRO TIP:
Use your phone’s voice memos to compare tones later.
Hearing the difference back-to-back is way easier than relying on memory.
2. Learn the Natural Tone Profile of Each Position
Neck = warm and full.
Middle = balanced and clear.
Bridge = bright and aggressive.
Keep these basic tone traits in mind as you test each one.
🤘 PRO TIP:
Always check pickup height with the strings pressed at the last fret —
that’s the true playing distance, not open-string height.
3. Listen to the Neck Pickup by Itself
Switch to the neck pickup and play slow chords and single-note lines.
Notice the smoothness, extra bass, and rounded highs.
🤘 PRO TIP:
If your bridge pickup sounds too sharp, try lowering the treble side a half turn.
It smooths the bite instantly.
4. Switch to the Bridge Pickup and Compare
Now go straight to the bridge pickup.
Play the exact same riffs you played on the neck.
You’ll hear stronger treble, more bite, and quicker attack.
🤘 PRO TIP:
Raise the bass side of the neck pickup slightly for fuller rhythm tones without muddying the mix.
5. Test the Middle Pickup (If Your Guitar Has One)
The middle pickup blends warmth and clarity, sitting right between the other two in tone.
It’s a great reference point for hearing the tonal “midway point.”
🤘 PRO TIP:
Use the middle position to “equalize” your ear.
It’s the perfect neutral reference when comparing neck vs. bridge.
6. Use the Same Amp Settings for All Three Tests
Don’t change anything on your amp.
Keeping the same EQ settings lets you hear pickup position only — not amp coloring.
🤘 PRO TIP:
When adjusting height, change one pickup at a time so you always know what caused the tone difference.
7. Play the Same Riff in Each Position
Pick one short riff and use it on all pickup selections.
This removes variation and makes the tone differences crystal clear.
🤘 PRO TIP:
If your pickups sound uneven string-to-string, adjust the individual pole pieces (if adjustable) to balance output.
8. Record a Short Clip for Comparison
Use your phone or DAW to record each pickup position.
Listening back reveals differences your ears might miss while playing.
🤘 PRO TIP:
Hot pickups usually sit lower; vintage-output pickups often sound best a little closer
to the strings.
Adjust accordingly.
9. Measure the String-to-Pickup Distance
Use your string action gauge or calipers to measure how far each pickup sits from the bottom of the strings.
Closer = louder and brighter;
Farther = smoother and less aggressive.
🤘 PRO TIP:
Don’t forget to re-check pickup height after changing strings —
Different gauges and tensions shift the distance.
10. Adjust Pickup Height to Refine the Tone You Want
Small turns of the pickup screws can completely reshape your sound.
Lower for warmth and sustain.
Raise for brightness and punch.
Fine-tune until each position gives you the balance you want.
🤘 PRO TIP:
Small adjustments (⅛ to ¼ turn) make massive tone differences.
Sneak up on the sweet spot instead of cranking screws.
🎸 Final Thoughts…
Understanding how pickup position affects electric guitar tone in kits is one of the simplest ways
to shape your sound before you ever touch a soldering iron.
Whether you love the warmth of the neck, the balance of the middle, or the bite of the bridge,
each position brings its own personality to your playing.
With the right tools and a little experimentation, you can fine-tune each pickup until your guitar
responds exactly the way you want.
The real secret to dialing in great tone is simple:
-
Make small, intentional tweaks
-
Test each change before moving on
-
Listen with your ears, not the ruler
-
Focus on overall feel instead of chasing “perfect” numbers
Every guitar behaves a little differently.
Every pickup reacts in its own way.
And every player has a personal sweet spot.
So don’t stress if your measurements drift above or below the typical guidelines —
What matters is how your guitar responds when you play it.
Find the spot that speaks to you, set it, and enjoy the tone that makes your guitar come alive.
Your guitar will reward you every time you plug in. 🎸🔥
 Ready to Start?
Here’s your next step —
pick one and go:
 New to guitar kits?
Start with
Step-by-Step Guide To Building
Your First Electric Guitar Kit
and
Essential Tools Every Electric Guitar Kit
Builder Should Have.
Already built a kit?
Jump into
How To Properly Set Up Your
Electric Guitar Kit For Intonation
or
Fixing Common Problems:
Buzzing And Dead Frets.
Chasing better tone?
Head to
Understanding Humbucker
Vs Single Coil Pickups In Kits
or
Playing With Tone Controls:
Tips For Electric Guitar Kits
and start experimenting.
 Your Guitar, Your Build,
Your Sound
You don’t need a custom shop or a tech on speed dial.
All you need is a little guidance, some patience,
and a place to go that shows you what to do next.
Come on man… You got this.
GuitarCrafts
is here to help you along the way.
Craft it. Play it. Own it!
This was such an insightful read! I’ve always known pickup type played a role in tone, but I didn’t realize just how much the actual position on the guitar affects the sound. Your breakdown of neck, middle, and bridge positions really made it click for me, especially the physics behind string vibration. I can see how experimenting with pickup placement could open up a whole new palette of tones. Have you found that certain pickup positions respond better to specific genres or playing techniques, or is it really just down to personal preference?
Thanks a lot! I’m glad the breakdown helped connect the dots. It’s one of those things that seems small until you hear the difference. I’d say it’s a mix of both personal preference and genre. For example, neck pickups tend to shine for blues and jazz because of their warmth, while the bridge position really cuts through for rock and country. The middle can be a sweet spot for funk or clean pop tones. That said, players are always breaking the “rules,” so experimentation is half the fun.
Thanks again,
~Wayne
I really enjoyed this article—super clear and inspiring for anyone building their own electric guitar kit! I especially loved how you illustrated the “listening” differences of each pickup position: the neck pickup offering warm, rounded tones; the bridge delivering sharp, high-treble attack; and the middle balancing the two beautifully My Electric Guitar Kits Site. Your breakdown makes it so easy to experiment effectively when crafting tone. I’m wondering: have you found that thin-shanking the middle pickup—like on a Strat—adds any distinctive quirks or “quack” tones you’d recommend trying out in a DIY setup?
Thanks so much! I’m glad the article made pickup positions feel approachable.
It’s amazing how much tone you can shape just by experimenting.
And yes, thinning the middle pickup on a Strat-style setup definitely adds that classic “quack” in-between tone. It’s especially fun for funk, clean rhythm parts, or when you want a bit of sparkle without overpowering the mix. In a DIY setup, it’s a small tweak that can give your guitar some really distinctive character—worth experimenting with if you want those iconic in-between sounds.
Thanks again,
~Wayne