
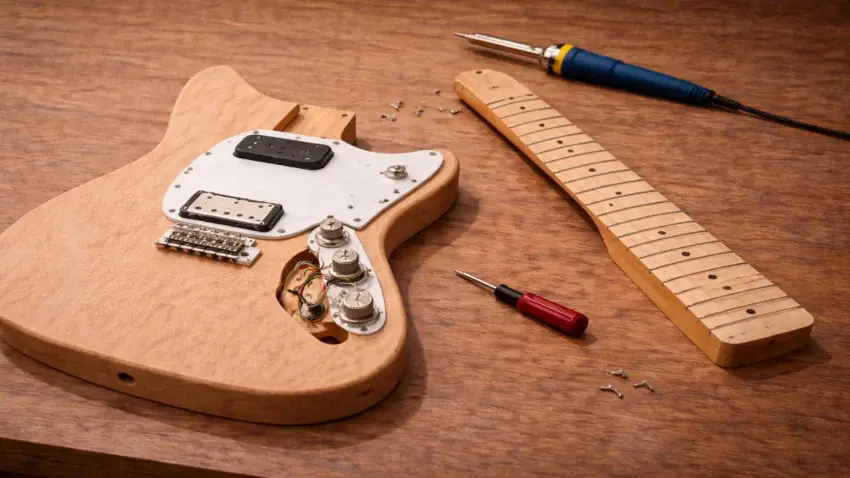
Offset guitar kits look complicated at first —
but they’re actually one of the most rewarding builds you can tackle as a DIY guitarist.
If you’ve picked up a Solo Guitars offset kit and
you’re staring at a pile of parts wondering where to start,
this guide walks you through the entire process in the right order —
without overcomplicating it.
By the end, you’ll know exactly how to assemble, wire,
and properly set up your offset guitar so it plays and sounds the way it should.
👉 Still deciding which offset kit to build?
Check out my full breakdown here:
→ Best Offset Guitar Kits – Why Solo Guitars Is My Top Pick.
What Comes In an Offset Guitar Kit?
Most Solo Guitars offset kits include:
-
Pre-routed unfinished body
-
Bolt-on neck
-
Pickups (P90 or humbucker depending on model)
-
Pre-wired harness or loose components
-
Bridge and tailpiece hardware
-
Tuners
-
Pickguard
-
Screws and mounting hardware
Before you even touch a screwdriver,
lay everything out on a clean surface and verify all parts are present.
Organization saves headaches later.
Tools You Actually Need
You don’t need a professional luthier shop.
You do need the basics.
Minimum tools:
-
Phillips screwdriver
-
Small flathead screwdriver
-
Soldering iron (if not pre-wired)
-
Wire cutters/strippers
-
Allen wrenches
-
Straightedge
-
Feeler gauges
-
Tuner
Offset kits don’t require specialty jigs — just patience and accuracy.
👉 Need help gathering tools? Check out:
→ Essential Tools Needed For Building An Electric Guitar Kit
Neck Fit & Alignment
Before installing hardware:
-
Dry-fit the neck into the pocket.
-
Do NOT screw it in immediately.
-
Attach both E strings loosely to check alignment.
The strings should run evenly along both sides of the fretboard.
If one side sits too close to the edge:
-
Slightly shift the neck in the pocket
-
Re-check alignment
-
Then drill pilot holes (if needed) and secure
Take your time here.
Neck alignment affects everything downstream.
Installing Pickups & Wiring
If your kit includes a pre-wired harness, this step is simple.
If not, follow a proper wiring diagram.
Basic wiring order:
-
Mount pickups into pickguard or body
-
Install pots and selector switch
-
Solder pickup leads to selector
-
Ground bridge/tailpiece
-
Test with amp before final assembly
Do NOT fully tighten everything until you confirm signal.
Always test before buttoning it up.
👉 If you need a deeper breakdown, see:
→ Guide To Wiring Your Electric Guitar Kit For Optimal Performance
Bridge & Hardware Installation
Offsets can use:
-
Tune-o-matic style bridges
-
Hardtail bridges
-
Offset trem systems
Install:
-
Bridge posts first
-
Tailpiece (if separate)
-
Then secure pickguard
Make sure:
-
Posts are seated straight
-
Bridge sits level
-
No rocking or leaning
Hardware alignment affects intonation and tuning stability.
First Setup Checklist
Once assembled:
-
Install strings
-
Set neck relief
-
Adjust action
-
Set pickup height
-
Set intonation
Offsets often benefit from slightly higher action than Strats due to bridge design —
don’t chase ultra-low action immediately.
👉 For detailed setup steps, read:
→ How To Properly Set Up Your Electric Guitar Kit For Intonation
Common Beginner Mistakes
❌ Overtightening screws
❌ Skipping neck alignment check
❌ Forgetting bridge ground wire
❌ Not testing electronics before full assembly
❌ Ignoring setup adjustments
Every issue I see in first builds traces back to rushing.
Slow is smooth.
Smooth is playable.
Why Offset Kits Are Worth It
Offset bodies offer:
-
Unique ergonomics
-
Distinct visual style
-
Flexible pickup options
-
Strong upgrade potential
And when you start with a quality base kit,
you avoid routing issues, poor neck pockets,
and hardware misalignment headaches.
Final Thoughts…
Building an offset guitar kit isn’t about rushing to the finish line.
It’s about learning how your instrument actually works.
Take your time.
Follow the steps in order.
Test before tightening.
Set it up properly.
Do that —
and you’ll end up with a guitar that feels like yours because you built it.
 Craft it. Play it. Own it!