
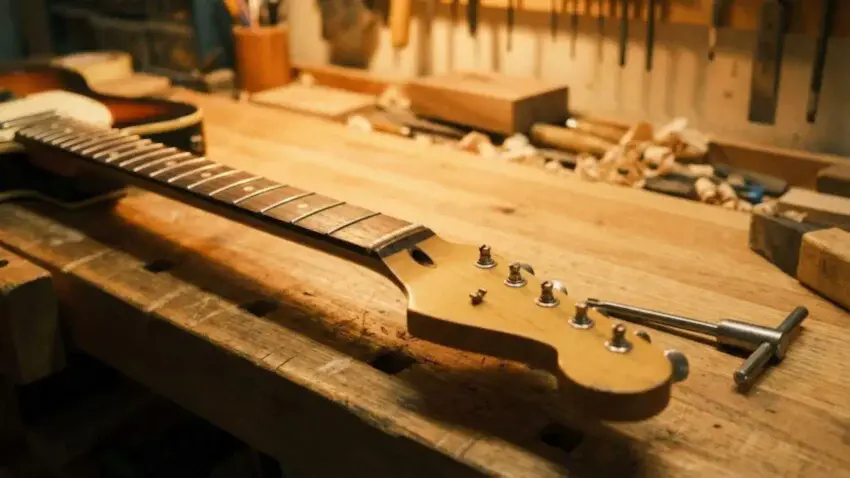
How to adjust a guitar truss rod is one of the most
important setup skills for improving playability
when a guitar starts buzzing, feels stiff,
or develops high action.
The truss rod controls neck relief, which directly
affects how comfortable and clean your guitar feels.
Too much relief makes a guitar hard to play,
while too little can cause fret buzz and dead notes.
Because humidity, temperature, and string gauge
change over time, truss rod adjustments are a
normal part of guitar maintenance.
This guide shows you how to adjust a guitar truss rod
safely and avoid common beginner mistakes.

🎸 Tools You’ll Need Before
Adjusting a Guitar Truss Rod
Before adjusting your truss rod, having the right tools
makes the process safer and more predictable.
The items below cover the basics for checking
neck relief, making small adjustments,
and retuning accurately without guesswork.
🔧 MusicNomad Premium
Truss Rod Wrench
This dedicated 5mm truss rod wrench is
designed for guitars that require a precise fit.
Using the correct size helps prevent stripping
the nut and reduces the risk of forcing the truss rod.
 Amazon Product Suggestion:
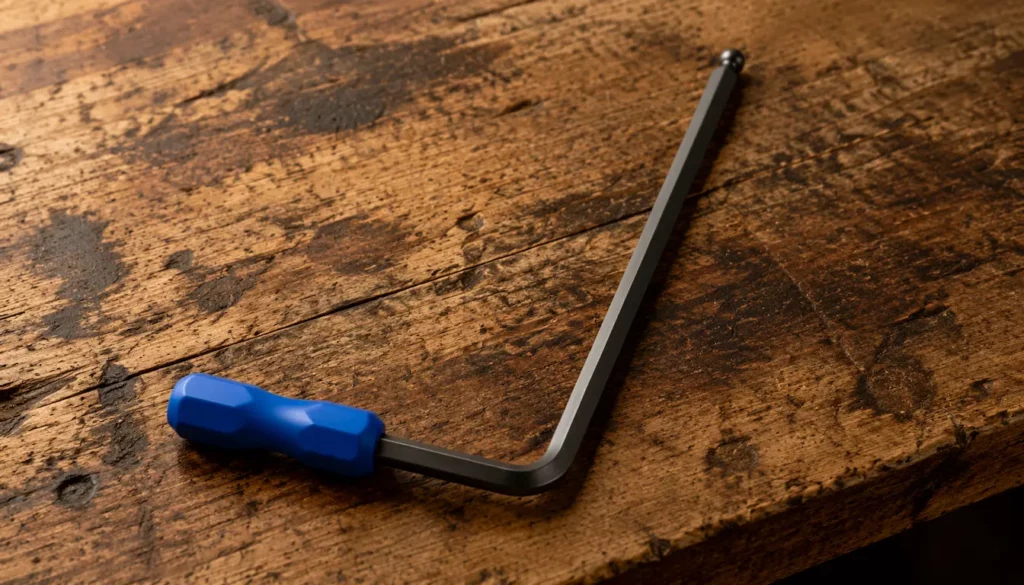
 MusicNomad Premium
Truss Rod Wrench
5mm (MN236)
If you’re working on a Martin-style guitar
or any kit that uses a 5mm truss rod nut,
this wrench is the one you want in your setup bag.
The ball-end design makes adjustments easy
even at awkward angles, and the
ergonomic blue handle gives you tons of control
without digging into your hand.
MusicNomad tools are known for reliability,
and this one delivers smooth, precise
neck-relief tweaks every time.
Why It’s Great:
✔ 5mm fit for Martin-style truss rods
✔ Ball-end for tight adjustments
✔ Durable steel construction
✔ Laser-etched sizing for easy ID
📏 CruzTOOLS GTGTR1
GrooveTech Guitar
Player Tech Kit
This all-in-one tech kit covers the basic tools
needed for routine guitar setup and maintenance.
It’s a convenient option if you want everything in
one place without hunting down individual tools.
Amazon Product Suggestion:
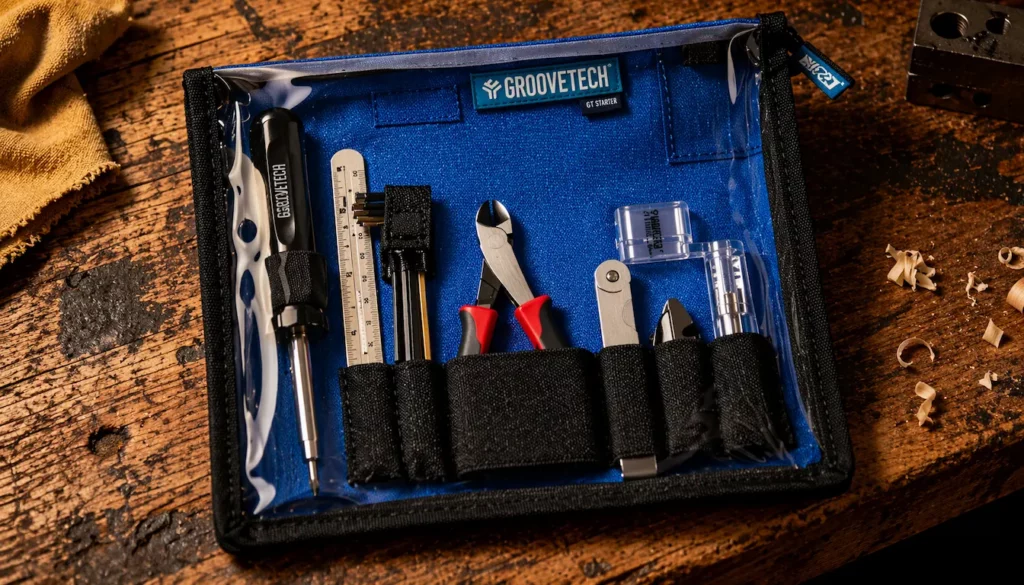
CruzTOOLS GTGTR1 GrooveTech
Guitar Player Tech Kit
The CruzTOOLS GTGTR1 GrooveTech
Guitar Player Tech Kit is a compact,
all-in-one solution for basic guitar
maintenance, adjustments, and emergency fixes.
Designed for players who want professional-grade tools
without carrying a full bench setup,
this kit keeps everything organized and ready to go.
Why It’s Great:
Complete setup kit for guitar & bass
Covers string changes, adjustments, and measurements
Durable zip pouch for easy storage
Great for home, gigs, and travel
📐 MusicNomad Precision
String Action Gauge Ruler
This precision ruler makes it easy to measure
string height and neck relief accurately during setup.
Clear markings in metric, SAE, and 64ths help
remove guesswork and keep adjustments consistent.
Amazon Product Suggestion:
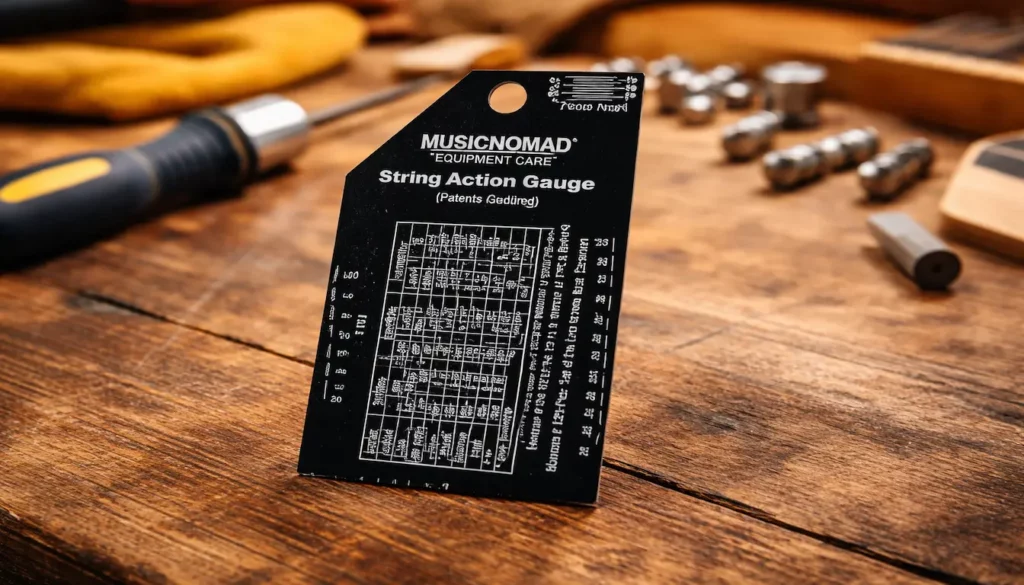
MusicNomad Precision
String Action Gauge Ruler
(MN602)
The MusicNomad MN602 String Action Gauge
is a precision stainless-steel ruler designed to
help you dial in perfect string height on
electric, acoustic, and bass guitars.
With easy-to-read etched markings in
metric, SAE, and 64ths, it takes the
guesswork out of action setup and ensures
repeatable, pro-level results every time.
Why It’s Great:
✔ High-contrast etched measurements
✔ Works with electric, acoustic, and bass
✔ Built-in action charts for quick setup
✔ Durable stainless steel, pocket-size
🎸 Kyser Quick-Change
Capo For 6-String
A capo helps hold the string at the first fret
so you can measure neck relief consistently.
A quick-change design makes it easy to move
on and off the neck while you’re making adjustments.
Amazon Product Suggestion:
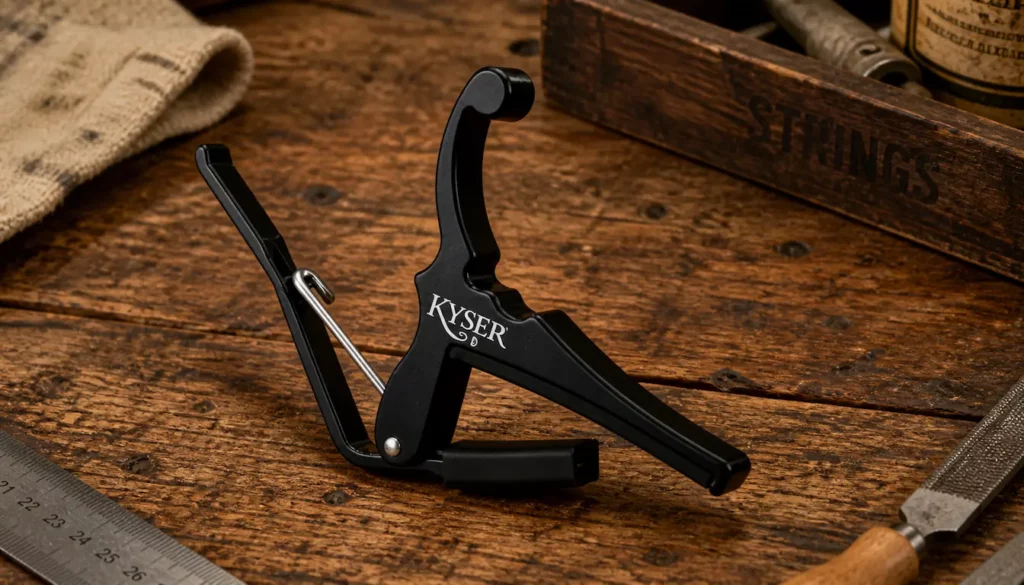
Kyser Quick-Change
Capo For 6-String
The Kyser Quick-Change Capo for
6-String Electric Guitar is a
simple, reliable choice for first-time builders
and players who want instant results
without overthinking their gear.
Designed specifically for electric guitars,
it applies the right amount of pressure to
keep notes clean and in tune
without pulling strings sharp.
Why It’s Great:
Built for 6-string electrics with proper tension
One-hand use, fast and beginner-friendly
Durable, no-nonsense design
Easy to move or remove mid-play
🔄 D’Addario Accessories Pro-Winder
A string winder isn’t required for truss rod adjustments,
but it makes loosening and retuning much faster.
It’s a small convenience that saves time and
reduces hand fatigue during setup work.
Amazon Product Suggestion:
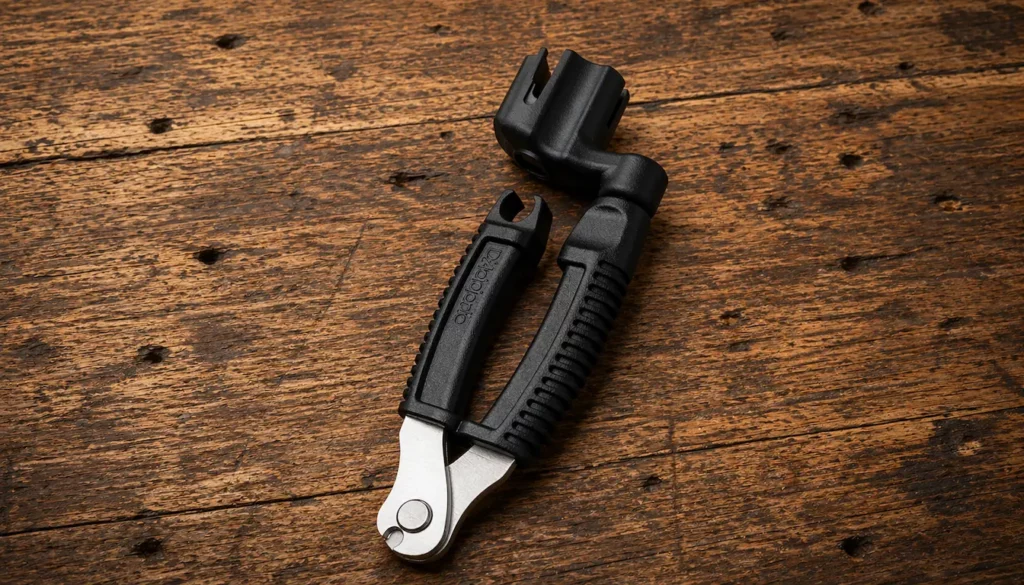
D’Addario Accessories
Pro-Winder
(Guitar String Winder)
A clever all-in-one tool that speeds up every string change.
Smooth winding, clean cuts, and a built-in bridge-pin puller
make this a compact must-have for any guitarist.
Why It’s Great:
Winder + cutter + pin puller
Fast, smooth operation
Clean, precise cuts
Works on electric & acoustic
🤘🤘 Once you’ve got the right tools on hand,
the next step is making sure a truss rod
adjustment is actually needed.
Before turning anything, it’s important to
understand what neck-related problems look like —
and what issues may be caused by something else.
Diagnosing Neck Problems
Before Adjusting
Before adjusting a truss rod, it’s important to
confirm that the neck is actually the problem.
Common symptoms include fret buzz,
unusually high action, or notes that don’t ring out cleanly —
but these issues aren’t always caused by neck relief alone.
Neck problems usually develop gradually.
Changes in humidity, temperature, string tension,
and regular playing can all cause the neck to
shift over time, which is why diagnosis should
always come before adjustment.
Understanding the difference between forward bow
and backbow is key.
Too much forward bow adds excess relief and
raises the action, while backbow flattens the neck too much
and often causes fret buzz, especially on the lower frets.
Looking down the neck and feeling the string height
can help identify which condition is present.
Not every playability issue requires a truss rod adjustment.
Loose hardware, uneven frets, or bridge problems can
create similar symptoms, so once those are ruled out
and neck relief is confirmed to be off,
adjusting the truss rod becomes the appropriate next step.
⚠️ Important: When NOT
to Adjust the Truss Rod
If the truss rod feels unusually stiff, won’t turn,
or seems maxed out, stop immediately.
Forcing a truss rod can cause serious
and permanent neck damage.
Likewise, if buzzing persists after small adjustments
or the neck appears twisted, the issue may not be
truss rod–related.
In those cases, it’s best to consult a qualified guitar tech.
Truss Rod Adjustment:
Safe Setup &
Long-Term Care
Once you’ve confirmed neck relief is the issue,
you can move on to adjusting the truss rod.
It might seem intimidating at first, but small,
careful tweaks make the process safe and manageable.
Start by loosening the strings slightly and
using the correct wrench or truss rod tool.
Make adjustments in small increments —
about a quarter turn at a time.
Turning clockwise reduces relief,
while counterclockwise adds it.
After each adjustment,
retune the guitar and check the neck again.
Play across the fretboard to feel the difference
before making further changes.
For long-term stability,
check your neck relief every few months
or whenever the seasons change.
Wood reacts to temperature and humidity,
so occasional fine-tuning is normal.
Avoid large adjustments and never force the rod.
If it feels stuck or unresponsive,
stop and consult a professional.
🎸 Final Thoughts…
Adjusting a guitar truss rod
doesn’t have to be intimidating.
With the right tools, small adjustments,
and a patient approach, it becomes a
simple part of regular guitar maintenance.
The key is knowing when an adjustment is needed
— and when it isn’t.
Taking time to diagnose the problem first,
making gradual changes, and stopping if
something doesn’t feel right will keep your guitar
playing comfortably and sounding its best.
Treat truss rod adjustments as routine upkeep,
not emergency fixes, and you’ll build confidence
every time you work on your instrument.
 Ready to Start?
Here’s your next step —
pick one and go:
 New to guitar kits?
Start with
Step-by-Step Guide To Building
Your First Electric Guitar Kit
and
Essential Tools Every Electric Guitar Kit
Builder Should Have.
Already built a kit?
Jump into
How To Properly Set Up Your
Electric Guitar Kit For Intonation
or
Fixing Common Problems:
Buzzing And Dead Frets.
Chasing better tone?
Head to
Understanding Humbucker
Vs Single Coil Pickups In Kits
or
Playing With Tone Controls:
Tips For Electric Guitar Kits
and start experimenting.
 Your Guitar, Your Build,
Your Sound
You don’t need a custom shop or a tech on speed dial.
All you need is a little guidance, some patience,
and a place to go that shows you what to do next.
Come on man… You got this.
GuitarCrafts
is here to help you along the way.
Craft it. Play it. Own it!