
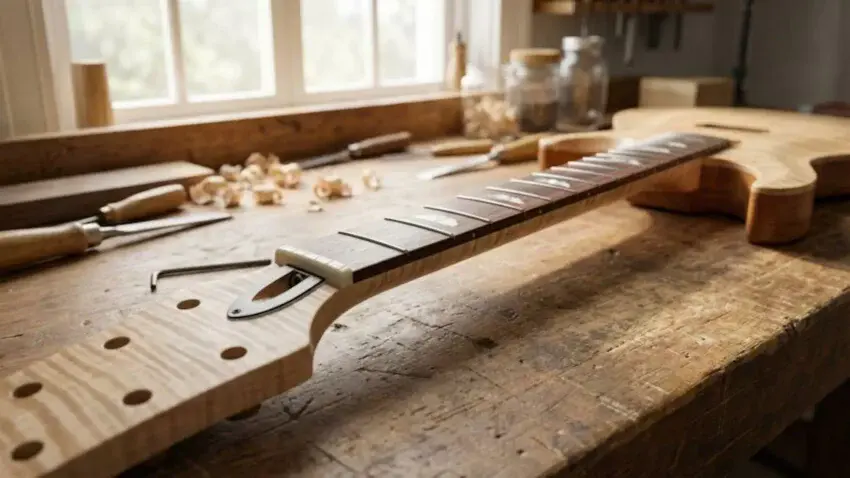
Adjusting a guitar neck truss rod is one of the
most important setup skills for improving
how your guitar feels and sounds.
Inside the neck, the truss rod counteracts
string tension and helps keep the neck stable
and playable over time.
Neck relief — the slight forward curve of the neck —
gives the strings enough room to vibrate cleanly.
When relief is off, you may experience buzzing,
stiff action, or notes that don’t ring clearly.
Understanding how neck relief works is the
foundation for learning how to adjust
a guitar neck truss rod correctly.
Adjusting the truss rod can dramatically improve
comfort and tone when done properly,
but it isn’t a cure-all.
It won’t fix issues caused by bridge height,
worn frets, or structural damage.
In this guide,
you’ll learn when a truss rod adjustment is needed,
how to adjust a guitar neck truss rod safely,
and when to stop.
👉 This adjustment is part of my
Electric Guitar Neck & Setup Guide,
which covers the core setup tasks
every guitar player should understand.

🔧 Recommended Tools for
Truss Rod Adjustment
Adjusting a guitar neck truss rod is much easier —
and safer — when you’re using the right tools.
The products below cover everything needed to
measure neck relief accurately, make controlled
adjustments, and keep your guitar properly tuned
throughout the process.
These tools are commonly used by guitar builders
and players when setting up and maintaining
Solo Guitars kits, helping ensure precise
adjustments without guesswork or unnecessary risk.
Ibanez ITW8070 Dual
Head Truss Rod Wrench
The Ibanez ITW8070 Dual Head Truss Rod Wrench
is a simple but essential tool for accurate neck adjustments.
With two common truss rod sizes built into one compact wrench,
it takes the guesswork out of dialing in proper neck relief.
🌟Solo Guitars Product Suggestion:
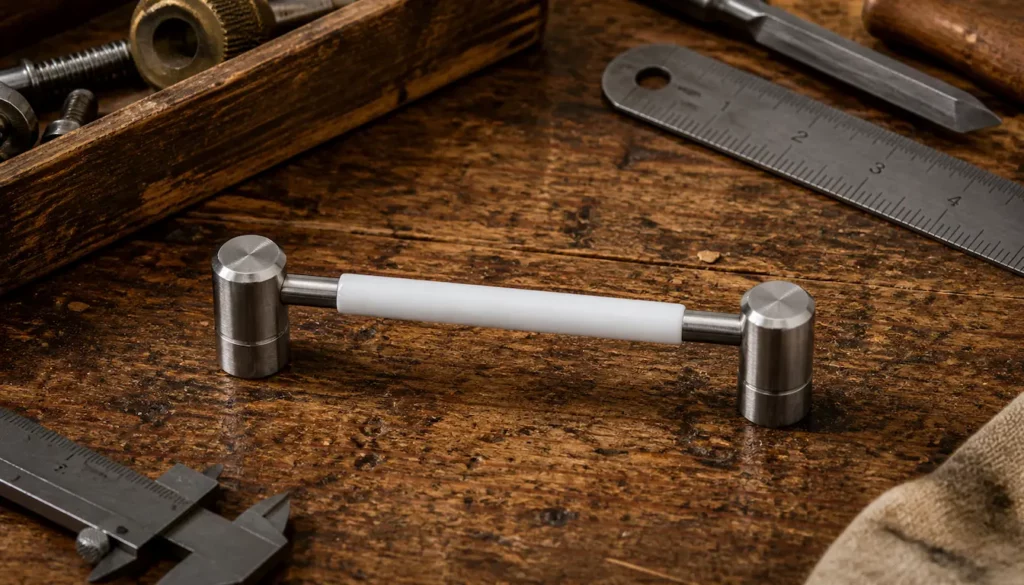
Ibanez ITW8070 Dual Head
Truss Rod Wrench
The Ibanez ITW8070 Dual Head Truss Rod Wrench
is a must-have setup tool for guitar builders,
kit assemblers, and players who want
precise control over neck relief.
With two common truss rod sizes built into
one compact wrench, it makes adjustments
quick, clean, and frustration-free.
Why It’s Great:
✔ Dual-head design fits 7.0mm and 8.0mm truss rods
✔ Designed specifically for Ibanez guitars and basses
✔ Compact, durable metal construction for long-term use
✔ Allows smooth, controlled truss rod adjustments without slipping
Kyser Quick-Change Capo
For 6-String Electric Guitar
The Kyser Quick-Change Capo is a go-to choice for
electric guitar players who want fast, reliable results
without any setup hassle.
Its simple one-hand design makes it especially
beginner-friendly while delivering consistent
pressure across the strings.
🌟Solo Guitars Product Suggestion:
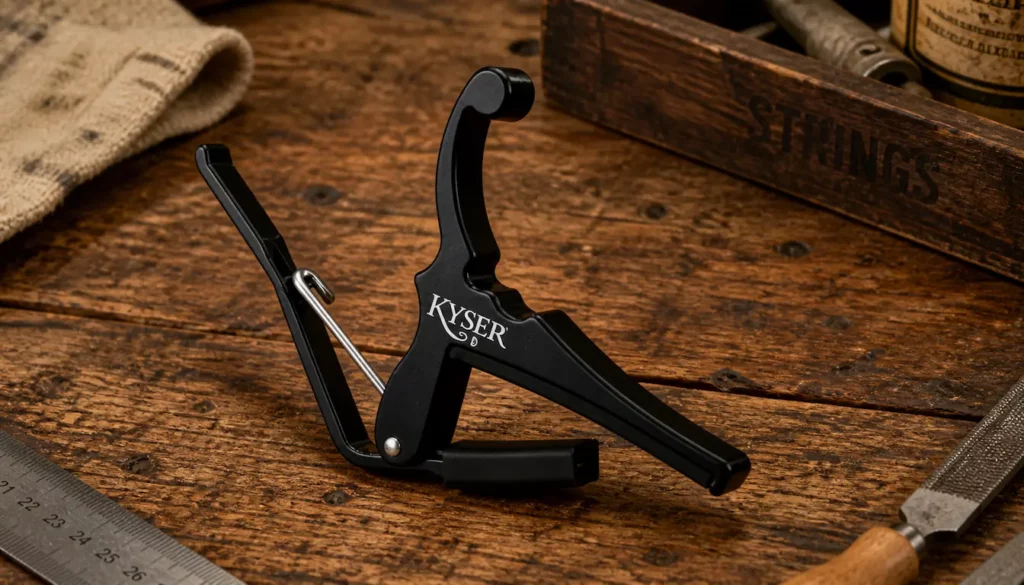
Kyser Quick-Change Capo For 6-String
(Electric Guitar – Black)
The Kyser Quick-Change Capo for
6-String Electric Guitar is a simple,
reliable choice for first-time builders and
players who want instant results
without overthinking their gear.
Designed specifically for electric guitars,
it applies the right amount of pressure to
keep notes clean and in tune
without pulling strings sharp.
Why It’s Great:
✔ Designed for 6-string electric guitars with proper spring tension
✔ One-hand operation makes it fast and beginner-friendly
✔ Durable, no-nonsense design trusted by players worldwide
✔ Easy to move or remove without interrupting your playing
CruzTOOLS GTGTR1
GrooveTech Guitar Player
Tech Kit
The CruzTOOLS GTGTR1 GrooveTech Guitar Player
Tech Kit puts the most important setup and
maintenance tools in one compact, travel-ready pouch.
It’s designed for players who want to handle basic
adjustments, string changes, and quick fixes
without hauling a full workbench.
🌟Solo Guitars Product Suggestion:
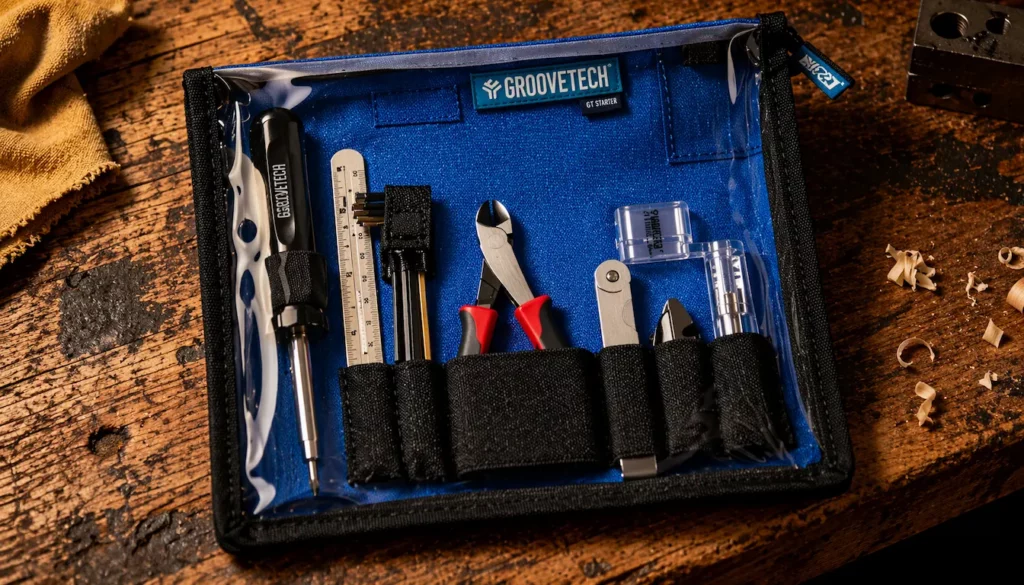
CruzTOOLS GTGTR1 GrooveTech
Guitar Player Tech Kit
The CruzTOOLS GTGTR1 GrooveTech
Guitar Player Tech Kit is a compact,
all-in-one solution for basic guitar
maintenance, adjustments, and emergency fixes.
Designed for players who want professional-grade tools
without carrying a full bench setup, this kit
keeps everything organized and ready to go.
This kit includes feeler gauges along with other
essential setup tools, making it a convenient all-in-one option
for truss rod adjustments and basic guitar maintenance.
Why It’s Great:
✔ Complete player-focused setup kit for guitars and basses
✔ Includes essential tools for string changes, adjustments, and measurements
✔ Durable zippered pouch keeps tools secure and organized
✔ Ideal for home setups, gig bags, and travel use
Peterson StroboClip HD
High Definition Clip-on
Strobe Tuner
The Peterson StroboClip HD offers professional-level
tuning accuracy in a simple clip-on design that’s easy
for first-time builders to use.
It’s a reliable step up from basic tuners,
helping beginners dial in their setup
with confidence and precision.
🌟Solo Guitars Product Suggestion:
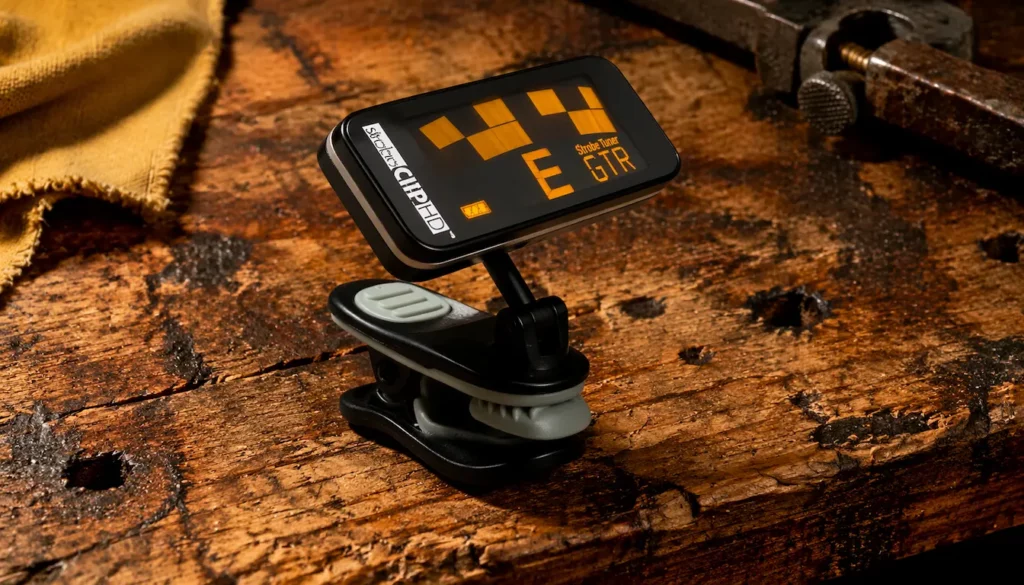
Peterson StroboClip HD High Definition Clip-on Strobe Tuner
The Peterson StroboClip HD is an excellent
middle-of-the-road tuner for first-time guitar builders
who want accuracy without complexity.
It delivers true strobe precision in a
simple clip-on design,
making it far more reliable than basic tuners
while remaining easy to use during your first setup.
*** Special Note ***
This tuner is frequently sold out due to demand.
If it’s unavailable, any Peterson StroboClip model
provides the same strobe-level
tuning accuracy suitable for first-time builders.
Why It’s Great:
✔ True strobe accuracy helps prevent setup and intonation mistakes
✔ Clip-on design keeps things simple—no cables or bench gear required
✔ Stable, high-definition display makes pitch changes easy to see
✔ Accurate enough to grow with you as your skills improve
🤘🤘 Rock On —
Let’s Get to Work
Now that you’ve got the right tools in hand,
it’s time to walk through the truss rod adjustment
process step by step, keeping everything slow,
controlled, and beginner-friendly.
🔩 Step-by-Step
Truss Rod Adjustment
for Beginners
Adjusting a truss rod should always be done
slowly and with care.
Small, controlled movements are the key to
improving playability without risking damage.
Rushing or forcing adjustments is the
fastest way to create bigger problems.
Safety First:
Understand Truss
Rod Direction
Before making any adjustment,
know which way you’re turning:
- Right
(clockwise)
tightens the truss rod and reduces neck relief - Left
(counter-clockwise)
loosens the truss rod and adds relief
If the rod resists turning or feels unusually tight,
stop immediately.
Never force it.
Gather the Right Tools
You only need a few basic tools:
- Correct-size hex key or truss rod wrench
- Electronic tuner (you’ll retune often)
- Capo
- Feeler gauge (recommended for accuracy)
Using the wrong wrench size can strip the nut,
so confirm the fit before turning.
Measure Neck Relief
Before Making Adjustments
Always measure first.
This tells you whether an adjustment is actually needed.
- Place a capo on the first fret
- Press the string down at the last fret
- Measure the gap around the 7th fret
This gap shows your current neck relief and gives
you a reference point before turning anything.
How Much to Turn
the Truss Rod
Small adjustments make a big difference.
- Start with ⅛ to ¼ turn at most
- Never crank multiple turns at once
- Retune the guitar after every adjustment
Patience here prevents mistakes and protects the neck.
Step-by-Step Adjustment Process
- Measure the current neck relief
- Make a small truss rod adjustment
- Retune the guitar to pitch
- Recheck the neck relief
- Repeat only if necessary
Always favor gradual changes over quick fixes.
Common Mistakes to Avoid
- Over-tightening the truss rod
- Forcing the rod when resistance increases
- Skipping retuning between adjustments
- Making large turns all at once
If something doesn’t feel right, stop and reassess.
👉👉 Proper string action adjustments
help eliminate stiffness and buzzing
while improving overall playability.
👉👉 Finalizing your pickup height setup
helps ensure consistent output and
balanced response across all strings.
👉👉 Understanding how pickups influence tone
helps you make informed setup decisions
instead of relying on guesswork.
🎚️ Maintaining Optimum
Playability and Knowing
When to Stop
Routine maintenance is key to
keeping your guitar playing its best.
Check neck relief periodically,
especially if you notice changes in
playability, buzzing, or overall feel.
Catching small issues early helps
prevent unnecessary adjustments later.
Pay close attention to signs that the
truss rod may be too tight.
A neck that feels unusually flat, uncomfortable to play,
or prone to new buzzing can indicate over-adjustment.
If tightening the rod makes things worse,
stop and reassess rather than forcing further changes.
Seasonal shifts in temperature and humidity
can also affect neck relief.
As wood naturally expands and contracts throughout
the year, it’s normal for a guitar to need occasional
minor truss rod adjustments
to maintain consistent playability.
There is a point where truss rod adjustment
is no longer the solution.
If adjustments don’t improve the problem,
or if resistance feels excessive, it’s best to stop and
consult a qualified guitar technician.
Some issues require professional tools, experience,
or repairs beyond basic setup work.
Proper neck relief supports the entire guitar setup,
influencing comfort, sustain, and tone.
When the neck is adjusted correctly,
the guitar feels balanced,
responds evenly across the fretboard,
and is simply more enjoyable to play.
🧭 Final Thoughts…
Adjusting a guitar neck truss rod is a small but
powerful part of maintaining playability and tone.
When done carefully and in small increments,
it can dramatically improve how
your guitar feels in your hands.
The key is patience.
Measure first, make minimal adjustments, retune,
and reassess before going any further.
If something doesn’t feel right or
resistance becomes excessive,
stopping and seeking professional help is
always the right decision.
With a proper understanding of neck relief and
responsible truss rod adjustment,
you’ll keep your guitar playing comfortably,
sounding balanced, and ready for
whatever style you throw at it.
 Ready to Start?
Here’s your next step —
pick one and go:
 New to guitar kits?
Start with
Step-by-Step Guide To Building
Your First Electric Guitar Kit
and
Essential Tools Every Electric Guitar Kit
Builder Should Have.
Already built a kit?
Jump into
How To Properly Set Up Your
Electric Guitar Kit For Intonation
or
Fixing Common Problems:
Buzzing And Dead Frets.
Chasing better tone?
Head to
Understanding Humbucker
Vs Single Coil Pickups In Kits
or
Playing With Tone Controls:
Tips For Electric Guitar Kits
and start experimenting.
 Your Guitar, Your Build,
Your Sound
You don’t need a custom shop or a tech on speed dial.
All you need is a little guidance, some patience,
and a place to go that shows you what to do next.
Come on man… You got this.
GuitarCrafts
is here to help you along the way.
Craft it. Play it. Own it!