
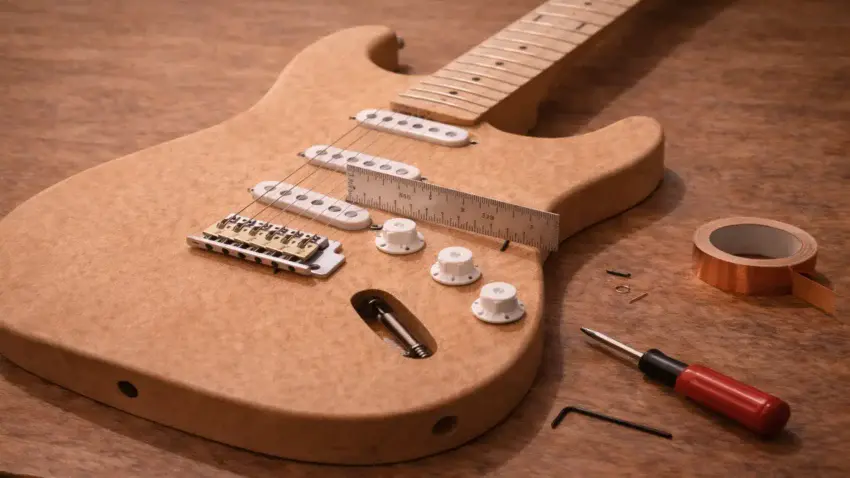
If you’re building a Strat-style guitar kit,
you’re not just assembling parts — you’re building feel.
A Stratocaster setup can intimidate beginners.
The tremolo system adds moving parts. Six saddles mean six adjustments.
Buzzing strings and high action can make you question your build.
But here’s the truth:
A Strat setup isn’t complicated.
It just needs to be done in the correct order.
Once you understand the sequence,
your $300 kit can feel like a pro-level instrument.
Let’s walk through it step by step.
👉 Still hearing buzz after your setup?
→ How To Fix Buzzing Frets And Dead Notes On Your DIY Guitar Kit
Looking for the best Strat kit to wire?
See my full breakdown here:
→ Best Stratocaster Guitar Kits – Why Solo Guitars Is My Top Pick
Step 1: Adjust Neck Relief First
Every proper guitar setup starts with the neck.
Before touching saddle height or tremolo springs, you must set the neck relief.
If you skip this step, everything else becomes guesswork.
Neck relief refers to the slight forward bow in the neck
that allows strings to vibrate freely.
To check it:
-
Tune the guitar to pitch.
-
Capo the first fret (or hold the string down).
-
Fret the low E at the last fret.
-
Measure the gap at the 8th fret.
A typical Strat relief spec is around .008″–.012″.
If the gap is too large, tighten the truss rod slightly.
If there’s no gap, loosen it slightly.
Make small adjustments (1/8 turn at a time),
then retune and recheck.
Once the neck is correct, everything else falls into place.
👉 If you need a full breakdown of the process, see
→ How To Adjust Truss Rod For Neck Relief In Guitar Kits
Step 2: Set Bridge Height & Action
With relief dialed in, you can now adjust the saddles.
A Strat tremolo bridge uses six individual saddles.
Each one controls the height of its string.
Start with a comfortable baseline:
-
High E: about 4/64″ at the 12th fret
-
Low E: about 5/64″ at the 12th fret
Use the small Allen screws on each saddle to raise or lower string height.
Keep the saddle arc matching the fretboard radius. Don’t leave them flat across —
that’s a common beginner mistake.
If your Strat kit has a tremolo bridge, be aware:
Adjusting saddle height can slightly change trem tension.
That’s normal.
We’ll address trem balance in a later step.
👉 For a deeper look at bridge geometry and neck angle, see
→ Setting Up The Bridge And Neck On Your Electric Guitar Kit
Step 3: Dial In Intonation
Now we fine-tune accuracy.
Intonation ensures your guitar plays in tune across the entire fretboard.
Here’s how to check it:
-
Tune the open string.
-
Play the 12th fret harmonic.
-
Play the fretted 12th fret note.
If the fretted note is sharp → move the saddle backward.
If it’s flat → move the saddle forward.
Use the small Phillips screw at the back of each saddle.
Always retune before rechecking.
Strat trem systems can slightly shift while adjusting intonation.
That’s normal.
Make small changes and work patiently.
Once intonation is correct, chords up the neck will finally sound clean and accurate.
👉 For a detailed guide, see
→ How To Properly Set Up Your Electric Guitar Kit For Intonation
Step 4: Balance The Tremolo (Strat-Specific Step)
This is what separates a Strat setup from a Tele.
Flip the guitar over and remove the trem cavity cover.
You’ll see:
-
Tremolo springs
-
Spring claw
-
Two claw screws
The trem system can be set up two ways:
Floating Trem
The bridge lifts slightly off the body.
Allows upward and downward pitch movement.
Decked Trem
The bridge rests flat against the body.
More stable tuning. Better for beginners.
If the bridge is lifting too high, tighten the claw screws evenly.
If it’s pulled flat too hard, loosen them slightly.
Small adjustments.
Retune.
Recheck.
Many first-time builders prefer decking the trem for stability.
You can always float it later once you’re comfortable.
Final Check: Play It
After everything is adjusted:
-
Check for fret buzz
-
Bend strings at upper frets
-
Play chords across the neck
-
Test trem movement
This is the moment where your build comes alive.
A proper setup transforms a Strat kit from “assembled” to “professional.”
Final Thoughts…
A Stratocaster guitar kit isn’t harder to set up than other styles —
it just has one extra system to understand.
Once you:
• Set relief
• Dial in action
• Adjust intonation
• Balance the trem
You unlock what makes a Strat special.
Your Solo Guitars Strat kit has the bones.
The setup gives it the soul.
And the best part?
You did it yourself.
 Craft it. Play it. Own it!