
If you’re building your first DIY electric guitar kit,
soldering can feel like the part where everything
could go wrong — but it doesn’t have to.
This guide breaks down the entire process
step-by-step, shows you the exact tools you’ll
want on your bench, and gives you the confidence
to wire your pickups, pots, switch, and jack
without frying anything.
Whether you’re totally new to soldering or
just want cleaner, more professional joints,
this walkthrough will give you a rock-solid foundation.

🔥 Recommended Tools
for Your Soldering Setup
Before you fire up the soldering iron,
make sure your bench is stocked with the essentials.
These three tools will make your wiring cleaner,
your joints stronger, and your entire soldering
process a whole lot easier.
From accurate readings to rock-steady wire control
to consistent heat, here’s what I recommend for
a smooth, frustration-free soldering job
on your DIY guitar kit.
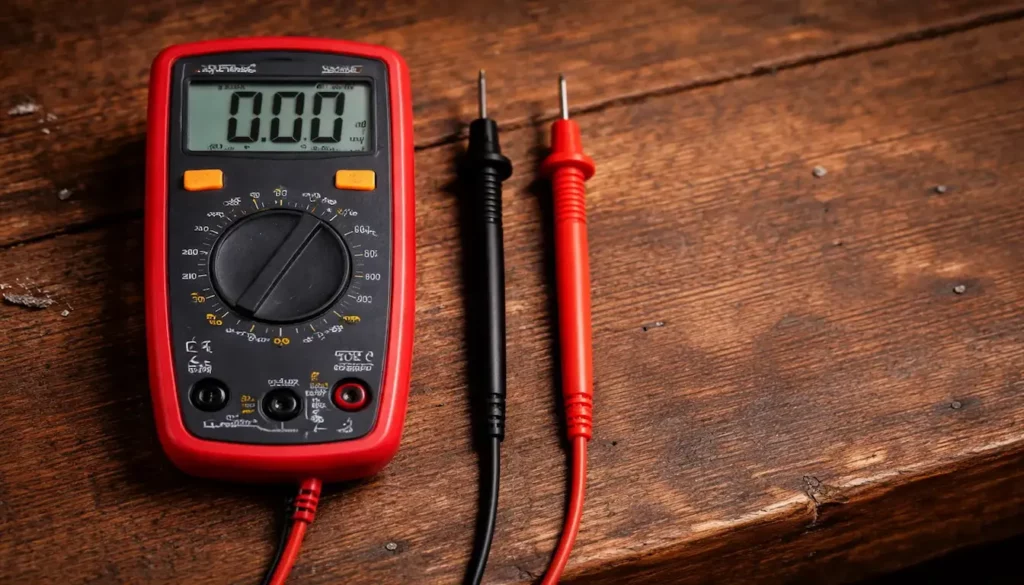
⭐ AstroAI Digital Multimeter
If you’re wiring a guitar kit, a reliable multimeter isn’t optional
— It’s the difference between guessing and knowing.
This one gives you quick, accurate readings so you can
confirm continuity, check pot values, and
troubleshoot wiring with confidence.
 Amazon Product Suggestion:
 AstroAI Digital Multimeter
Tester 2000 Counts
This affordable and reliable multimeter is perfect
for guitar kit builders who need to check continuity,
verify wiring, and test voltage during setup.
With easy-to-read displays and simple dial controls,
it’s ideal for troubleshooting pickup wiring,
pots, switches, and grounding issues
without overcomplicating the process.
Why It’s Great:
Helps you verify correct wiring before plugging in
Quickly checks pickup resistance and pot values
Prevents shorts, dead circuits, and noise issues
Saves time by catching problems early
⭐ NEIKO Adjustable Helping Hand
Steadying wires while soldering can be a nightmare.
This helping-hand setup keeps everything locked
in place and right where you need it,
making your solder joints cleaner and your
workflow way smoother.
Amazon Product Suggestion:
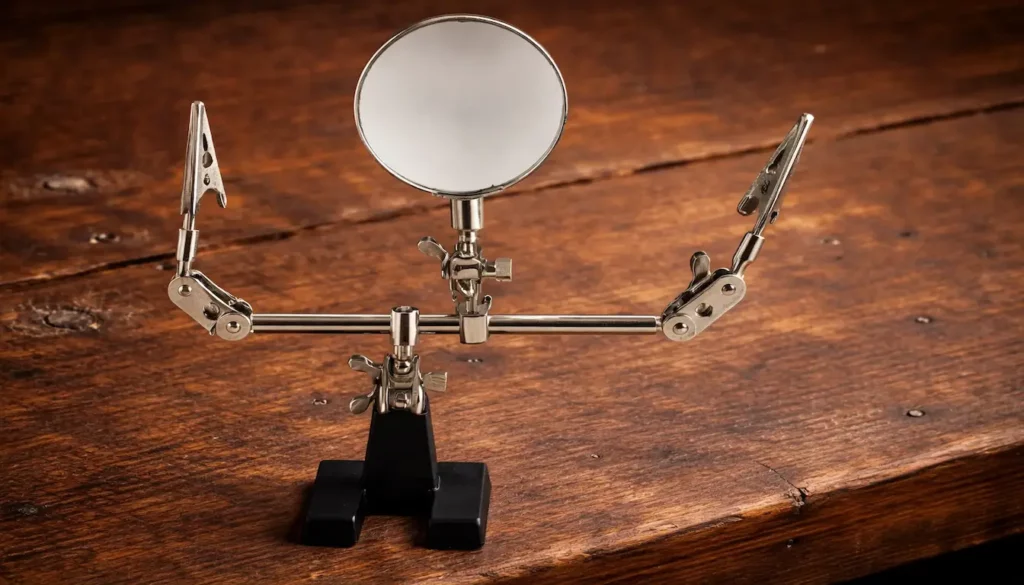
NEIKO 01902
Adjustable Helping Hand
(With Magnifying Glass)
This little lifesaver gives you a stable third hand
when you’re soldering inside a tight guitar cavity.
The weighted base keeps everything steady,
the alligator clips hold wires right where you need them,
and the magnifying glass helps you nail
precision work without eye strain.
It’s one of those tools you don’t think you need
— until the day you use it, and then
you never solder without it again.
Why It’s Great:
Holds wires, pots, and switches perfectly still
Frees up both hands for clean soldering
Helps prevent stray solder blobs and cold joints
Makes the whole process faster and frustration-free
⭐ YIHUA 60W Digital
Soldering Station Kit
A solid soldering station is the heart of any wiring job.
This kit gives you precise heat control, multiple tips,
and the power you need for clean connections every time
— perfect for guitar kits of any type.
Amazon Product Suggestion:
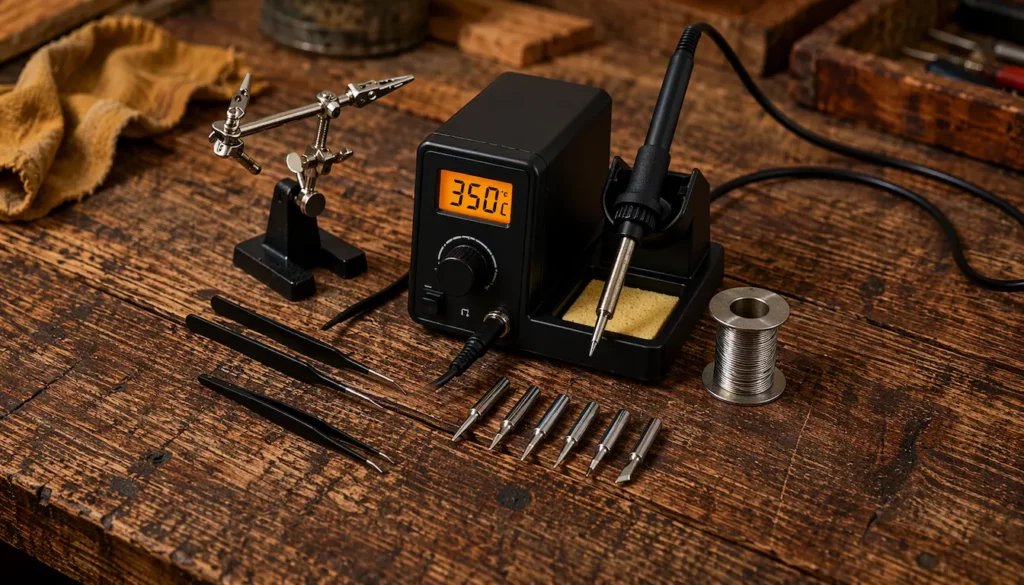
YIHUA 926 III 60W Digital Display Soldering Iron Station Kit
(With 2 Helping Hands)
Perfect for guitar kit wiring, pickup installs,
and clean solder joints every time.
This all-in-one digital soldering station is a
massive upgrade from cheap pencil irons.
With precise temperature control, fast heat-up,
and all the accessories you need right out of the box,
it gives you clean, reliable solder joints without
guessing or overheating your components.
Ideal for wiring pickups, pots, switches, and output jacks —
especially when you want pro-level results on your DIY builds.
Why It’s Great:
Fine tip is perfect for small, detailed soldering
Heats quickly and maintains steady temperature
Prevents overheated components
Creates strong, clean, professional connections
🧰 Step-By-Step
Soldering Guide
Now that your tools are lined up and ready, it’s time to
walk through the entire soldering process from start to finish.
These steps will help you make clean, durable connections
while avoiding the most common mistakes that trip up new builders.
🔧 Steps for Soldering
1. Set Up Your Workspace
Clear your bench, plug in your soldering station,
and make sure you’ve got good lighting.
Keep your helping hand, sponge, and solder within
easy reach so you’re not scrambling mid-joint.
Pro Tip:
A clean, organized bench reduces
90% of soldering mistakes.
2. Tin the Soldering Iron Tip
Once your iron reaches temp, melt a small bit of
solder onto the tip, then wipe it on the damp sponge.
This gives you max heat transfer and prevents cold joints.
Always tin before every connection
— not just the first one.
3. Prep and Strip Your Wires
Trim your leads to the right length and
strip about 1/8″ of insulation.
Twist the strands tight so they don’t fray
when you heat them.
Pre-tinning your wires makes the final
joint twice as fast and twice as clean.
4. Secure the Components
Use your helping hand or clamps to lock
the pot, switch lug, or jack in place.
Stability = clean solder.
Wiggly parts = headaches later.
If the component moves while the joint cools, redo it —
don’t leave a cracked joint hiding in your circuit.
5. Heat the Joint, Not the Solder
Touch the iron to both the wire and the lug at the same time.
After 1–2 seconds, feed solder into the joint, not onto the tip.
If the solder balls up instead of flowing,
the joint isn’t hot enough.
6. Let the Solder Flow Smoothly
Once the solder melts, let it wick into
the wire and lug naturally.
Don’t glob it on.
You want a shiny, cone-shaped joint
— not a dull blob.
Dull = cold joint.
Shiny = you nailed it.
7. Remove Heat
and Hold Still
When the solder flows correctly, pull the iron away
and keep the joint perfectly still for a couple of seconds.
This lets it solidify cleanly.
Never blow on a joint to cool it
— that weakens the bond.
8. Inspect Every Connection
Check each joint with good lighting.
Look for cracks, dullness, or excess solder.
If it doesn’t look right… it’s not right.
Reheat and fix it now.
A $10 multimeter saves you hours.
Test continuity as you go.
9. Repeat the Process
for Each Wire
Work your way through your pots, switch, pickups,
and output jack one connection at a time.
Stay consistent with heat, flow, and cleanup.
Don’t jump around.
Complete each component before moving on.
10. Clean Up and
Test the Circuit
Once everything is soldered, wipe your tip clean,
power down your iron, and check continuity on
every connection before installing the harness.
A perfect solder job means your guitar
will be quiet, reliable, and ready to rock
the first time you plug it in.
🎸 Final Thoughts…
Soldering might seem intimidating the first time you
crack open a guitar kit, but once you understand the basics,
it becomes one of the most rewarding parts of the entire build.
Clean, professional solder joints don’t just
make your wiring look good —
They make your guitar quieter, more reliable,
and ready to perform the way it should.
Take your time, follow the steps,
and don’t rush the process.
Every connection you make is one more skill added
to your toolkit, and before long, soldering will feel as
natural as tightening a string or leveling a fret.
You’ve got this — now go build something awesome.
 Ready to Start?
Here’s your next step —
pick one and go:
New to guitar kits?
Start with
Step-by-Step Guide To Building
Your First Electric Guitar Kit
and
Essential Tools Every Electric Guitar Kit
Builder Should Have.
Already built a kit?
Jump into
How To Properly Set Up Your
Electric Guitar Kit For Intonation
or
Fixing Common Problems:
Buzzing And Dead Frets.
Chasing better tone?
Head to
Understanding Humbucker
Vs Single Coil Pickups In Kits
or
Playing With Tone Controls:
Tips For Electric Guitar Kits
and start experimenting.
 Your Guitar, Your Build,
Your Sound
You don’t need a custom shop or a tech on speed dial.
All you need is a little guidance, some patience,
and a place to go that shows you what to do next.
Come on man… You got this.
GuitarCrafts
is here to help you along the way.
Craft it. Play it. Own it!