
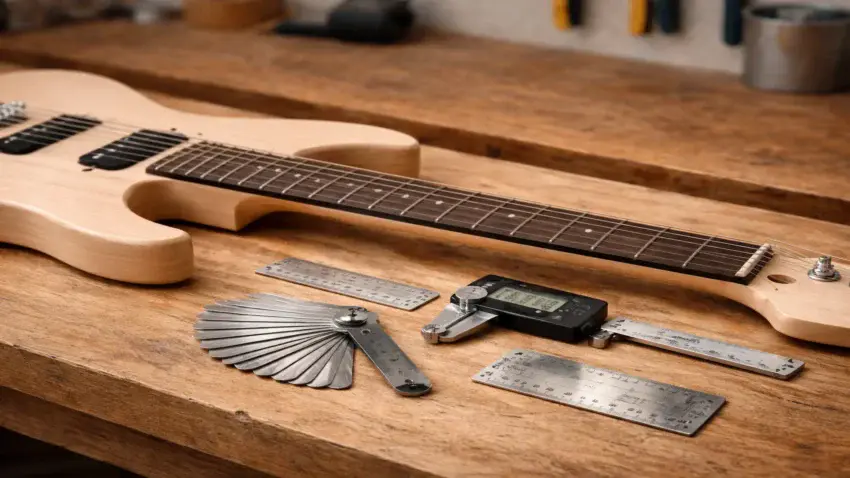
Building an electric guitar kit isn’t just about assembling parts — it’s about getting everything to line up, sit correctly, and play the way it should.
That’s where measuring and setup tools come in.
These tools don’t make your guitar sound better on their own, but they prevent the small errors that quietly ruin playability, tuning stability, and long-term comfort.
Many beginner problems — high action, buzzing strings, poor intonation, or tuning frustration — aren’t caused by bad parts.
They come from guessing instead of measuring.
This guide explains the measuring and setup tools used during electric guitar kit builds, why they matter, and how they fit into the overall setup process.
Each tool category links out to more detailed walkthroughs so you can go deeper only when you need to.
📏 Why Measuring Matters In Guitar Kit Builds
Electric guitars are mechanical instruments.
Small differences — sometimes fractions of a millimeter — can dramatically change how a guitar feels and performs.
Measuring tools give you reference points so adjustments are intentional instead of trial-and-error.
During a kit build, measuring tools are used to:
-
Set string action to a comfortable, buzz-free height
-
Check neck relief before adjusting the truss rod
-
Align bridge position for accurate intonation
-
Verify nut slot depth and spacing
-
Confirm consistency across all strings
Without measurements, it’s easy to chase problems in circles — raising action to fix buzz, tightening the truss rod to fix tuning or adjusting saddles without knowing what’s actually off.
Measuring tools stop that cycle by letting you diagnose issues before making changes.
Just as important, these tools help beginners avoid permanent mistakes.
Removing material, tightening rods, or filing parts without reference can’t always be undone.
Measuring first keeps every adjustment controlled, predictable, and safe.
In the sections below, this page breaks measuring and setup tools into clear categories, then links out to focused guides that show how each tool is used in real guitar kit setups.
 Precision Starts With Measurement
🛠️ Core Measuring Tools Used In Electric Guitar Kit Builds
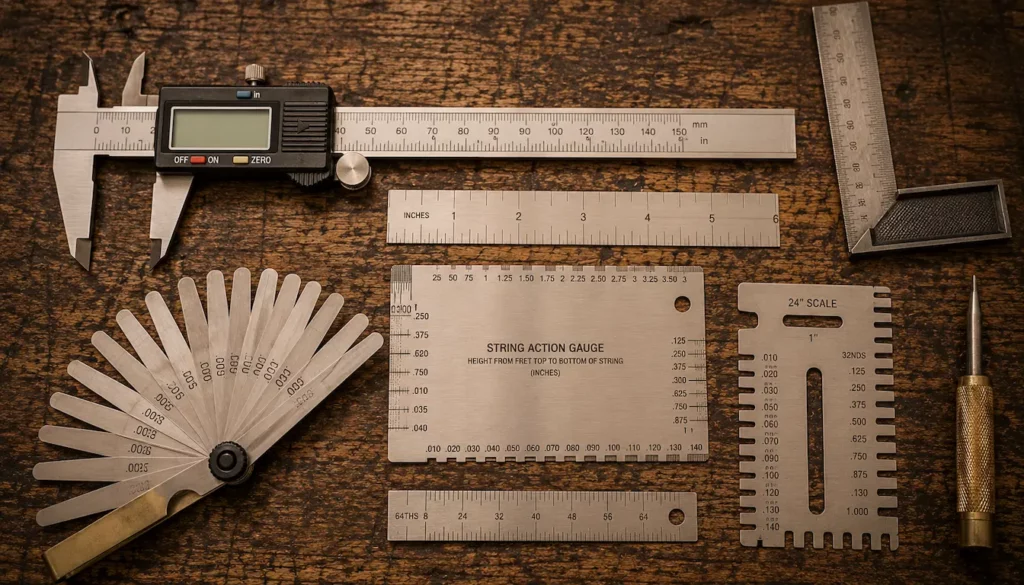
Measuring tools used during guitar kit builds fall into a few practical categories.
Each one serves a specific purpose at different stages of the build and setup process.
You don’t need every tool at once, but understanding what each category does helps you know when a tool is necessary — and when it isn’t.
📐 Straightedges And Rulers
Straightedges and rulers are used to establish reference lines.
They help verify that parts are aligned correctly before adjustments are made.
Common uses include:
-
Checking neck straightness before truss rod adjustments
-
Measuring string height at the bridge and nut
-
Confirming saddle travel and spacing
Short metal rulers with clear millimeter markings are typically more useful than long woodworking rulers.
Accuracy and visibility matter more than size.
🎯 Feeler Gauges
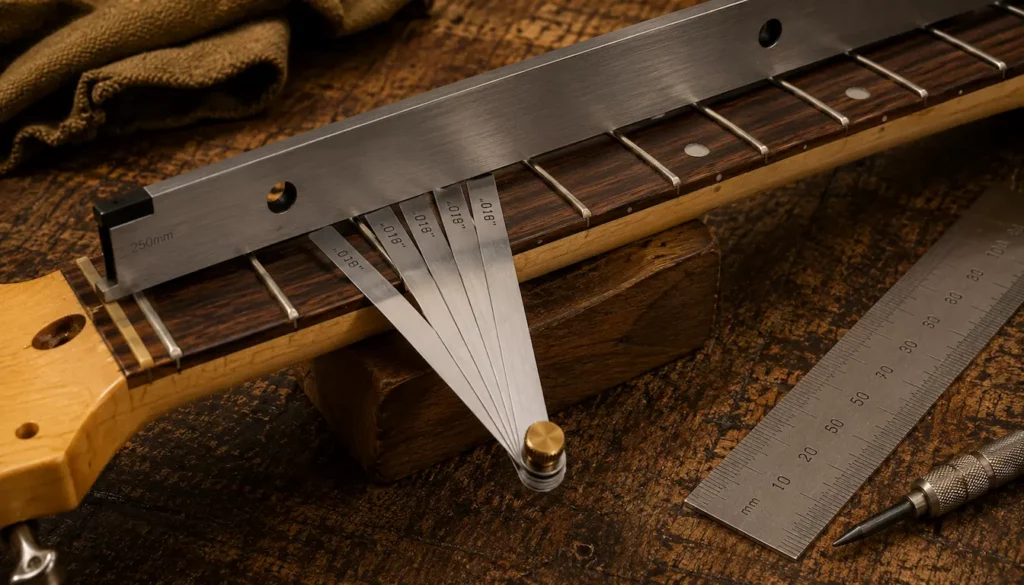
Feeler gauges are thin metal strips used to measure very small gaps.
In guitar builds, they are most commonly used to measure neck relief — the slight forward bow intentionally left in the neck.
They are used to:
-
Measure relief at specific fret positions
-
Ensure truss rod adjustments are incremental
-
Maintain consistent setup targets across strings
Feeler gauges remove guesswork from neck adjustments and help prevent overtightening the truss rod.
⚙️ Calipers
Calipers measure thickness, depth, and diameter with high precision.
While not required for every build, they become valuable when fitting or upgrading components.
They are commonly used to:
-
Measure nut slot depth
-
Check fretwire or saddle dimensions
-
Verify hardware compatibility
Digital calipers are especially helpful for beginners because they provide clear numeric feedback instead of visual estimates.
📏 String Action Gauges
String action gauges are specialized rulers designed specifically for guitars.
They combine string-height markings, fret spacing references, and sometimes radius indicators.
They are used to:
-
Measure string height consistently across the fretboard
-
Set baseline action before fine adjustments
-
Compare setup changes objectively
While a ruler can substitute in some cases, action gauges simplify the process and reduce setup errors.
🔧 Setup Adjustment Tools That Work Alongside Measurements
Measuring tools don’t make adjustments on their own — they guide them.
Setup tools are used after measurements confirm what needs to change.
🎸 Truss Rod Adjustment Tools
Truss rod tools are used only after neck relief has been measured.
Adjustments should always be small and deliberate.
Proper use includes:
-
Measuring relief first
-
Making quarter-turn or smaller adjustments
-
Rechecking measurements after each change
Measurement ensures truss rod adjustments improve playability instead of introducing new problems.
🎵 Bridge And Saddle Adjustment Tools
Saddle screws and bridge adjustments affect string height and intonation.
Measuring tools help determine how much movement is needed before any screws are turned.
They are used to:
-
Set uniform string action
-
Correct intonation at the 12th fret
-
Balance feel across all strings
Measuring first prevents over-adjustment and uneven setups.
🪵 Nut Slot Measurement Tools
Nut slot depth affects tuning stability, intonation, and playability near the first fret.
Measuring tools help determine whether nut slots are too high or too low before filing begins.
This step is especially important because:
-
Material removal is permanent
-
Over-filing creates buzzing and tuning issues
-
Proper depth improves comfort and tuning accuracy
Measurement makes nut work controlled instead of risky.
🎸 Setup Gets Easier When You Measure First
⏱️ When Measuring Matters Most During A Build
Measuring tools are used throughout the build, but they are especially important at key stages:
-
Before final assembly — to confirm alignment
-
Before any adjustment — to diagnose issues
-
After each adjustment — to verify results
-
Before playing evaluation — to ensure consistency
Measuring turns setup work into a repeatable process instead of a trial-and-error cycle.
🧩 How Measuring Tools Fit Into The Bigger Guitar Kit Setup Process
Measuring and setup tools don’t replace experience — they accelerate it.
By using measurements as reference points, beginners learn how different adjustments interact and why small changes matter.
As you gain confidence, these tools help you:
-
Replicate setups you like
-
Diagnose problems faster
-
Upgrade components without guessing
-
Maintain your guitar long-term
The child guides linked from this page break down each tool category into focused, step-by-step explanations so you can apply these measurements safely and effectively.
👉 These measuring tools are part of the broader set of essential tools every electric guitar kit builder should have, which are covered in our main tools overview.
👉 Once measurements are established, many setup adjustments involve careful material removal, which is covered in our guide to cutting, shaping, and fitting tools for electric guitar kits.
🏁 Final Thoughts…
Accurate measurements don’t make a guitar complicated — they make it predictable.
Measuring and setup tools help ensure your electric guitar kit plays comfortably, stays in tune, and responds the way it should.
This page serves as a hub for the tools that support precision during a build.
As you explore the related guides below, you’ll see how each tool fits into real setup scenarios and how careful measurement leads to better results with fewer mistakes.
 Ready to Start?
Here’s your next step —
pick one and go:
 New to guitar kits?
Start with
Step-by-Step Guide To Building
Your First Electric Guitar Kit
and
Essential Tools Every Electric Guitar Kit
Builder Should Have.
Already built a kit?
Jump into
How To Properly Set Up Your
Electric Guitar Kit For Intonation
or
Fixing Common Problems:
Buzzing And Dead Frets.
Chasing better tone?
Head to
Understanding Humbucker
Vs Single Coil Pickups In Kits
or
Playing With Tone Controls:
Tips For Electric Guitar Kits
and start experimenting.
Your Guitar, Your Build,
Your Sound
You don’t need a custom shop or a tech on speed dial.
All you need is a little guidance, some patience,
and a place to go that shows you what to do next.
Come on man… You got this.
GuitarCrafts
is here to help you along the way.
Craft it. Play it. Own it!