Installing a Telecaster bridge might sound complicated,
but it’s actually one of the more straightforward upgrades you can do.
With the right approach, you can improve your guitar’s tone, sustain,
and tuning stability in a single afternoon —
and it’s something you’ll notice immediately when you play.
The key is getting the alignment and setup right from the start.
Once you understand the basic steps,
the whole process becomes simple, repeatable,
and well within reach for any beginner.
👉 If you’re starting from scratch, check out the
best Solo Guitars Telecaster kits under $300 to choose a solid base for your build.
👉 If you’re still choosing your upgrade, check out the
best Telecaster bridge upgrades to find the right option for your build.
🧰 1. Tools & Parts You’ll Need
Before you start, make sure you have everything ready.
This will make the process smoother and prevent mistakes.
List:
- Screwdriver (correct size)
- New bridge
- Screws (usually included)
- String winder (optional)
- Tuner
If you’re still gathering tools,
this guide covers the essentials you’ll want before starting:
👉 Essential Tools Every Electric Guitar Kit Builder Should Have
Want a quick overview before you start?
Here’s the full process at a glance:
📊 Quick Overview: Telecaster Bridge Installation Steps
| Step | What You Do | Why It Matters |
|---|---|---|
| 1 | Remove strings | Access bridge safely |
| 2 | Remove old bridge | Clear workspace |
| 3 | Align new bridge | Ensures proper intonation |
| 4 | Secure bridge | Stability and durability |
| 5 | Restring guitar | Prepare for setup |
| 6 | Adjust intonation | Accurate tuning across fretboard |
Now let’s walk through each step so you can
install your bridge the right way:
📏 2. Remove Strings & Old Bridge
Start by removing the strings so you can safely access the bridge.
- Loosen and remove strings
- Unscrew old bridge
- Clean the area
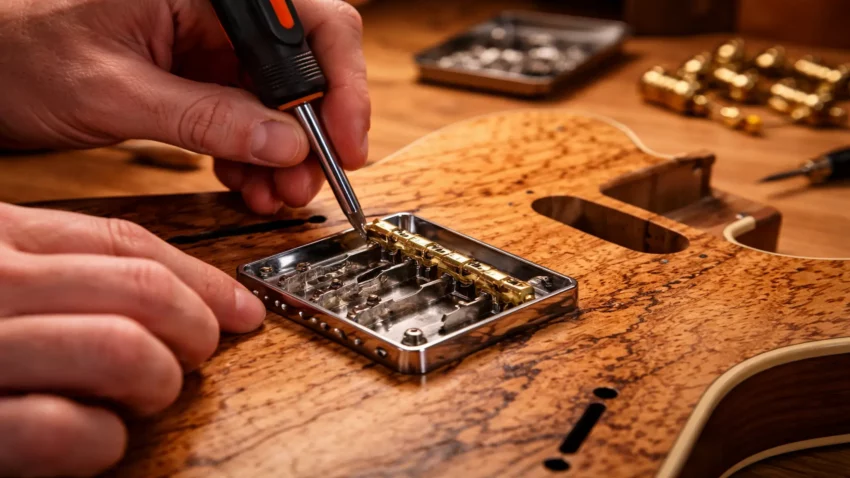
📍 3. Position the New Bridge Correctly
This is the most important step.
Proper alignment affects intonation and playability.
- Line up with string-through holes
- Check alignment with neck
- Ensure straight placement
🔩 4. Install and Secure the Bridge
Once aligned, secure the bridge in place.
- Insert screws carefully
- Tighten evenly
- Avoid over-tightening
🎯 5. Restring and Set Basic Intonation
After installation,
restring your guitar and make basic adjustments.
- Tune strings
- Adjust saddle position
- Check intonation
For a full setup guide, follow this:
👉 How To Properly Set Up Your Electric Guitar Kit For Intonation
⚠️ 6. Common Mistakes to Avoid
A few small mistakes can cause big issues later.
- Misalignment
- Over-tightening screws
- Skipping setup
🔁 Want to upgrade your bridge before installing?
👉 Check out the best Telecaster bridge upgrades to choose the right one.
🎸The Right Bridge Helps Bring A Tele To Life

🏁 Final Thoughts…
Installing a Telecaster bridge is a simple upgrade
that can make a big difference in how your guitar feels and sounds.
Take your time, follow the steps,
and you’ll end up with a cleaner, more stable setup.
 Ready to Start?
Here’s your next step —
pick one and go:
 New to guitar kits?
Start with
Step-by-Step Guide To Building
Your First Electric Guitar Kit
and
Essential Tools Every Electric Guitar Kit
Builder Should Have.
Already built a kit?
Jump into
How To Properly Set Up Your
Electric Guitar Kit For Intonation
or
Fixing Common Problems:
Buzzing And Dead Frets.
Chasing better tone?
Head to
Understanding Humbucker
Vs Single Coil Pickups In Kits
or
Playing With Tone Controls:
Tips For Electric Guitar Kits
and start experimenting.
 Your Guitar, Your Build,
Your Sound
You don’t need a custom shop or a tech on speed dial.
All you need is a little guidance, some patience,
and a place to go that shows you what to do next.
Come on man… You got this.
GuitarCrafts
is here to help you along the way.
Craft it. Play it. Own it!