
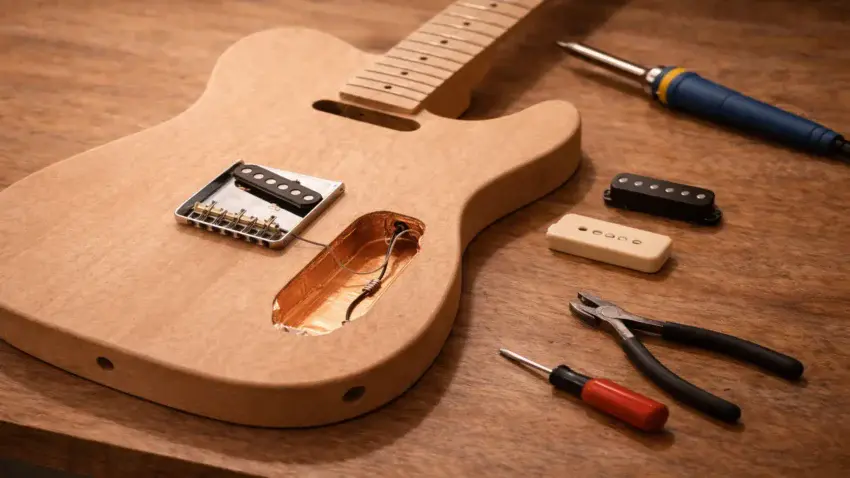
Single-coil Telecaster kits are famous for their clarity, bite, and raw edge.
They’re also famous for picking up background hum.
If you’ve ever noticed buzz when you’re not touching the strings —
or extra noise under stage lights or near a computer —
that’s normal for unshielded cavities.
The good news?
Shielding your Tele kit is inexpensive, beginner-friendly,
and one of the easiest ways to reduce unwanted noise without changing your tone.
In this guide, I’ll walk you through how to shield your Telecaster kit step by step —
and help you decide whether it’s something your build actually needs.
🤘 If you haven’t built the body yet, start here:
Step-by-Step Guide To Building Your First Electric Guitar Kit
🤘 Looking for the best Tele-style kit to wire?
See my full breakdown here → Best Telecaster Guitar Kits Under $300
🧠 What Causes Tele Hum?
-
60-cycle single coil noise
-
Fluorescent lighting
-
Computer interference
-
Poor grounding
-
Long unshielded cavity runs
🛠 Materials You’ll Need
-
Copper shielding tape (conductive adhesive preferred)
-
OR shielding paint
-
Small screwdriver
-
Scissors / blade
-
Multimeter (optional but helpful)
🪛 Step-By-Step Shielding Process
1. Remove the control plate and pickups
2. Clean the cavities
3. Apply copper tape (overlap edges)
4. Ensure electrical continuity
5. Ground the shielding
6. Reassemble and test
⚖️ Copper Tape vs Shielding Paint
Quick comparison table or bullets:
Copper Tape
✔ Easier to verify continuity
✔ Stronger shielding
✖ Slightly more work
Shielding Paint
✔ Cleaner look
✔ Faster
✖ Requires multiple coats
🎯 When Shielding Actually Makes a Difference
-
High-gain setups
-
Studio recording
-
Stage lighting environments
-
Computer-heavy home studios
🧠 Quick Tele vs Strat Note
Why Tele Shielding Is Simpler Than Strat Shielding
• No trem cavity
• Fewer routes
• Easier grounding layout
👉 Want a Strat comparison?
See the full breakdown → Best Strat Guitar Kits Under $300
🎯 Final Thoughts…
Shielding isn’t about changing your tone —
it’s about protecting it.
A well-shielded Tele keeps the snap and clarity you love
while reducing background noise that can distract from your playing.
It’s a small upgrade that makes your build feel more professional.
 Craft it. Play it. Own it!