
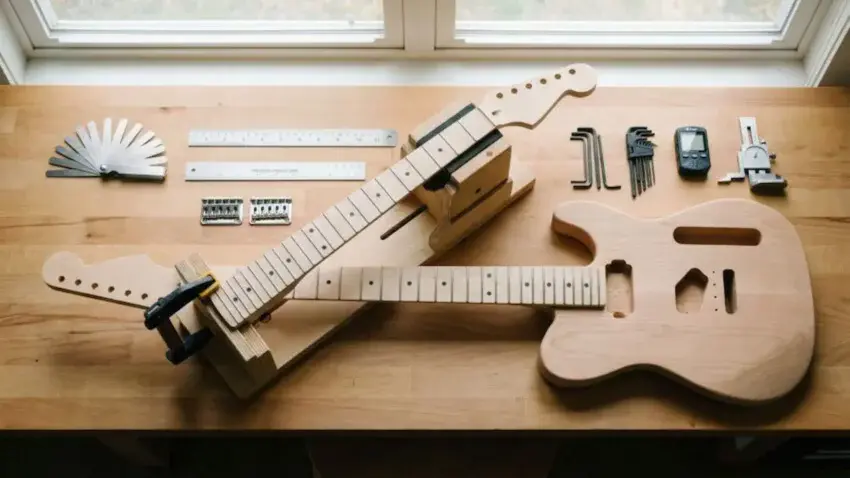
Once your guitar kit is finally assembled,
there’s one last job that turns your build from
“it works” into “it plays beautifully.”
And that job is adjusting the action and
intonation on your newly built guitar kit.
These two critical adjustments directly control
how comfortable your guitar feels and how
accurately it plays in tune across the fretboard.
Action determines how effortless your fretting
hand glides across the neck.
Intonation ensures every chord, riff, and solo
rings true without sour notes.
When both are dialed in,
your guitar transforms from a fresh kit into
a stage-ready instrument —
and you don’t need a pro tech to get it right.
👉 Not sure how to dial in string height first?
Learn how to properly adjust your guitar’s action
before tackling full setup and intonation.

🧰 RECOMMENDED TOOLS
FOR THIS SETUP
Setting up action and intonation
is all about precision.
These tools help you measure, adjust,
and confirm everything with
total confidence —
No guesswork,
No “good enough,”
Just clean, accurate results every time.
1️⃣ MusicNomad Precision
String Action Gauge Ruler
This tiny stainless-steel ruler is the
gold standard for dialing in string height.
Even the slightest adjustment is easy to
track thanks to its ultra-clear,
laser-etched markings.
 Amazon Product Suggestion:
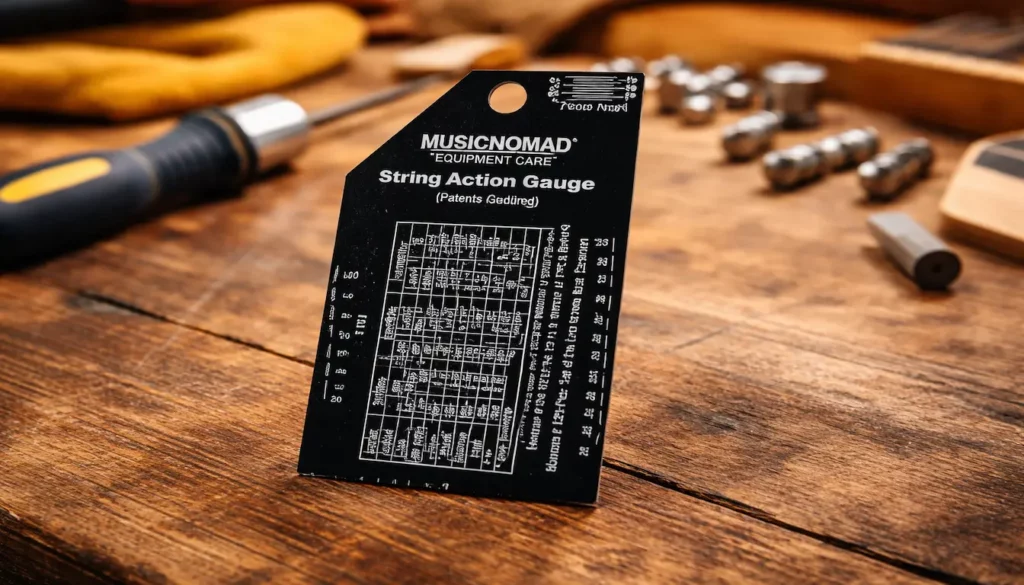
 MusicNomad Precision
String Action Gauge Ruler
(MN602)
A precision stainless steel ruler
for dialing in accurate string height
on electric, acoustic, and bass guitars.
Clear etched markings in
metric, SAE, and 64ths make setup
fast, consistent, and repeatable
Why It’s Great:
✔ Etched measurements — no fading
✔ Works on electric, acoustic & bass
✔ Built-in action charts — quick setup
✔ High-contrast stainless steel — easy to read
2️⃣ MusicNomad
Precision Nut Files
Clean nut slots are essential for
comfortable action and accurate intonation.
These files cut smooth, precise channels
that stop your strings from binding
or sitting too high.
Amazon Product Suggestion:
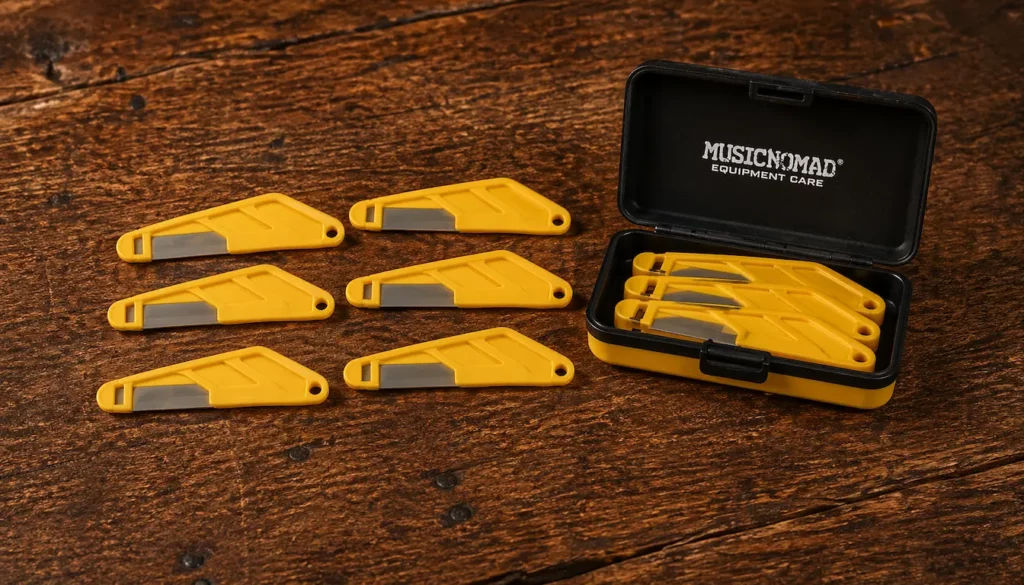
MusicNomad 6-pc
Diamond Nut File Set
A pro-level set of diamond-coated
nut files that cut clean,
precise slots every time.
Each file is matched to common
light/medium string gauges,
giving you accurate sizing
without overcutting.
Comfortable handles and a
sturdy storage case make this a
killer upgrade for any setup bench.
Why It’s Great:
Diamond-coated for controlled cutting
Six gauges for perfect nut-slot sizing
Comfortable grip handles
Tough storage case included
3️⃣StewMac Digital
Nut Slotting Gauge
This little helper tells you exactly
how deep your nut slots are.
Perfect for making sure your
first-position action is low,
fast, and buzz-free.
Amazon Product Suggestion:
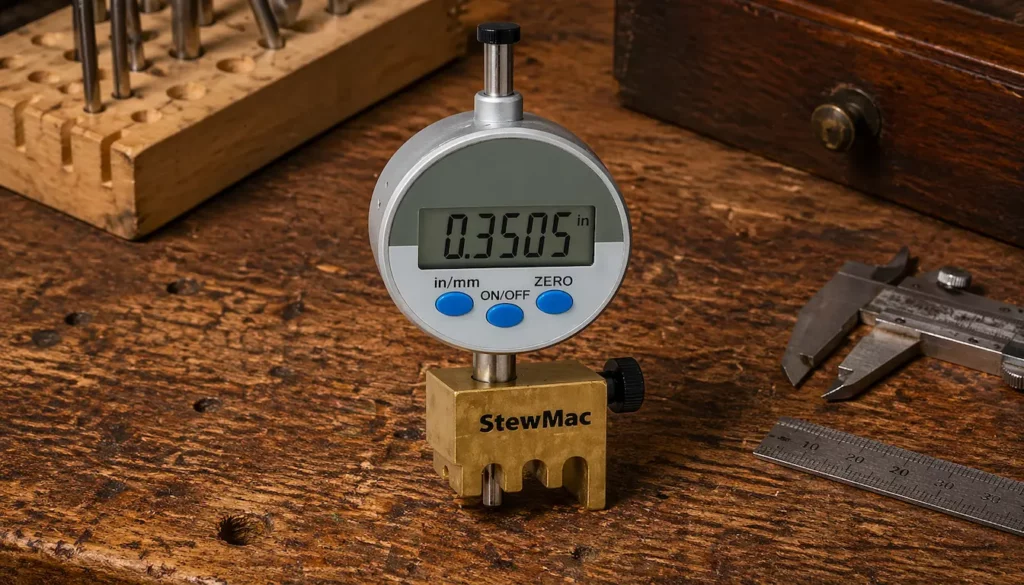
StewMac Digital
Nut Slotting Gauge
This digital gauge gives you
pinpoint nut slot accuracy
down to 0.001″ / 0.01mm.
The brass base sits solid on the fretboard
while the digital plunger shows your
exact string height in real time.
Perfect for cutting smooth, buzz-free
nut slots with pro-level precision.
Why it’s great:
0.001” accuracy — precise nut slot height
Digital readout — fast, clear measurements
Brass base — stable on the fretboard
Pro-level results — clean, low-action setup
🔧 STEP-BY-STEP ACTION
& INTONATION SETUP
1. Tune to Pitch First
Always tune to full pitch before
adjusting anything.
Every measurement depends on
string tension being correct.
👉 Pro Tip:
Use the tuner you’ll use regularly —
different tuners vary slightly.
2. Check Neck Relief
Use a capo at the 1st fret and hold down
the low E at the last fret.
Measure the gap at the 7th fret.
👉 Pro Tip:
Aim for about .008″–.012″
of relief for most kits.
3. Adjust the Truss Rod
If relief is too big, tighten the rod.
Too small? Loosen it.
Quarter turns only.
👉 Pro Tip:
Let the neck settle for 15 minutes
between adjustments.
4. Measure String Action
at the 12th Fret
Use your action gauge to check heights on each string.
👉 Pro Tip:
Start with 4/64″ on the high E
and 5/64″ on the low E.
5. Lower or Raise
the Bridge Saddles
Dial in action by adjusting saddle heights
one string at a time.
👉 Pro Tip:
Make adjustments with the guitar
in playing position —
gravity matters.
6. Play-Test for Buzzing and Comfort
Move up and down the neck to feel
how the changes affect your playing.
👉 Pro Tip:
If buzzing happens only in one area,
re-check relief, not saddle height.
7. Begin Intonation
at the 12th Fret
Play the 12th-fret fretted note and
compare it to the harmonic.
👉 Pro Tip:
Always re-tune after every saddle move.
8. Move the Saddles
Forward or Back
If the fretted note is sharp:
move the saddle back.
If it’s flat:
move the saddle forward.
👉 Pro Tip:
Tiny adjustments make a BIG difference.
9. Re-check Every String Twice
Once you think you’re done — you’re not.
Intonation shifts as other strings get dialed in.
👉 Pro Tip:
Always do two full passes
across all six strings.
10. Do a Final Full Play-Test
Strum chords, rip riffs, bend notes,
and slide up the neck.
👉 Pro Tip:
If everything sounds sweet in
every position, your setup is dialed.
⭐ FINAL THOUGHTS…
Great action and spot-on intonation are
what separate a “kit guitar” from a
real guitar you’d proudly play
on stage or record with.
Once you learn to dial these in yourself,
you unlock full control over feel, tone,
and playability — no tech required.
Every new build gets faster, easier,
and better.
And now you’ve got the process locked down.
 Ready to Start?
Here’s your next step —
pick one and go:
 New to guitar kits?
Start with
Step-by-Step Guide To Building
Your First Electric Guitar Kit
and
Essential Tools Every Electric Guitar Kit
Builder Should Have.
Already built a kit?
Jump into
How To Properly Set Up Your
Electric Guitar Kit For Intonation
or
Fixing Common Problems:
Buzzing And Dead Frets.
Chasing better tone?
Head to
Understanding Humbucker
Vs Single Coil Pickups In Kits
or
Playing With Tone Controls:
Tips For Electric Guitar Kits
and start experimenting.
 Your Guitar, Your Build,
Your Sound
You don’t need a custom shop or a tech on speed dial.
All you need is a little guidance, some patience,
and a place to go that shows you what to do next.
Come on man… You got this.
GuitarCrafts
is here to help you along the way.
Craft it. Play it. Own it!
This is such a helpful and timely guide! You really nailed why action and intonation are the final, most critical steps in transforming a guitar kit from “assembled” to “performance-ready.” Making that clear distinction—the action comes first, then intonation—helps anyone setting up their instrument avoid frustrating rework. I especially appreciated how you walked through measuring string height at the 12th fret, adjusting saddle position, and the importance of re-tuning after every tweak. That advice about testing for fret buzz afterward is golden—it ensures that the setup isn’t just precise but also comfortable to play. The way you explained the subtle shifts in tension and pitch between action and intonation felt both practical and grounded in real experience.
Do you find certain kits or bridge types—say, Tune-o-Matic vs. Strat-style tremolo—present unique challenges when dialing in both action and intonation?
Thanks so much! I’m really glad the guide came across as both practical and usable. It’s amazing how much those final setup steps can make a kit feel like a “real” guitar. And yes, different bridge types definitely have their quirks. A Tune-o-Matic can be pretty straightforward for intonation, but action tweaks sometimes require a bit more compromise across the fretboard. Strat-style tremolos give you more granular control, but they can also be more finicky since spring tension and bridge angle come into play. In both cases, patience (and a good tuner) is your best friend.
Thanks again.
~Wayne
Great breakdown! I like how you explained the order of adjustments — setting action before intonation — since that’s a point that can confuse a lot of first-time builders. The step-by-step guides make it really approachable, especially with the reminders to re-tune and use fresh strings.
One question: when setting action on a new kit build, do you recommend sticking to standard “factory spec” measurements at first, or is it better to tailor the setup immediately to the player’s personal style (like lower action for fast playing vs. higher for heavy strumming)?
Really glad you found the step-by-step breakdown helpful! That’s a great question. For a fresh kit build, I usually suggest starting with factory spec measurements first. They give you a reliable baseline that ensures the guitar plays cleanly without buzz, and it’s easier to troubleshoot if something feels off. Once everything is stable at that point, you can fine-tune the action to match the player’s style—whether that’s a lower setup for speed or a slightly higher one for heavier strumming.
Think of factory specs as the “safe starting zone,” and personal tweaks as the fun part that makes the guitar truly yours.
Thanks so much!
~Wayne